
Here it is, for all those fearless to try! I say DO IT. Every night this week, my hubs and I eagerly await our dessert. For all the worrying that I would fail at it, I know now that I will be making these much more often. As in my previous post about this project, my inspiration came from a great baking blog A Cookie Named Desire, and the shell base is from Bouchon Bakery.
And, unlike a chocolate chip or other easy bake cookie, you MAKE THESE LAST. You portion your batch. Each bite is savored. Each flavor anticipated and relished. I highly suggest if you dive into this pool of awesomeness, that you choose to make two separate flavored fillings. Each contrasting bite from your home project mimicking the fun of when you select different flavors from the bakery.
Note: the instructions are tedious. This is purposeful, to really explain the how and why behind the process. In retrospect, it goes MUCH quicker after you have made these once. Bookmark this so you have a reference for solid shells for future baking experiments. You can adjust it to make so many different flavors!
Ingredients
Shells
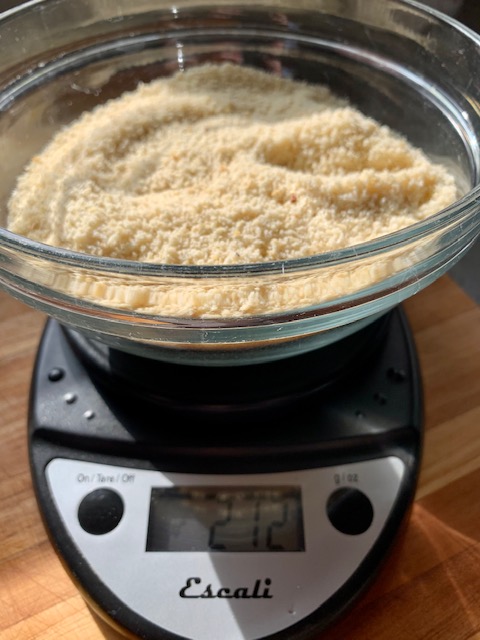
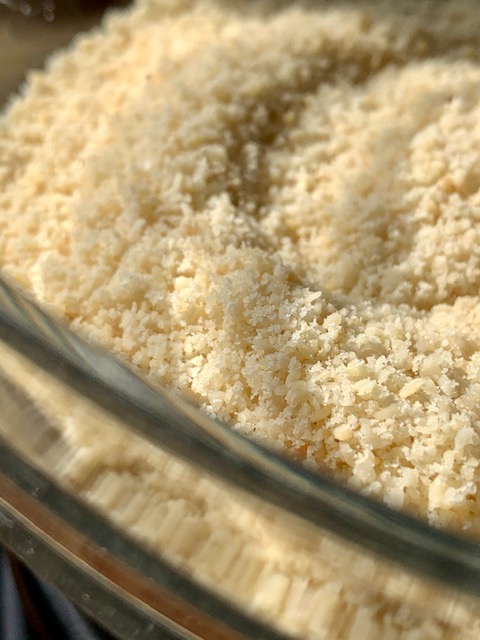
212g Super Fine Almond Flour (from blanched almonds)
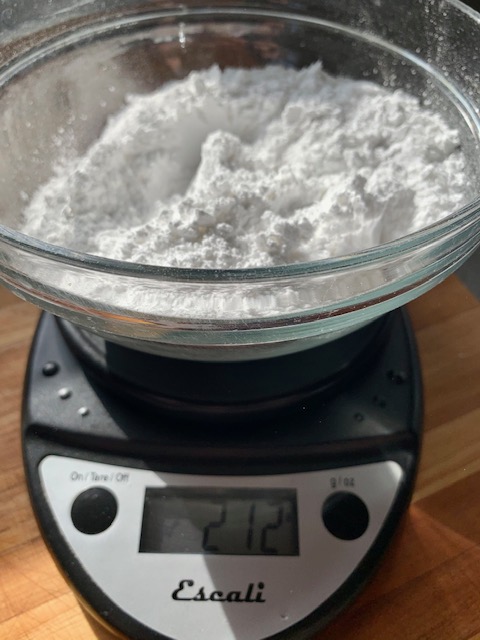
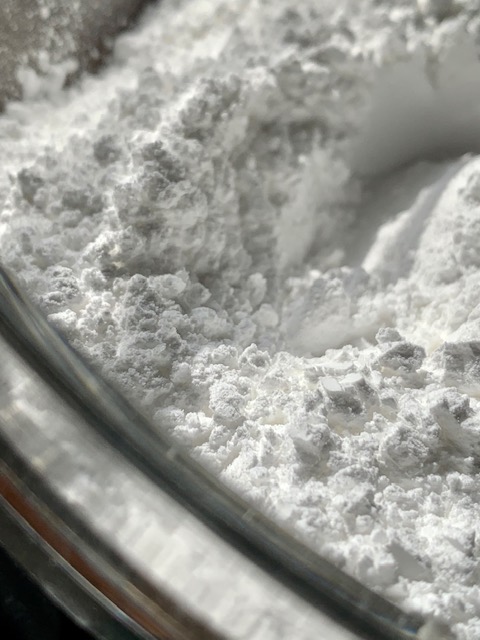
212g Confectioners Sugar
1 + 1/4 cup Granulated Sugar
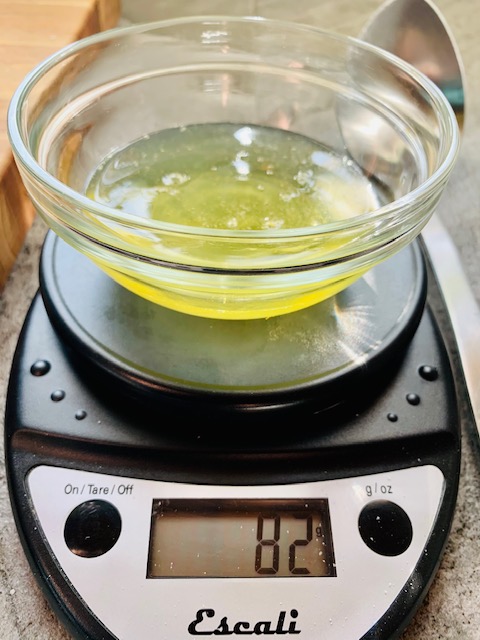
Egg whites (divided by 82g and 90g) Room temp.
2/3 cup Water
3 bags Chamomile tea
Vanilla Bean Buttercream (base)
3+ cups Confectioner’s Sugar
1 Stick Butter
1 tbsp shortening
1 tsp vanilla paste/extract
1 tbsp heavy cream
Filling Finishes:
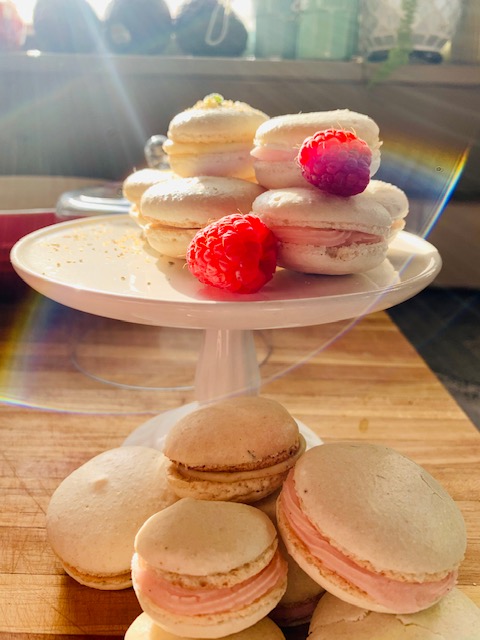
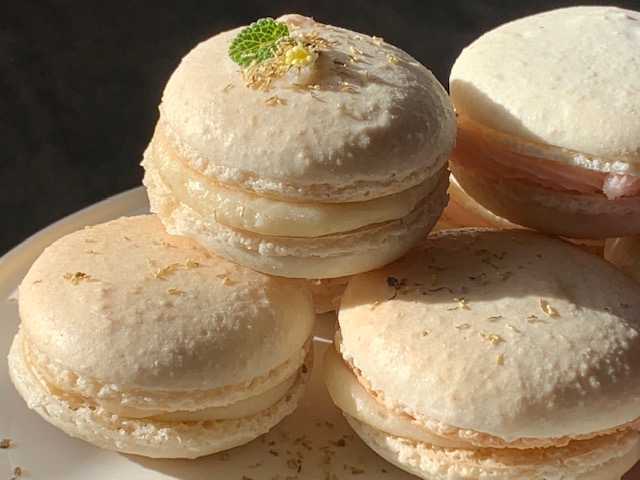
- Raspberry Lemon: 1 tsp Lemon Zest added to 1/4 cup buttercream base + dollop of raspberry preserves
- Chamomile Raw Honey: 1 bag of Chamomile Tea and 1 tbsp crystallized raw honey added to 1/4 cup buttercream base
Equipment Needed:
Two Baking sheets (preferably two layer ‘jelly roll’ pans)
Mixer w/ whisk attachment
Small saucepan
Kitchen or Candy Thermometer
Food processor
Fine mesh sieve
Metal spoon
Kitchen scale
Piping bag with 1/4″ tip
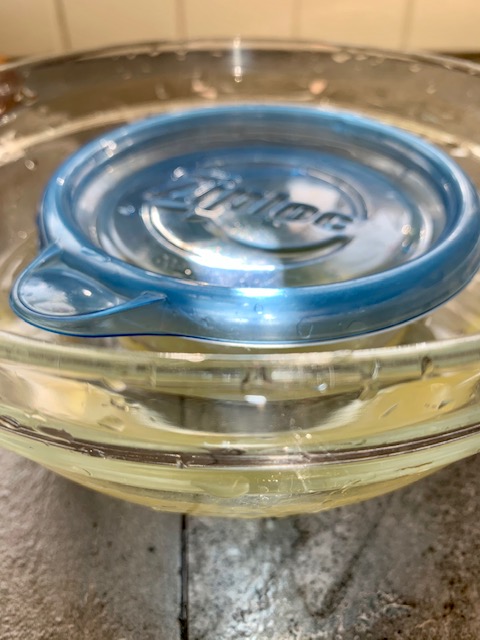
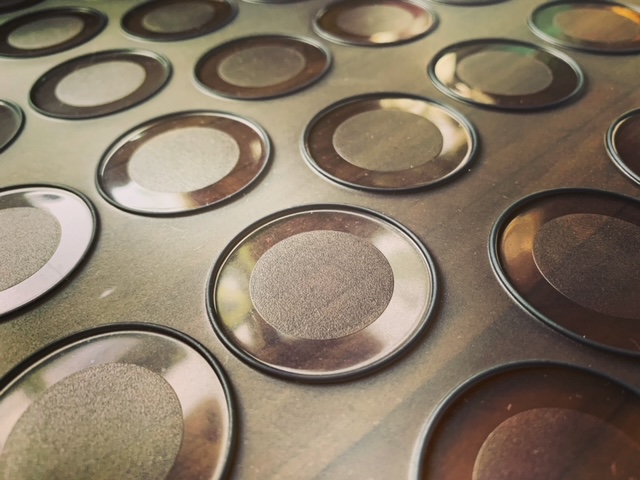
Parchment w/stencil (Make a quick template, trust me, IT HELPS! Make a word doc with a table 5 columns by 6 rows and insert a 1.25inch double circle into each cell. Or Follow the blog (via email at the bottom of the page) and if you want me to send you the one I use, drop me a line!
Instructions: (PREP ALL EQUIPMENT AND INGREDIENTS BEFORE STARTING SHELLS! TRUST ME!)
Shells
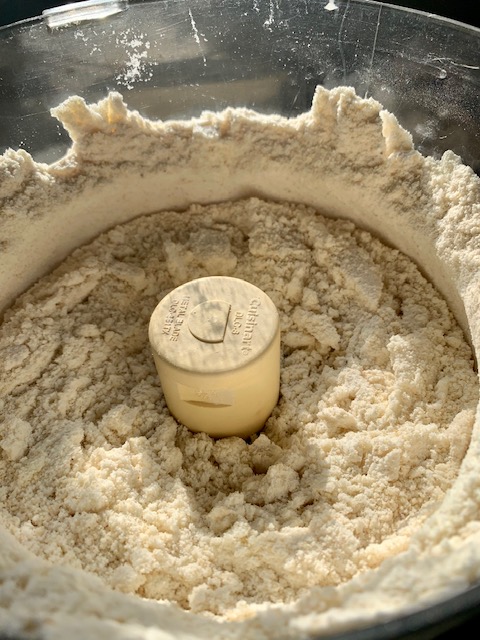
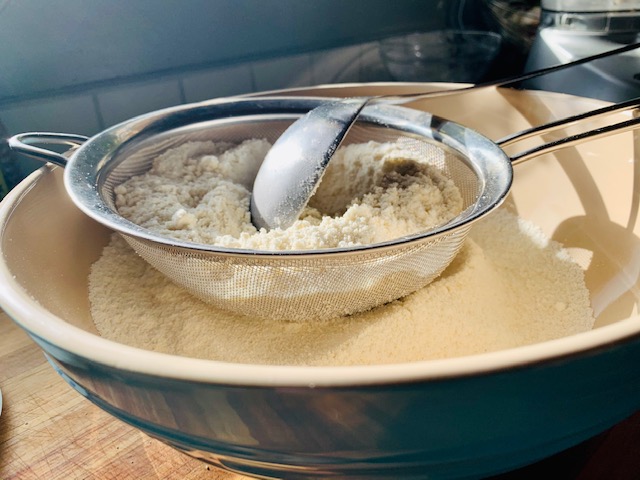
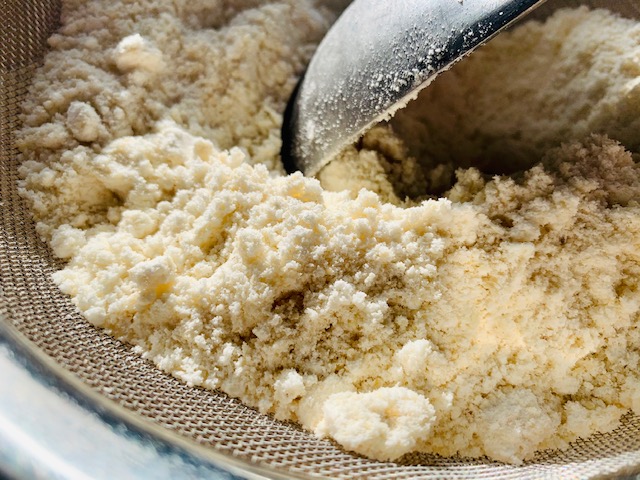
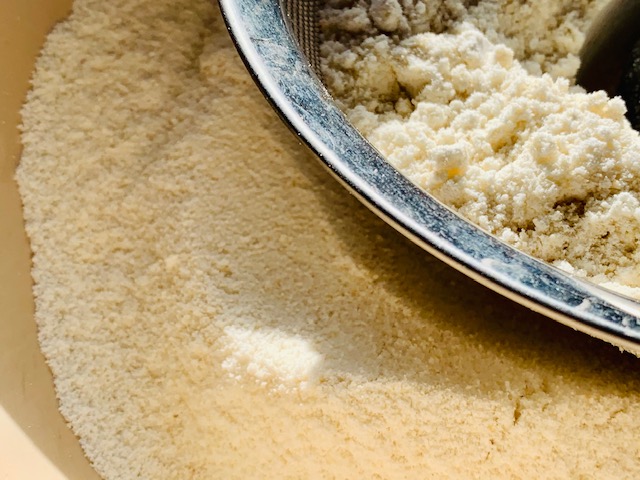
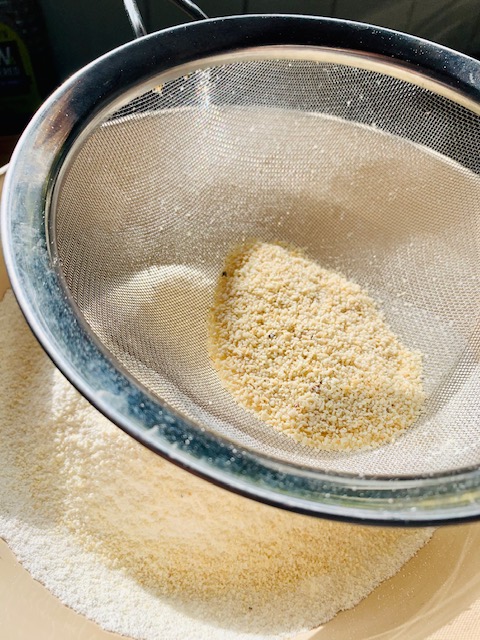
- Place Almond Flour and Confectioner’s Sugar into food processor and pulse until fully incorporated. If your mixture seems rough, continue to pulse or put ON for 1-2 minutes to break it down further.
- Take half of dry mix and pass through a fine mesh sieve, using a metal spoon to help it along. Continue to sift until all bigger solids have been removed from dry mix. The superfine dry mix will be in bowl, rough solids in mesh sieve. Discard remaining solids (could be as much as 2-3 tbsp.)
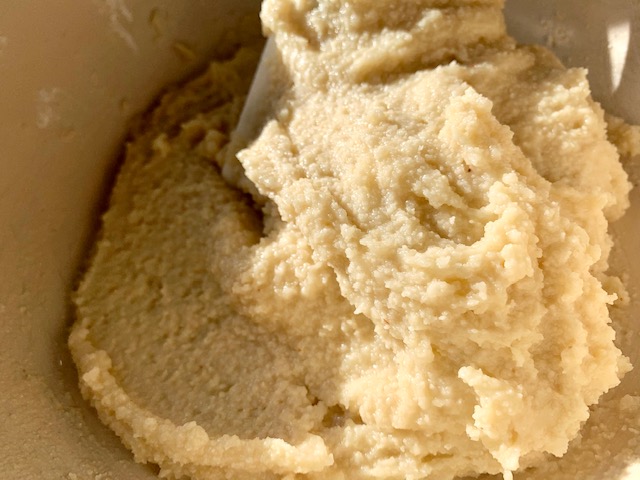
- Add 82g of egg whites into the dry mixture, blending into a thick batter. (Tip if you forgot to get your whites to room temp before this part: to bring to room temp before adding, place whites in a plastic container and submerge in warm water for about 10 minutes. I checked and changed the water at the 5 minute mark and they were perfect at 10 minutes.)
- In the bowl of your stand mixer with whisk attachment, add 90g egg whites and a pinch of granulated sugar. Begin whisking on low as you start the sugar reduction.
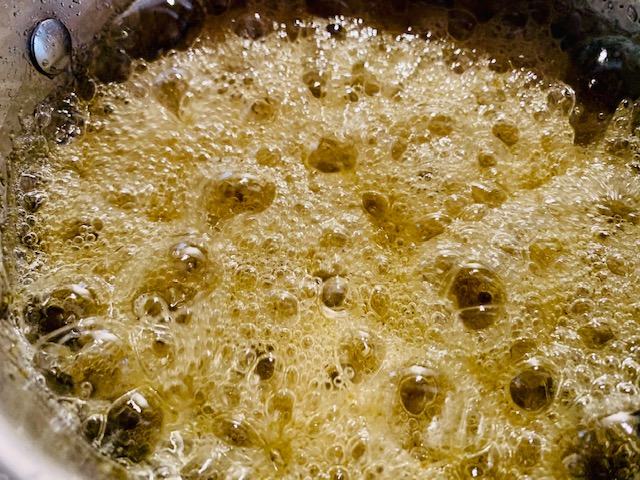
- Combine the 1 + 1/4 cup granulated sugar, water and two bags of chamomile tea into a small saucepan and bring to boil. Stir until sugar is totally dissolved. Once it boils, you should limit stirring, and begin to swirl the pan to keep it moving. Stirring interrupts the temperature increase and will cause this step to take longer. Reduce to a syrup (reaching MIN 240 degrees but not over 245) which will take 10-15 minutes or more.
- Mind your syrup temp. When it approached 175 degrees begin to beat the egg whites to soft peaks at high speed. If you achieve soft peaks before your syrup is ready, lower the speed to low but do not stop.
- Once the syrup has reached between 240 and 245 degrees, take off heat and give it a few good swirls to disperse any tea leaves that have clumped. Let it cool slightly (should not be boiling still!) before incorporating into egg whites
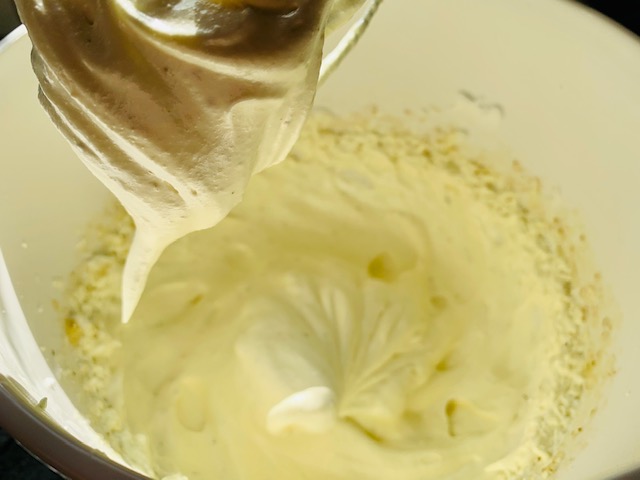
- SLOWLY drizzle the hot syrup into your soft peaked egg whites. Do this while your mixer is still actively whipping the egg whites. Continue to drizzle and whip until stiff, glossy peaks form (you will most likely not use all of the syrup.) If there is some hardened whites/syrup splatter up the sides of your mixing bowl, don’t worry about it. It should not impact the batter (it’s just splash up of the chamomile syrup that did not incorporate. You will have incorporated enough when the peaks are stiff and glossy so that splash up is fine where it is. You just made Italian Meringue!)
- Place silicone or parchment lined baking sheets/trays (with stencils underneath), pastry bag and tip close by. Once the batter is complete, you will be immediately piping it onto your baking surfaces!!!
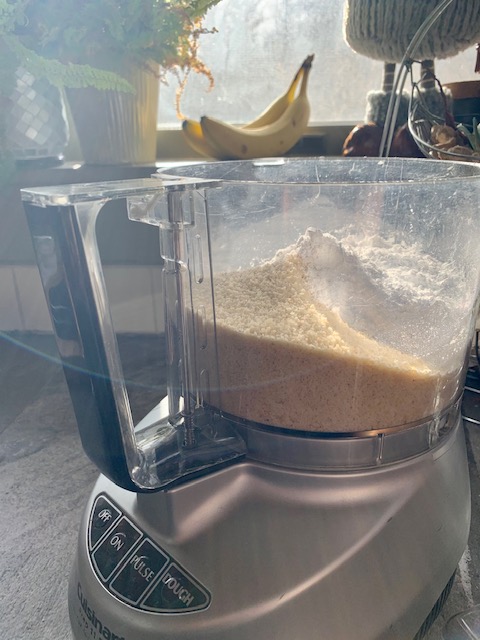
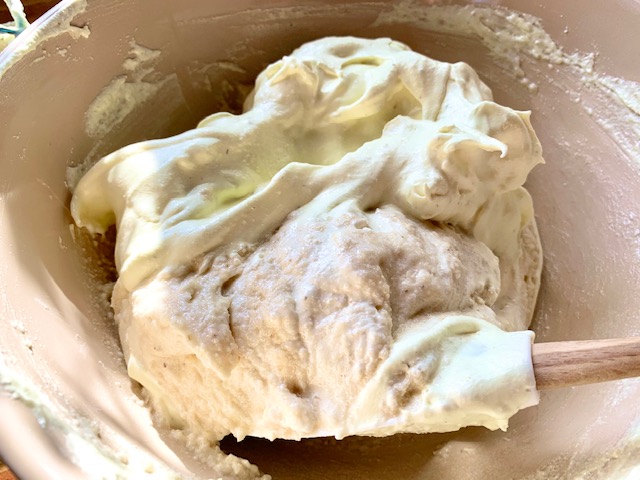
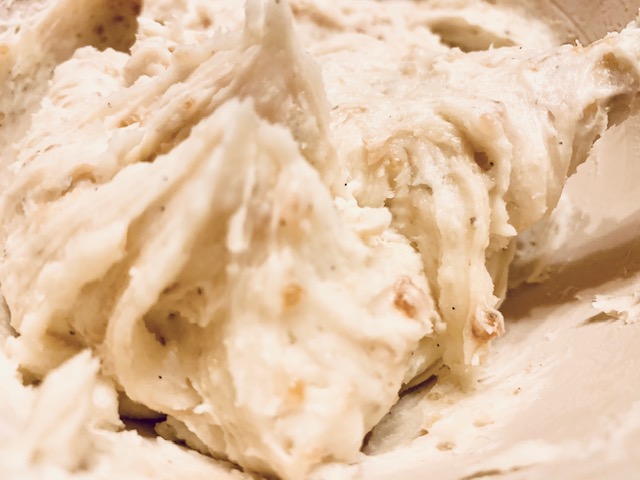
- Turn out half of the egg white mixture into your batter. Begin to fold gently in. (YES. Embrace your inner David Rose and…. think of it as ‘tucking the egg whites’ into the batter. Take your spatula and bring it towards you around the bowl, think taking it from noon to 6 o’clock, at a slight angle. Then LIFT the spatula and batter UP AND OVER the egg white fluff. Rotate the bowl a quarter turn to the left or right, depending on your dominant hand, and repeat motion. This slowly combines the two into a pillowy, textured batter. This, essentially, is folding. It mixes together both without deflating the Italian meringue.)
- Add in remaining egg white mixture and fully combine. The consistency should be like ‘lava’: slightly textured, thick yet it ‘flows’…where a ribbon of the batter takes a minute or so to fully blend in to the bulk of the batter.
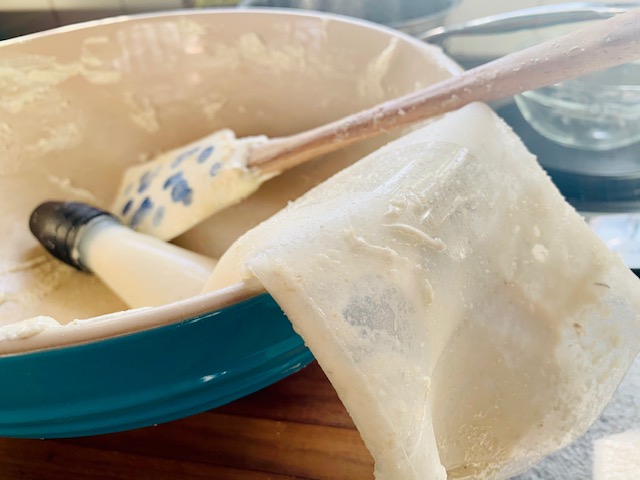
- Immediately fill your piping bag 2/3 full and twist the top to create a seal. As you pipe out the batter, you will continue to twist, keeping the bag taut and sealed. This also helps you control how much batter you are piping. It takes a bit to get used to. Those first ones will look like a hot mess. It’s fine. You’ll be piping over 80 of these, so… you’ll get better at it!LOL
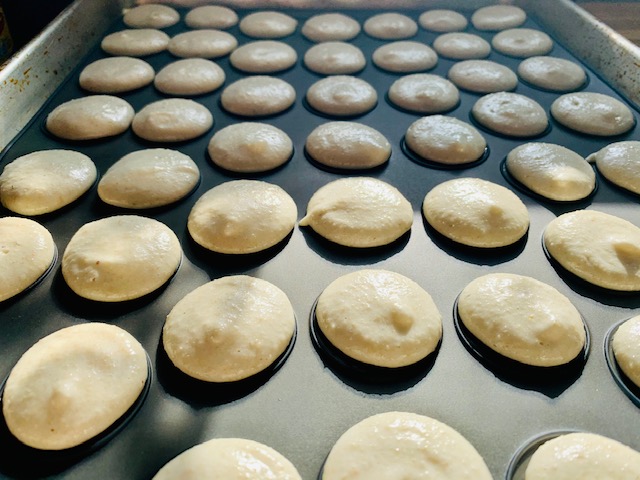
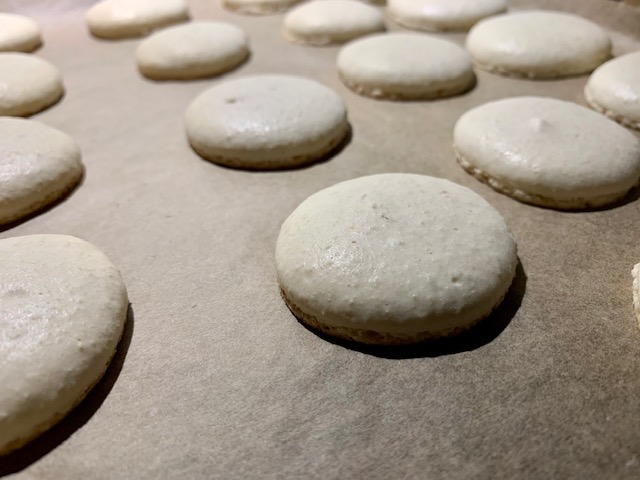
- Pipe out batter onto the parchment with your stencil UNDERNEATH. You want to leave at least 1/2 and inch between each shell but should be able to fit quite a few in each row. These cookies do not spread, but bake UP. Each shell will be roughly the size of a quarter or between 1 -1.25″. If it’s bigger than a half dollar, it’s way too big. Unlike chocolate chip cookies, these should be small and dainty. Think bite-sized. They pack a wallop in the flavor and sugar department (and more cookies means, well, more cookies.)
- Once both sheets are piped and you’ve removed your stencil(s), take each sheet and, gripping each side, tap a few times against the counter top. (Nothing major. Lifting the tray a few inches above the counter and letting it drop back down is fine.) Rotate tray and tap again. This encourages any major air bubbles to exit your shells. Now, they will rest for a bit.
- Begin preheating your oven to 350 during the rest period.
- Leave shells out on counter for a minimum of 30 minutes (the total time will depend on how humid your environment is) in order to rest (or dry) the batter. The goal is to be able to gently touch your fingertip to the top of a shell and NOT have it be sticky batter. It should form almost a thin SKIN on top. This process is what creates that incredible outer layer of your shell. The thin, crisp that forms the shape of a proper macaron shell. (It also gives them their feet!)
- Once your shells have dried appropriately, it’s time to go! One sheet at a time, on the middle rack.
- At 350 the shells should take between 8-10 minutes. Locations at higher altitudes may take a bit longer. Not much though. I set the timer to 8 minutes and began checking for doneness then. It is a very fine line between baked and browned. The goal is BAKED, not browned on the feet! This is where having a double lined baking pan makes the difference. If yours is just a sheet, you’ll need to mind the FEET!
- Once your first batch is done, remove and start next batch. Cool first batch on tray. Remove once FULLY cooled.
- The final step for your shells is to chill them. Chilling them just adds a bit to the chewiness of the shell (all that almond flour is taking on moisture and storing it.) CHILL, not LEAVE OUT AT ROOM TEMP. Room temp (unless it’s a cold, cold room) may dry out the shell, as the moisture will evaporate in a warm, dry room. If your heat is on, and you have a humidifier to sleep in your dwelling, its probably too dry in that room. Now, you can chill a few ways. Leave on cooling rack and put in a secure/unheated room, or fridge, or put in container with layers separated by parchment into fridge. I did not experience any drying out by leaving exposed (in unheated, COLD room) BUT if putting in fridge, so they don’t absorb any rogue fridge/food smells, I would cover. You can chill for a few hours, or overnight. As they chill, make your fillings. I use a a basic vanilla bean buttercream base for both of these fillings.
Batter building image references:

Piping, Resting and Baking image references:

Vanilla Bean Buttercream Base
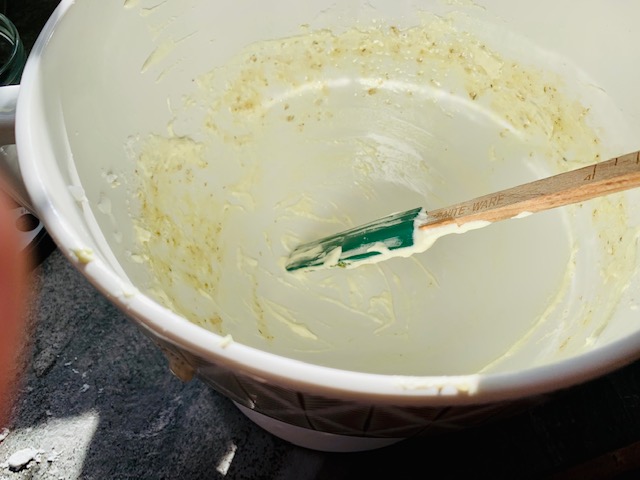
- Combine softened stick of butter and 3 cups of confectioner’s sugar in bowl (stand mixer, or just a bowl and hand mix.) Once combined, whip at high speed to add air in.
- Add in 1 tbsp vegetable shortening (this is optional, but I like as a stabilizer), 1 tbsp heavy cream and 1 tsp vanilla bean paste (or extract) and combine.
- Adjust buttercream as needed to preferred stiffness, sweetness. I added more confectioner’s sugar until I had a smooth, sweet frosting that was not too butter forward.
- Use as a filling on it’s own, or set aside to divide, color and flavor.
Raw Honey Chamomile Buttercream
- Take 1/4 cup base and add contents of 1 chamomile tea bag and 1 tbsp of crystallized raw honey
Lemon Buttercream
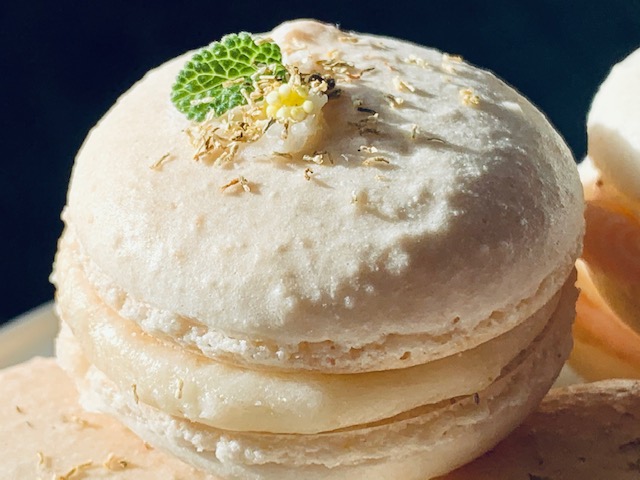
- Take 1/4 cup base and add the zest of 1/2 lemon (approx 1 tsp) and a drop of you choice of food coloring (I used pink for the raspberry lemon end flavor… color hinting at what was to come with that first bite.)
FILLING
Single step fillings (Chamomile Raw Honey)
- First take all shells and ‘match’ them. They will all be slightly different shapes and sizes, but this step allows you to organize before you fill and speeds up the process in the long run. A nice uniformly built cookie is the goal.
- Once matched, line a row of BOTTOMS with feet up, and row of their matched TOPS feet down.
- Fill piping bag fitted with 1/4inch tip with raw honey buttercream, twist down and begin to fill.
- TEST COOKIE: Place a dime sized amount of filling in the center of the BOTTOM shell. Take its match and top it, gently pushing down to spread the filling to the edges of the cookie. The filling should not be too thick or thin, nor should it go outside of the edges of the feet. Adjust your filling amount as needed to reach the optimal amount for the size of your finished shells. It may vary, but you will eventually know how much to pipe onto the bottom shell. I tend to pipe a amount that is 1/2 to 2/3rd the size of the bottom shell’s foot. This gives me a nice spread of the filling when topped. My preference, you may find you like more or less.
- Continue matching and filling as many times as needed to complete the total of macarons with your single filling.
Two Step Fillings (Raspberry Lemon)
- Match BOTTOM and TOP shells and line in rows
- Fill piping bag fitted with small round tip (star or whatever you might have on hand, just should be smaller than the tip you used for piping your shells or filling with single filling) with lemon buttercream.
- TEST COOKIE: Pipe a ’round’ of buttercream slightly inside the edge of the bottom shell’s foot. Go around the foot once or twice to build a small ‘WELL’ on the bottom shell.
- Take a small amount of raspberry preserves and place inside well.
- Place matched shell on top and gently push down, spreading buttercream to the edge of the feet.
- Adjust buttercream/preserve filling as needed and complete remainder of your two filling macarons.


Now, you eat the macarons!
YEAH!
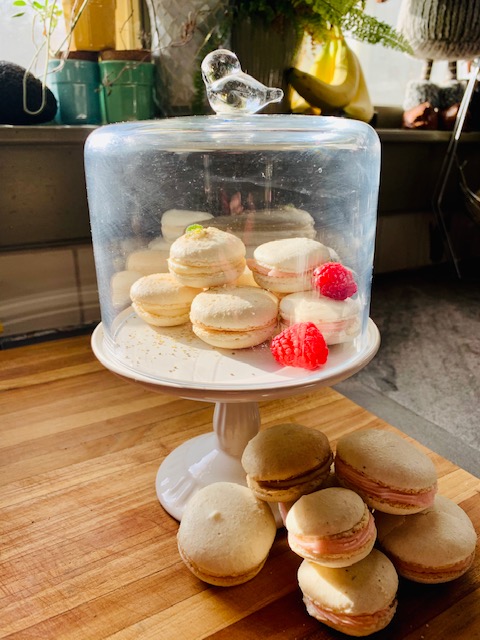
And store them. I recommend storing in an airtight container in fridge, layers separated by parchment.
You can also FREEZE these lil nuggets of yum. Freeze fully filled. Even frozen the shells/cookies will be delicate so be sure to place in an appropriate rigid container. These are not for freezer baggies, folks.
The batch I made a week ago is still perfectly moist and delicious in our airtight container in the fridge now. I made 40 completed cookies and after 7 days, RATIONING 2 cookies per person per day, we still have a few days left so I chose not to freeze. Yes, we are a counting household. 2 PER PERSON (unless you’re the baker then you get 3 heheh 😉 )
Once you get into the swing of things, though, I can imagine making several different batches, with several fillings and freezing a bunch for future enjoyment.
Equipment above basics for this recipe:
Piping Bag and tips Super easy to find, most likely at even your grocery or big box store, but here is a link to a great basic set. I found i fell in love with the silicone piping bag. It was very easy to manipulate and cleanup was a breeze. Most of these kits come with like 32 tips. Here is a link to a basic set that has one bag, several tips and rings. I don’t like cluttering my drawers, and certainly don’t want to clutter yours!

Macaron Silicone/Kit Now, full disclosure, I was gifted a macaron kit YEARS ago by my now hubby. I never used it, and with this project, opted to test which baking methods worked best for me and my kitchen equipment (aka ancient stove). I used parchment for one tray and the kit’s macaron silicone sheet for the other. While I feel like the parchment baked a better cookie, I DO like the templated silicone mat, and it will get use as I start making more and more batches. Here is a link to the kit I have (which includes a piping kit), and a basic Silicone mat in case you don’t have one yet.


KitchenAid Mixer w/whisk attachment Seriously, I use my mixer for SO much and it is a worthy investment. I’ve posted this link before, but it truly is a great kitchen staple and I’ll never NOT recommend it. The Pistachio is a great color too for a subtle accent in the kitchen. When you buy a mixer you also get all the basic attachments (dough hook, whisk, splatter shield, etc…)

Remember, complex recipes are a great chance to be mindful in the kitchen and engage in a bit of self-therapy. Jump in to that deep end, friends! You might just find an amazing new hobby!
Happy eating!

Oh wow! I love Macarons so much, but I’m so afraid to try because it’s so complicated and everything has to be just right. Yours came out so amazing! They look perfect with the raspberries! 🙂 🙂 p.s. I also have a food blog, it would be so amazing if you checked it out! 🙂 🙂
LikeLiked by 1 person