
For years, I dreaded trying to make French Macarons at home. The instructions were complicated. The ingredients EXPENSIVE. There were so many “if you do THIS, they will be horrible” caveats in the posts that I over-hyped the difficulty and under-anticipated that even poorly executed macs are DELICIOUS. And the worst thing? I stopped myself from learning how to make one of my favorite sweet treats.
FOR SHAME.
When I eventually tried making them, I went in DEEP. A Honeyed Chamomile Macaron, in the Italian method (with the Bouchon Bakery’s base recipe) and honestly… even with sub-par ingredients, they were sublime.
That spring-boarded me into trying many MANY different methods due to:
- Batch size
- Ease of meringue making
- Confidence of the poster
- Excitement of learning what HAS to be the perfect recipe, right? One that is consistently amazing and EASY? HUZZAH, someone finally cracked the CODE! *insert eyeroll here*
Honestly, not one of them compared to the first recipe I made.
Not. One.
Granted, the feet were a bit smaller on them, but I found that big feet = dry and brittle. Ugh.. who wants a DRY MACARON? Not I, folks, not I.
There are other links out there to this basic shell (one can be found in Bouchon Bakery’s cookbook for the Vanilla Macaron… I mean, give credit where credit is due, right? Link below!) but nothing that I could find that was just the basics of shell making without coloring or flavors or anything extra added.
Here is a BASE SHELL recipe for your baking archives. Bookmark as a reference, or follow our site and find it in our archives…
This is so you can take ONE SHELL RECIPE and learn to adjust and create on your own.
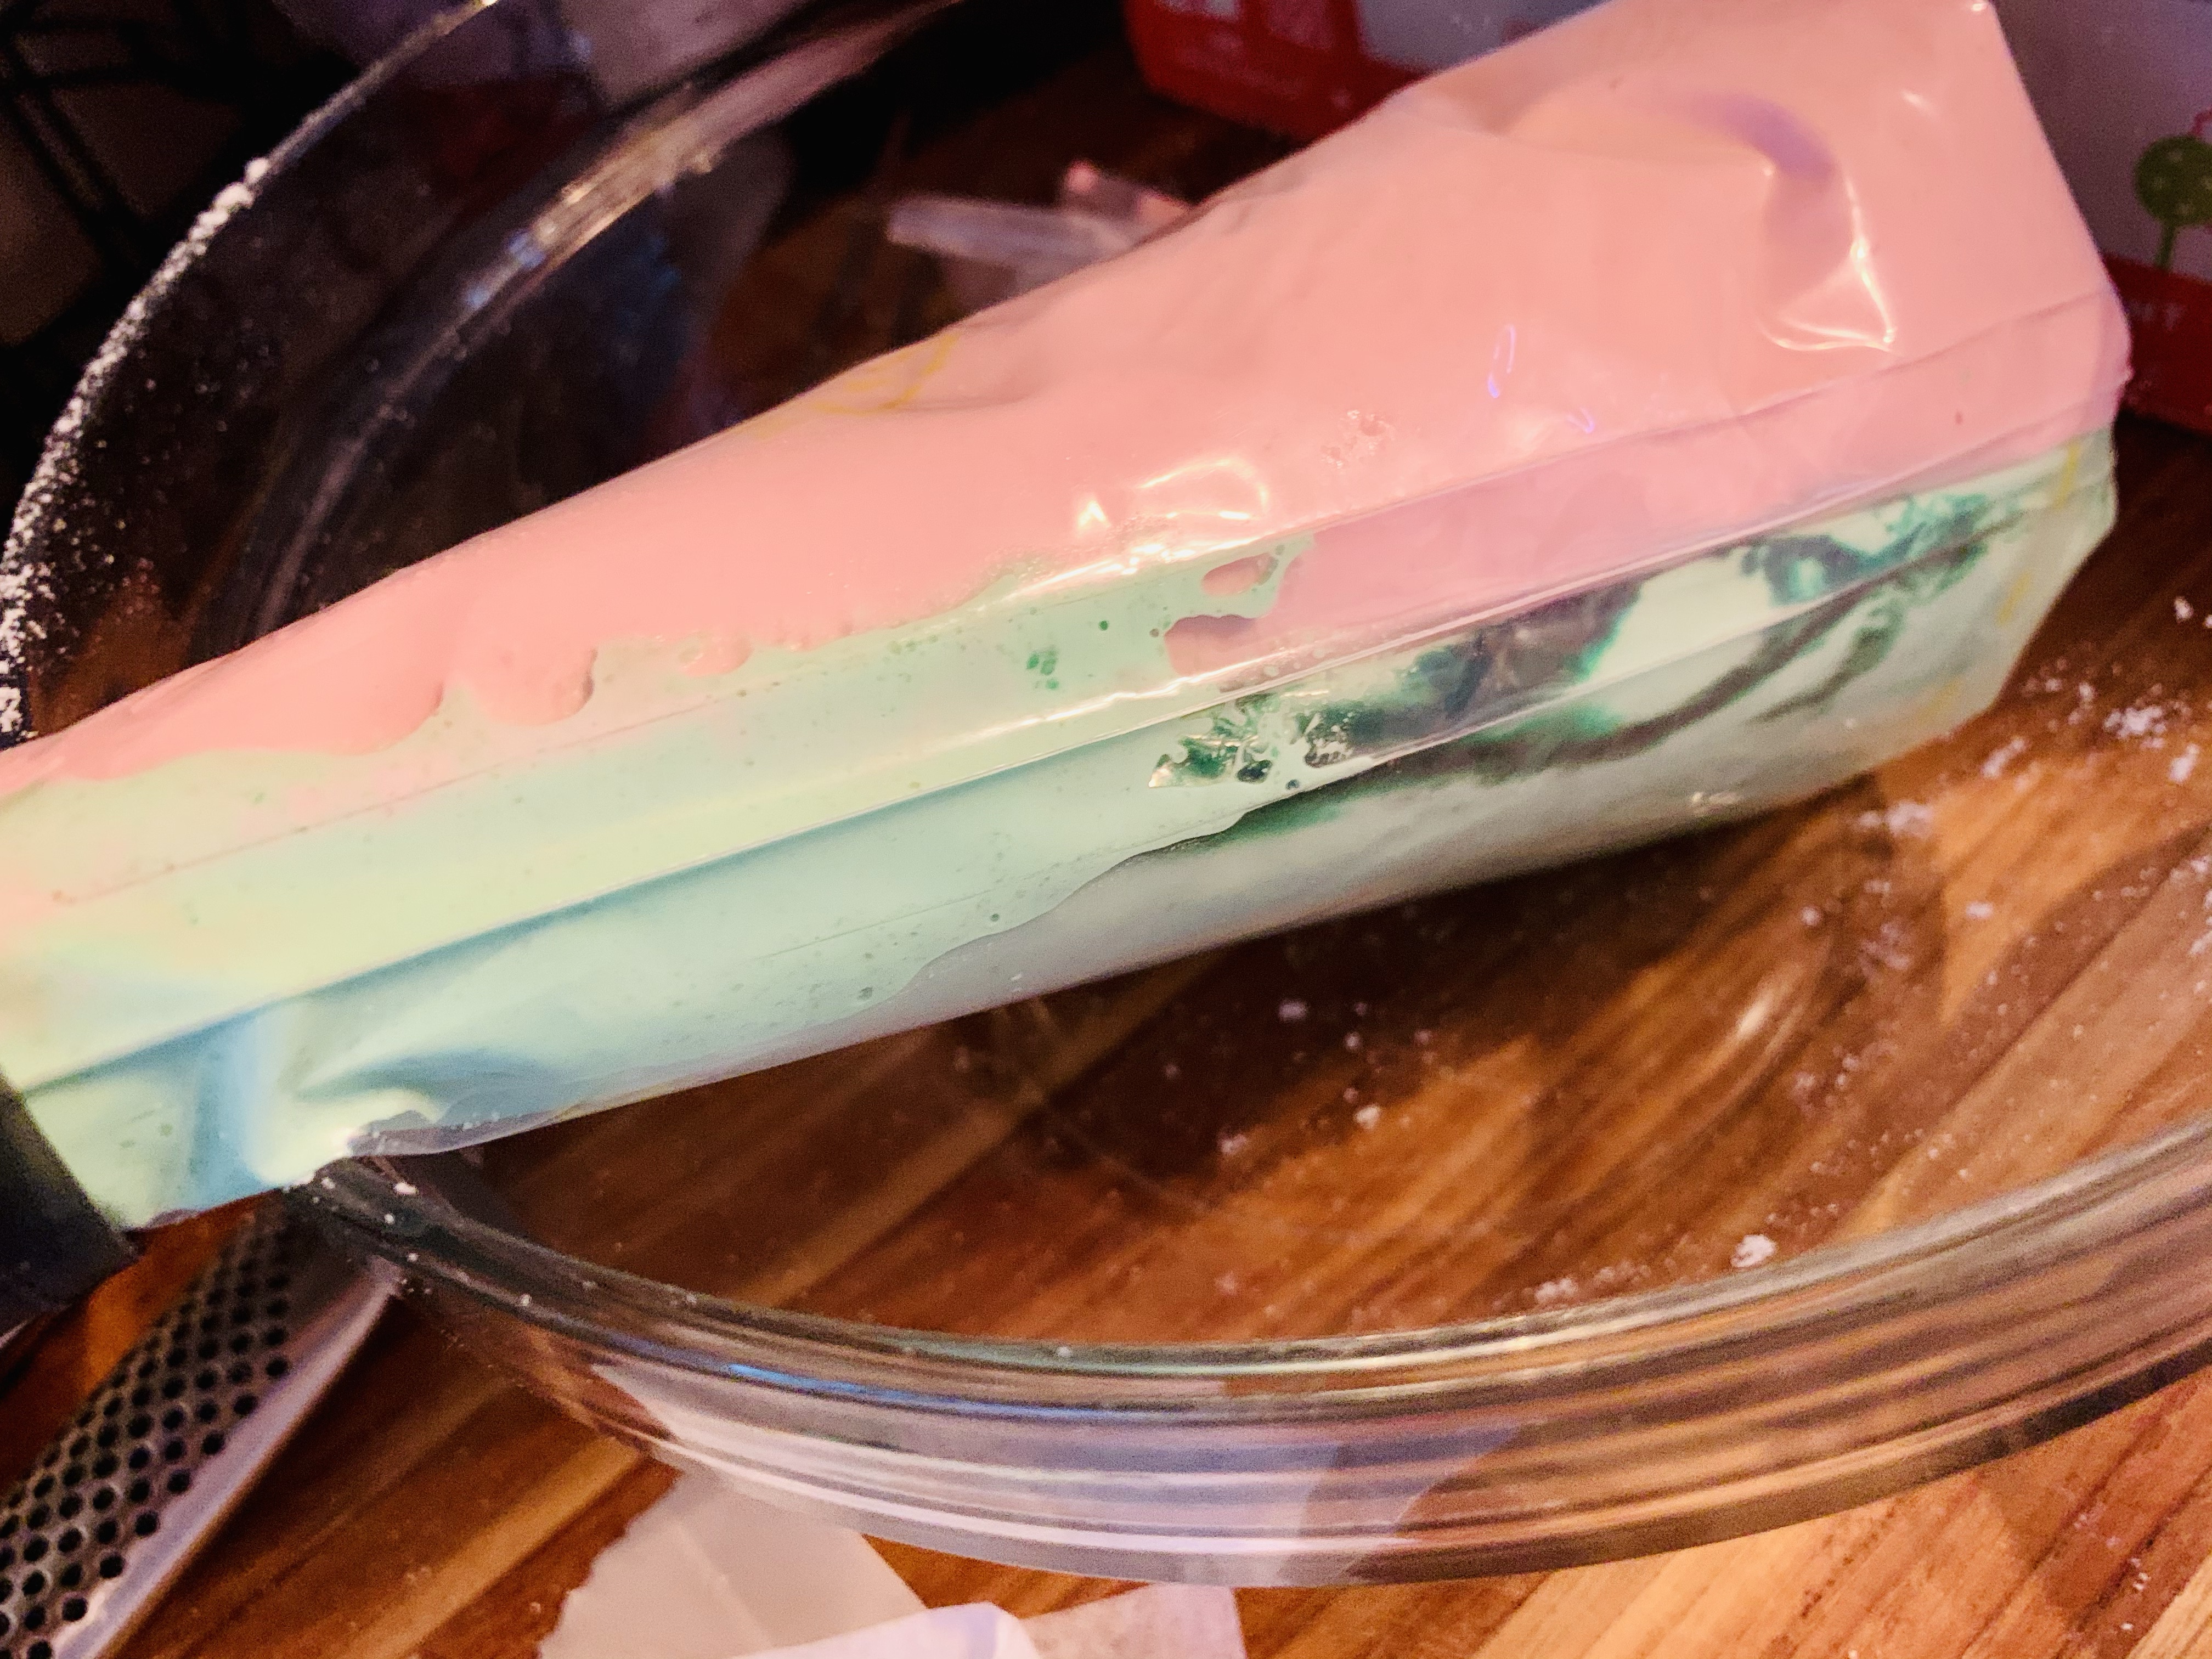
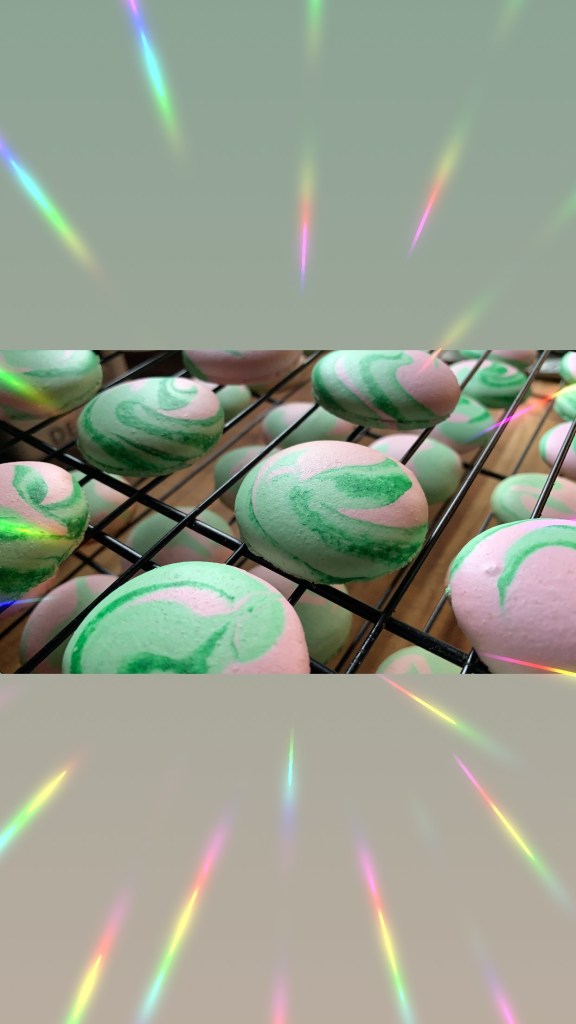
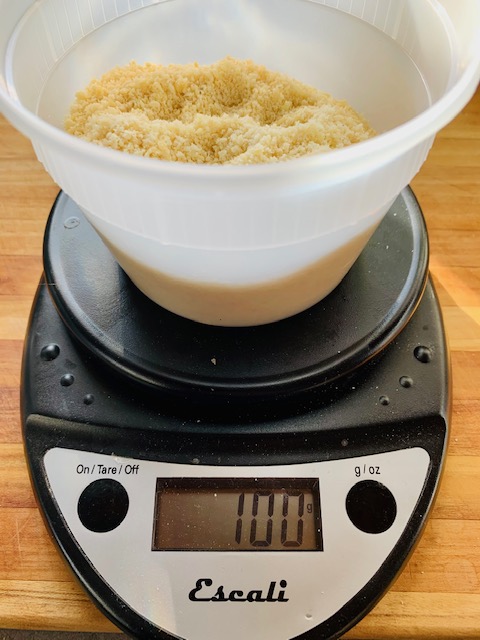
I’ve used this for many different kinds of macs… and even played around with splitting and coloring the batch differently for my Salted Watermelon Poppyseed Macarons… you WILL need a kitchen scale (link below to a basic and inexpensive one that 100% has exceeded our expectations for the last 10 years). While you CAN make macarons with the Italian Method without a stand mixer, it does make it easier to manage when you can be ‘hands-free’ for the meringue portion… BUT what I have found, is that you can even use a hand mixer… you will just need to be prepared to whip up those egg whites tout de suite once your syrup is to temp (more on that below…)
Let’s get after it, shall we?
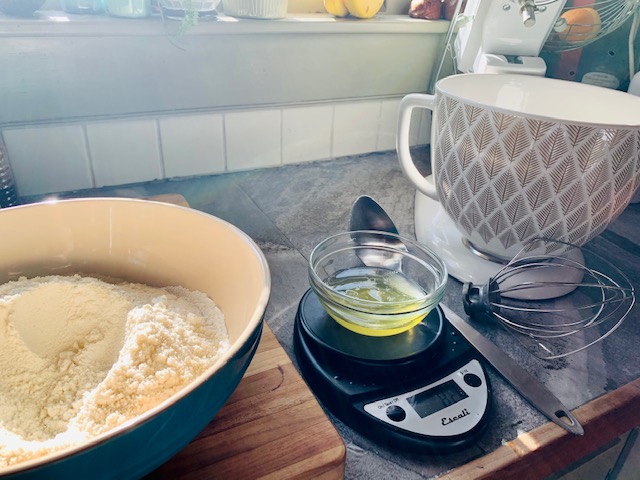
Ingredients
- 212g superfine Almond Flour (I fully endorse Bob’s Red Mill Super Fine flour… after trying MANY other kinds this is the finest grind out there on the common market…link below)
- 212g confectioner’s sugar
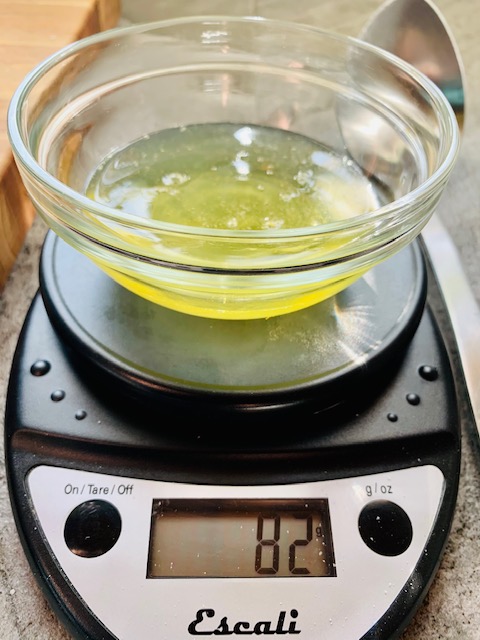
- 82g and 90g egg whites at room temp and separated into their own containers
- 236g granulated sugar (+ 1 pinch for egg whites)
- 158g water
Instructions
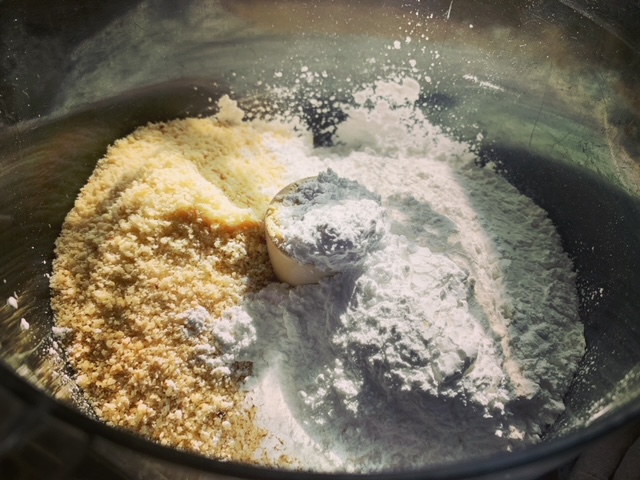
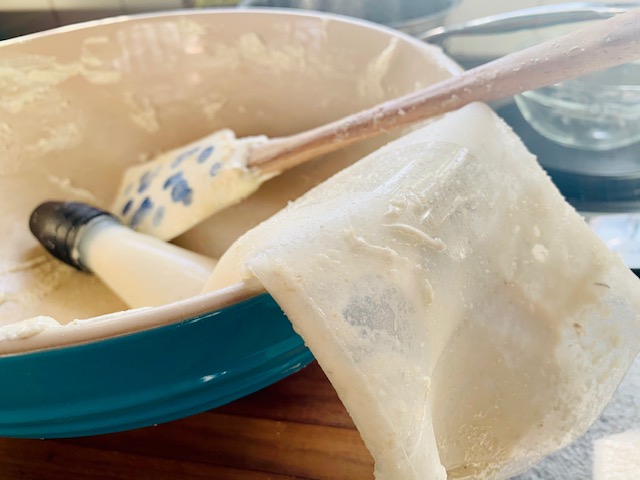
- Take your confectioner’s sugar and almond flour and place in food processor and pulse to fully combine. I don’t find this is necessary to make the grind on the almond flour finer, but it fully incorporates the two dry ingredients better than mixing on your own in a bowl.
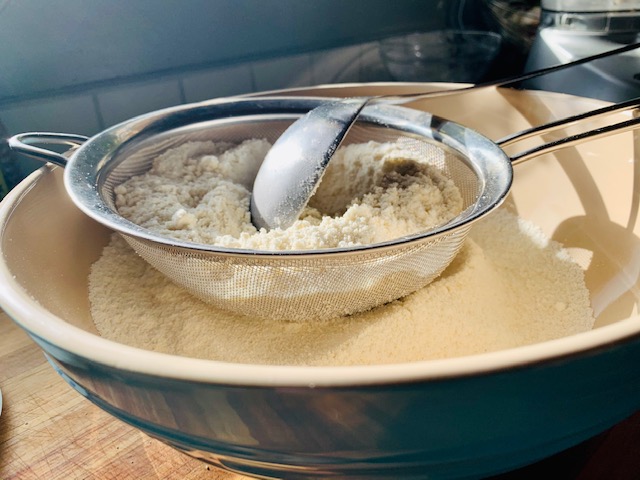
- Once pulsed, take dry mixture and pass through a fine mesh sieve into a large bowl. Using a large spoon often helps sift this quicker. This is to remove any flour particles that are too large and will impact the smoothness of the top of your shell. You will wind up with approx. 1 tsp of solids in the sieve. Don’t worry! Just toss them!
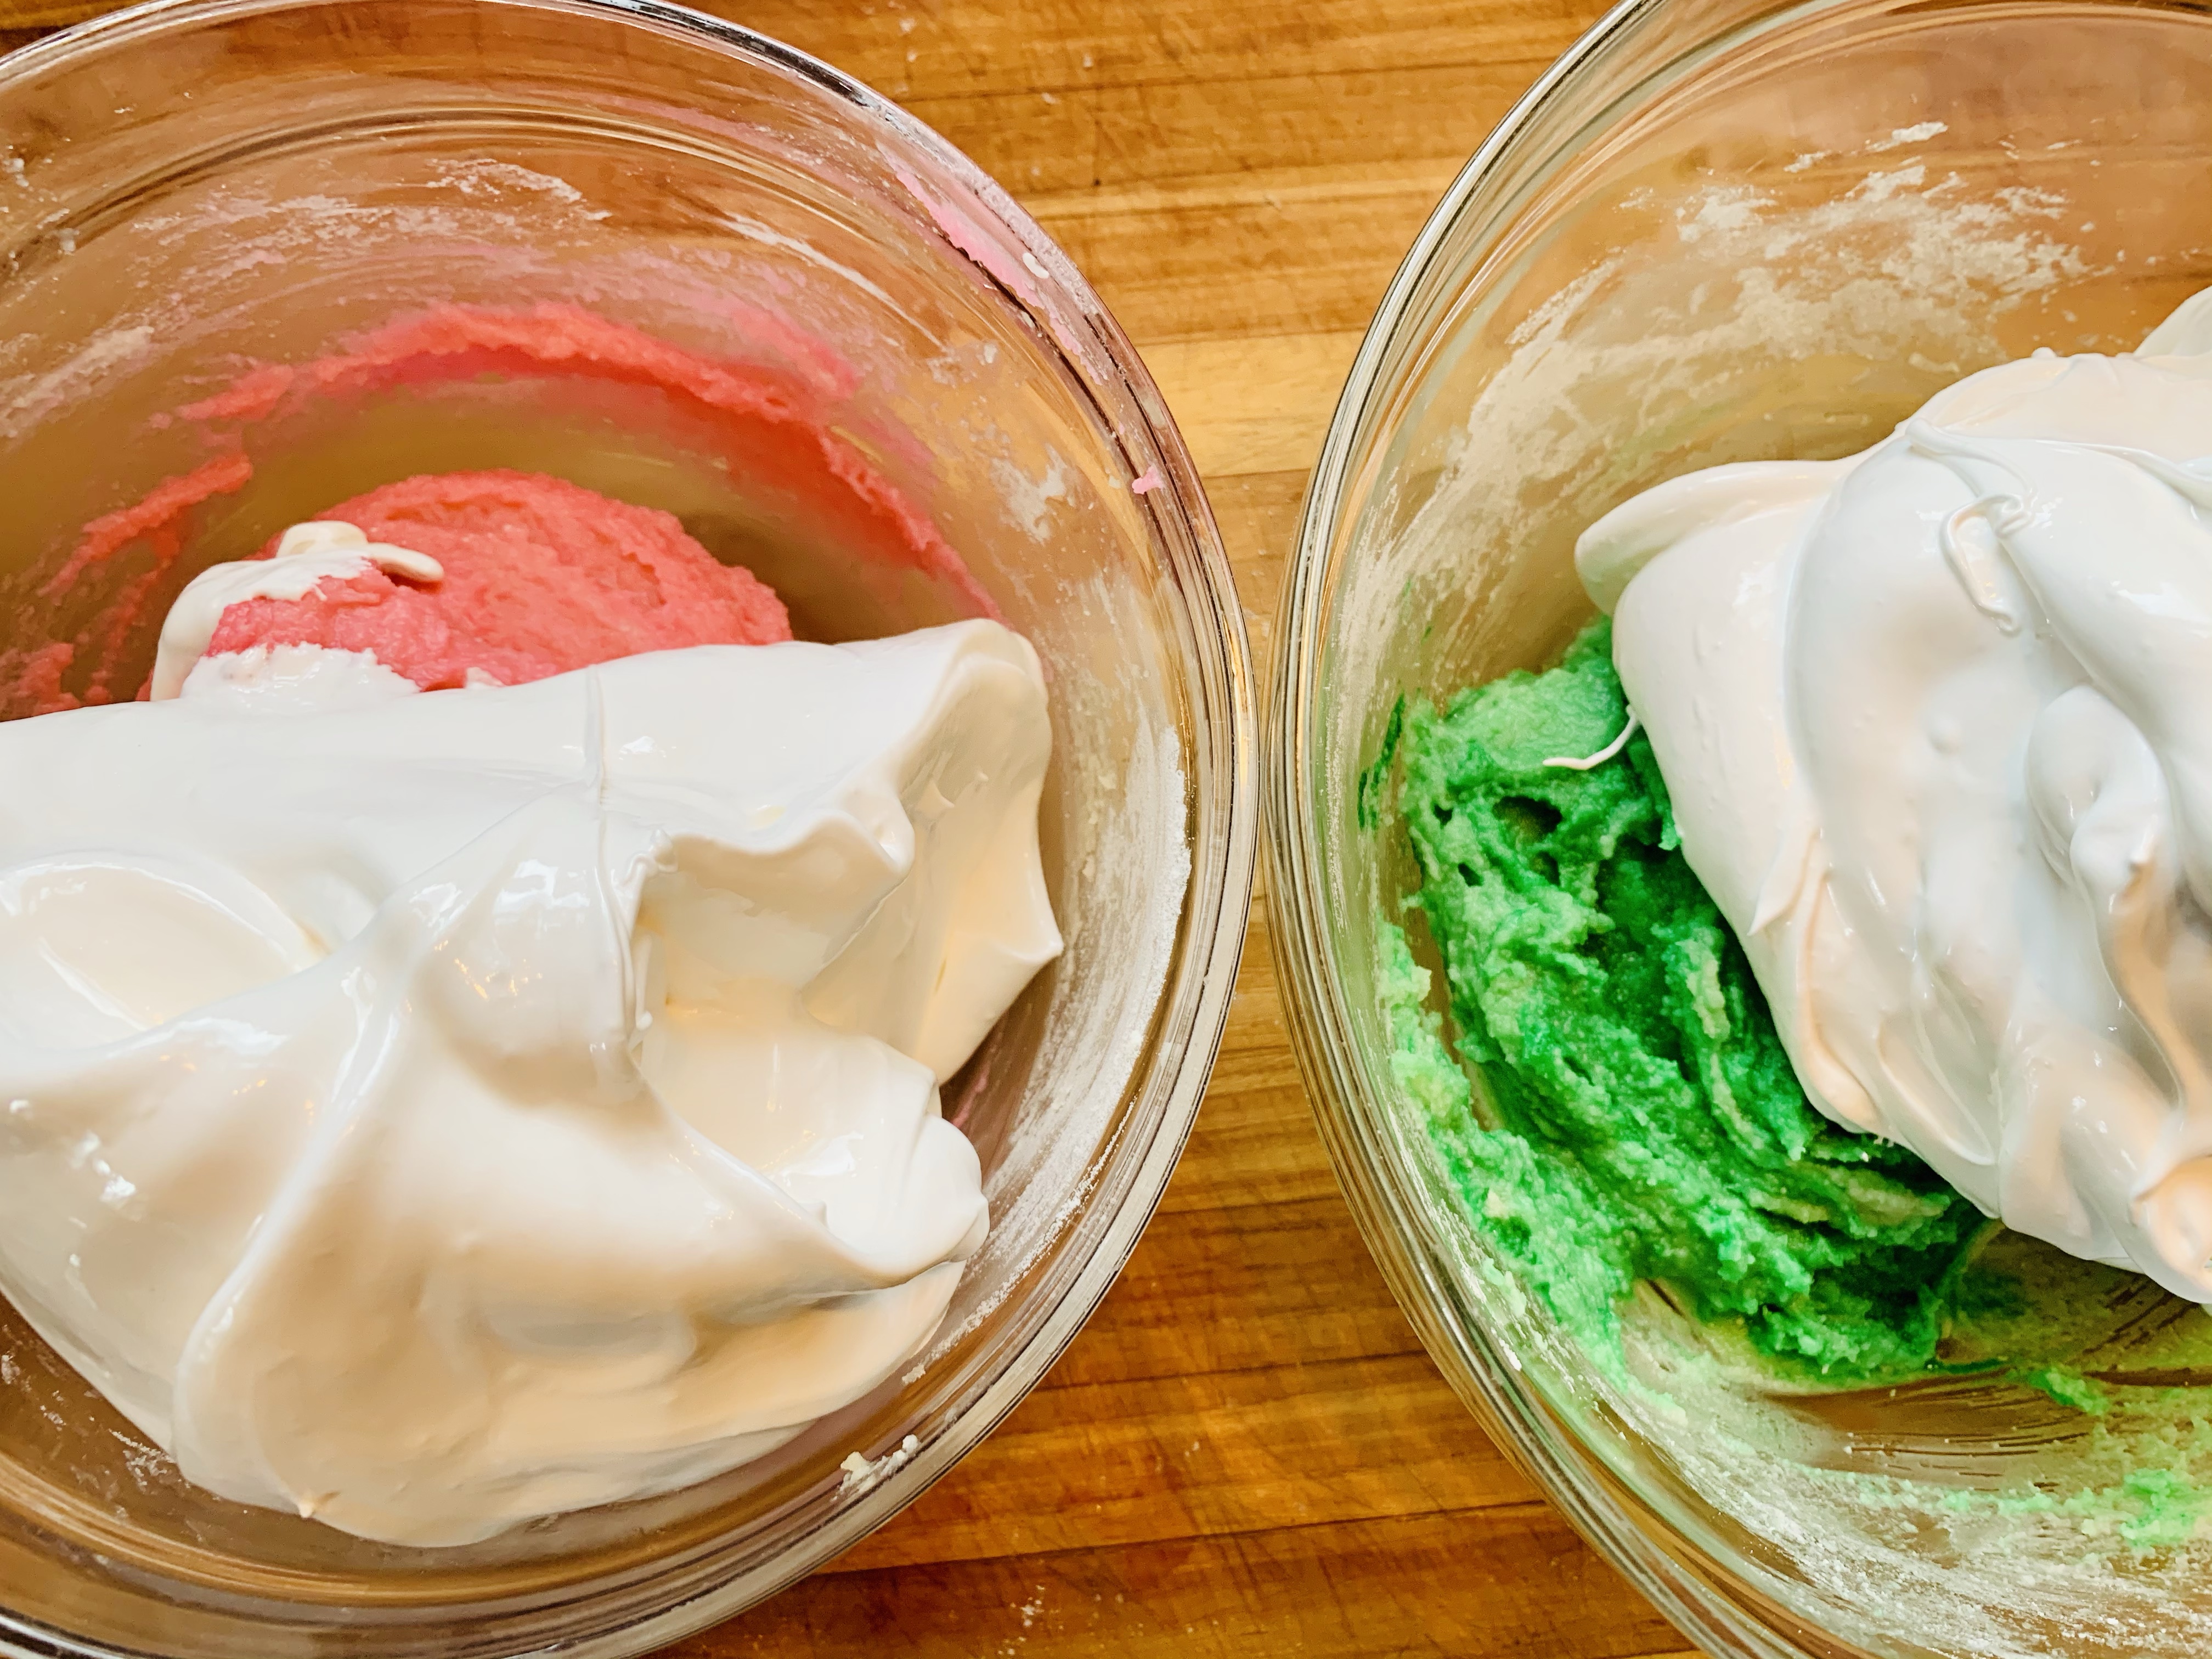
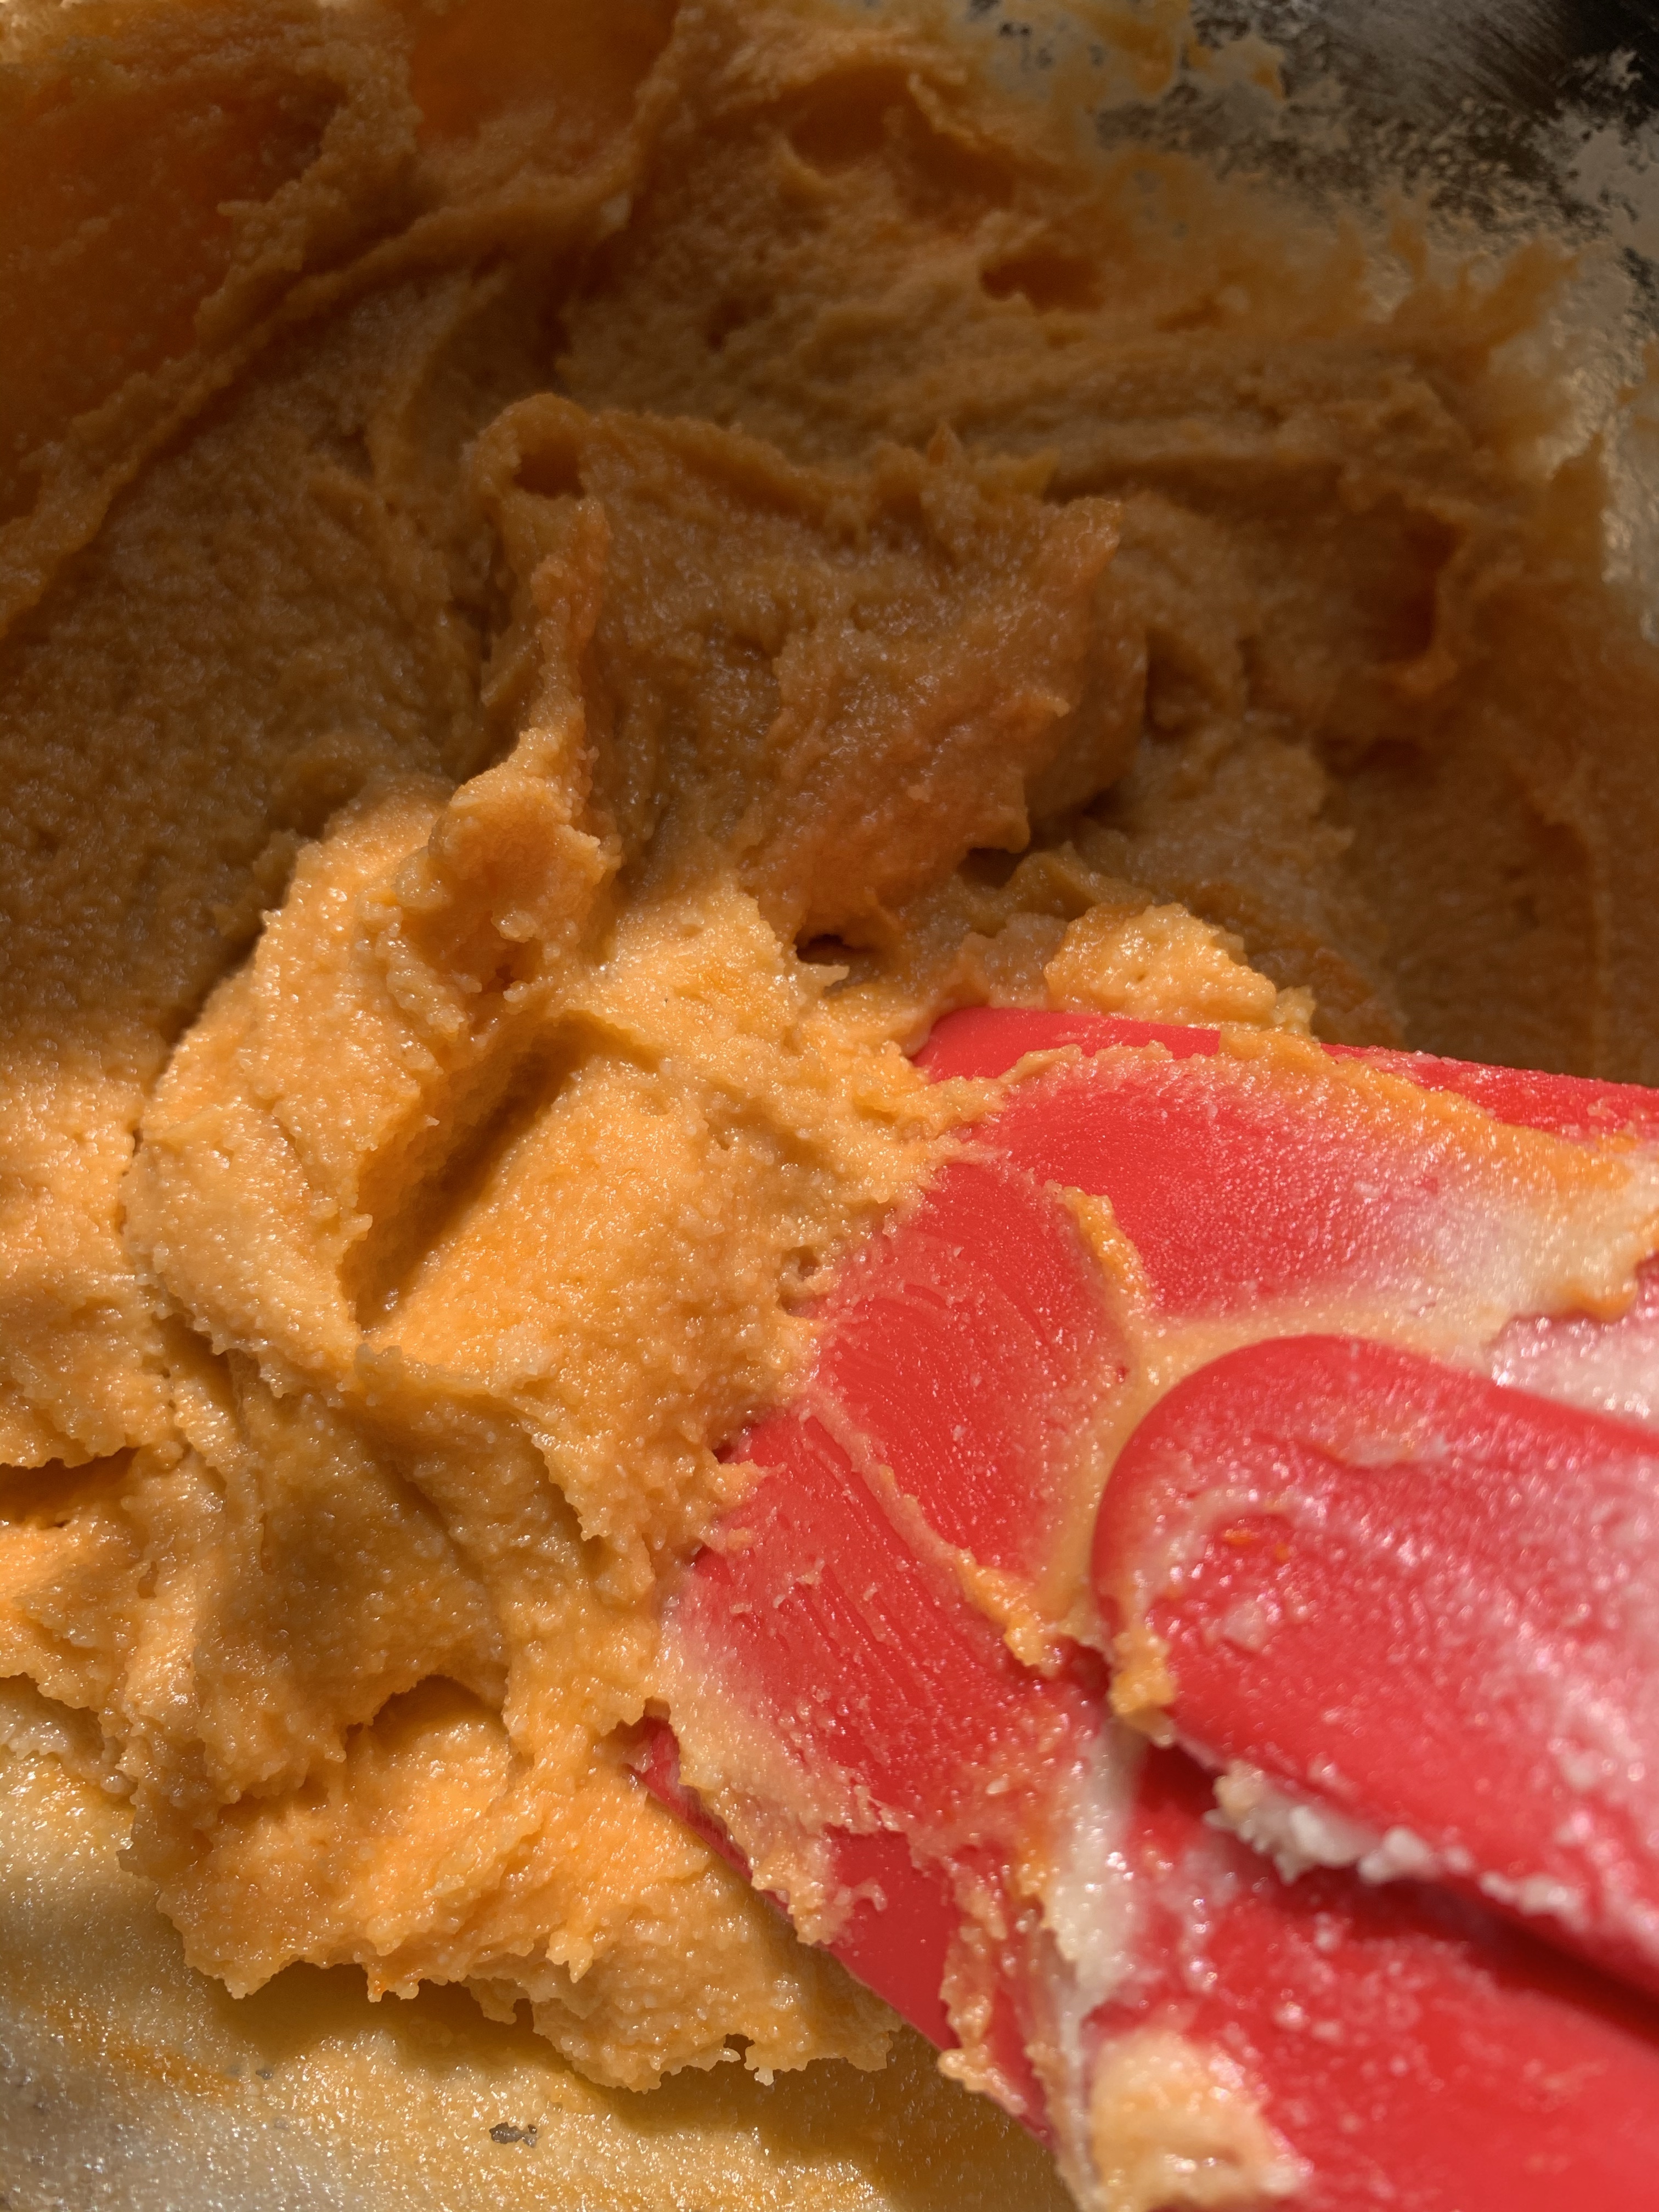
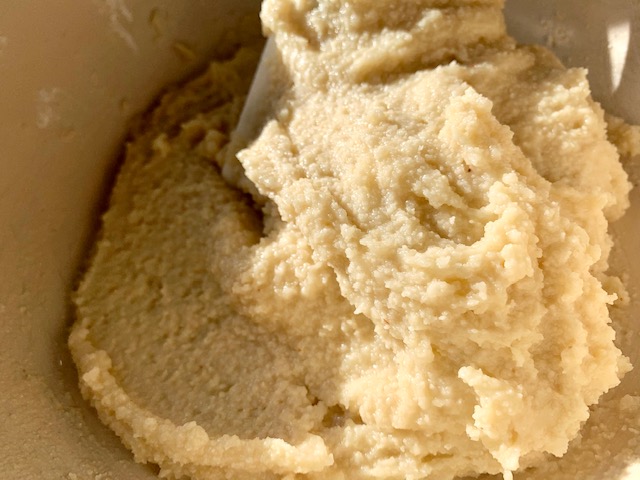
- Take the 82g of room temp egg whites and mix into the dry ingredients. It will form a thick paste. (NOTE: it is at this point, if you are coloring or tinting your shells that you would add your gel coloring. Gel coloring maintains color better during the baking process and will also last you a LONG LONG time.)
- Take the 90gs of egg whites and place in the bowl of a stand mixer (if not using a stand mixer, place in medium sized mixing bowl and then go prep your syrup.)
- Combine 158g of water and 236g of granulated sugar into a small saucepan. Turn heat to high and stir frequently until all sugar is dissolved.
- Once dissolved, simply swirl the pan to mix your syrup… using a spoon will drop the temp each time you insert it… and you want to get this to a certain temp so just swirl it!
- Bring wet mixture to a rapid boil, swirling if you see the bottom heating unevenly.
- Using a candy thermometer (or any sort of instant read, honestly) monitor the temperature of the mixture. Swirling every so often.
- Once the temp hits 220 degrees, if you are using the stand mixer, add the pinch of granulated sugar to the whites in the mixer bowl and begin to whip the whites to soft peaks. You will be monitoring the whites AND the temp of the syrup at the same time… you want to bring the syrup to between 245 and 248 degrees. DO NOT EXCEED 248 degrees (when you get above 248 you begin to get into hard ball stage and that, my friends, is candy not syrup LOL). If your whites get to soft peak too soon, simply lower the speed on the mixer to low to keep them moving. You can whip them back up pretty quickly when needed.
- If you are NOT using a stand mixer, you will need to bring your syrup to temp and shut off the heat, THEN IMMEDIATELY bring your whites to soft peaks with the hand mixer quickly.
- When your syrup is at 248, remove from heat to allow to slightly cool… you do not want to add in boiling hot syrup and accidentally cook your egg whites!
- Once the syrup has cooled slightly (a minute is really all you need), very slowly drizzle a small stream of the syrup down the inside of the mixing bowl as you are whipping the soft peaked whites.
- DRIZZLE A SMALL STREAM VERY SLOWLY DOWN THE INSIDE OF THE MIXING BOWL. Too fast or too much and you will cook your whites.
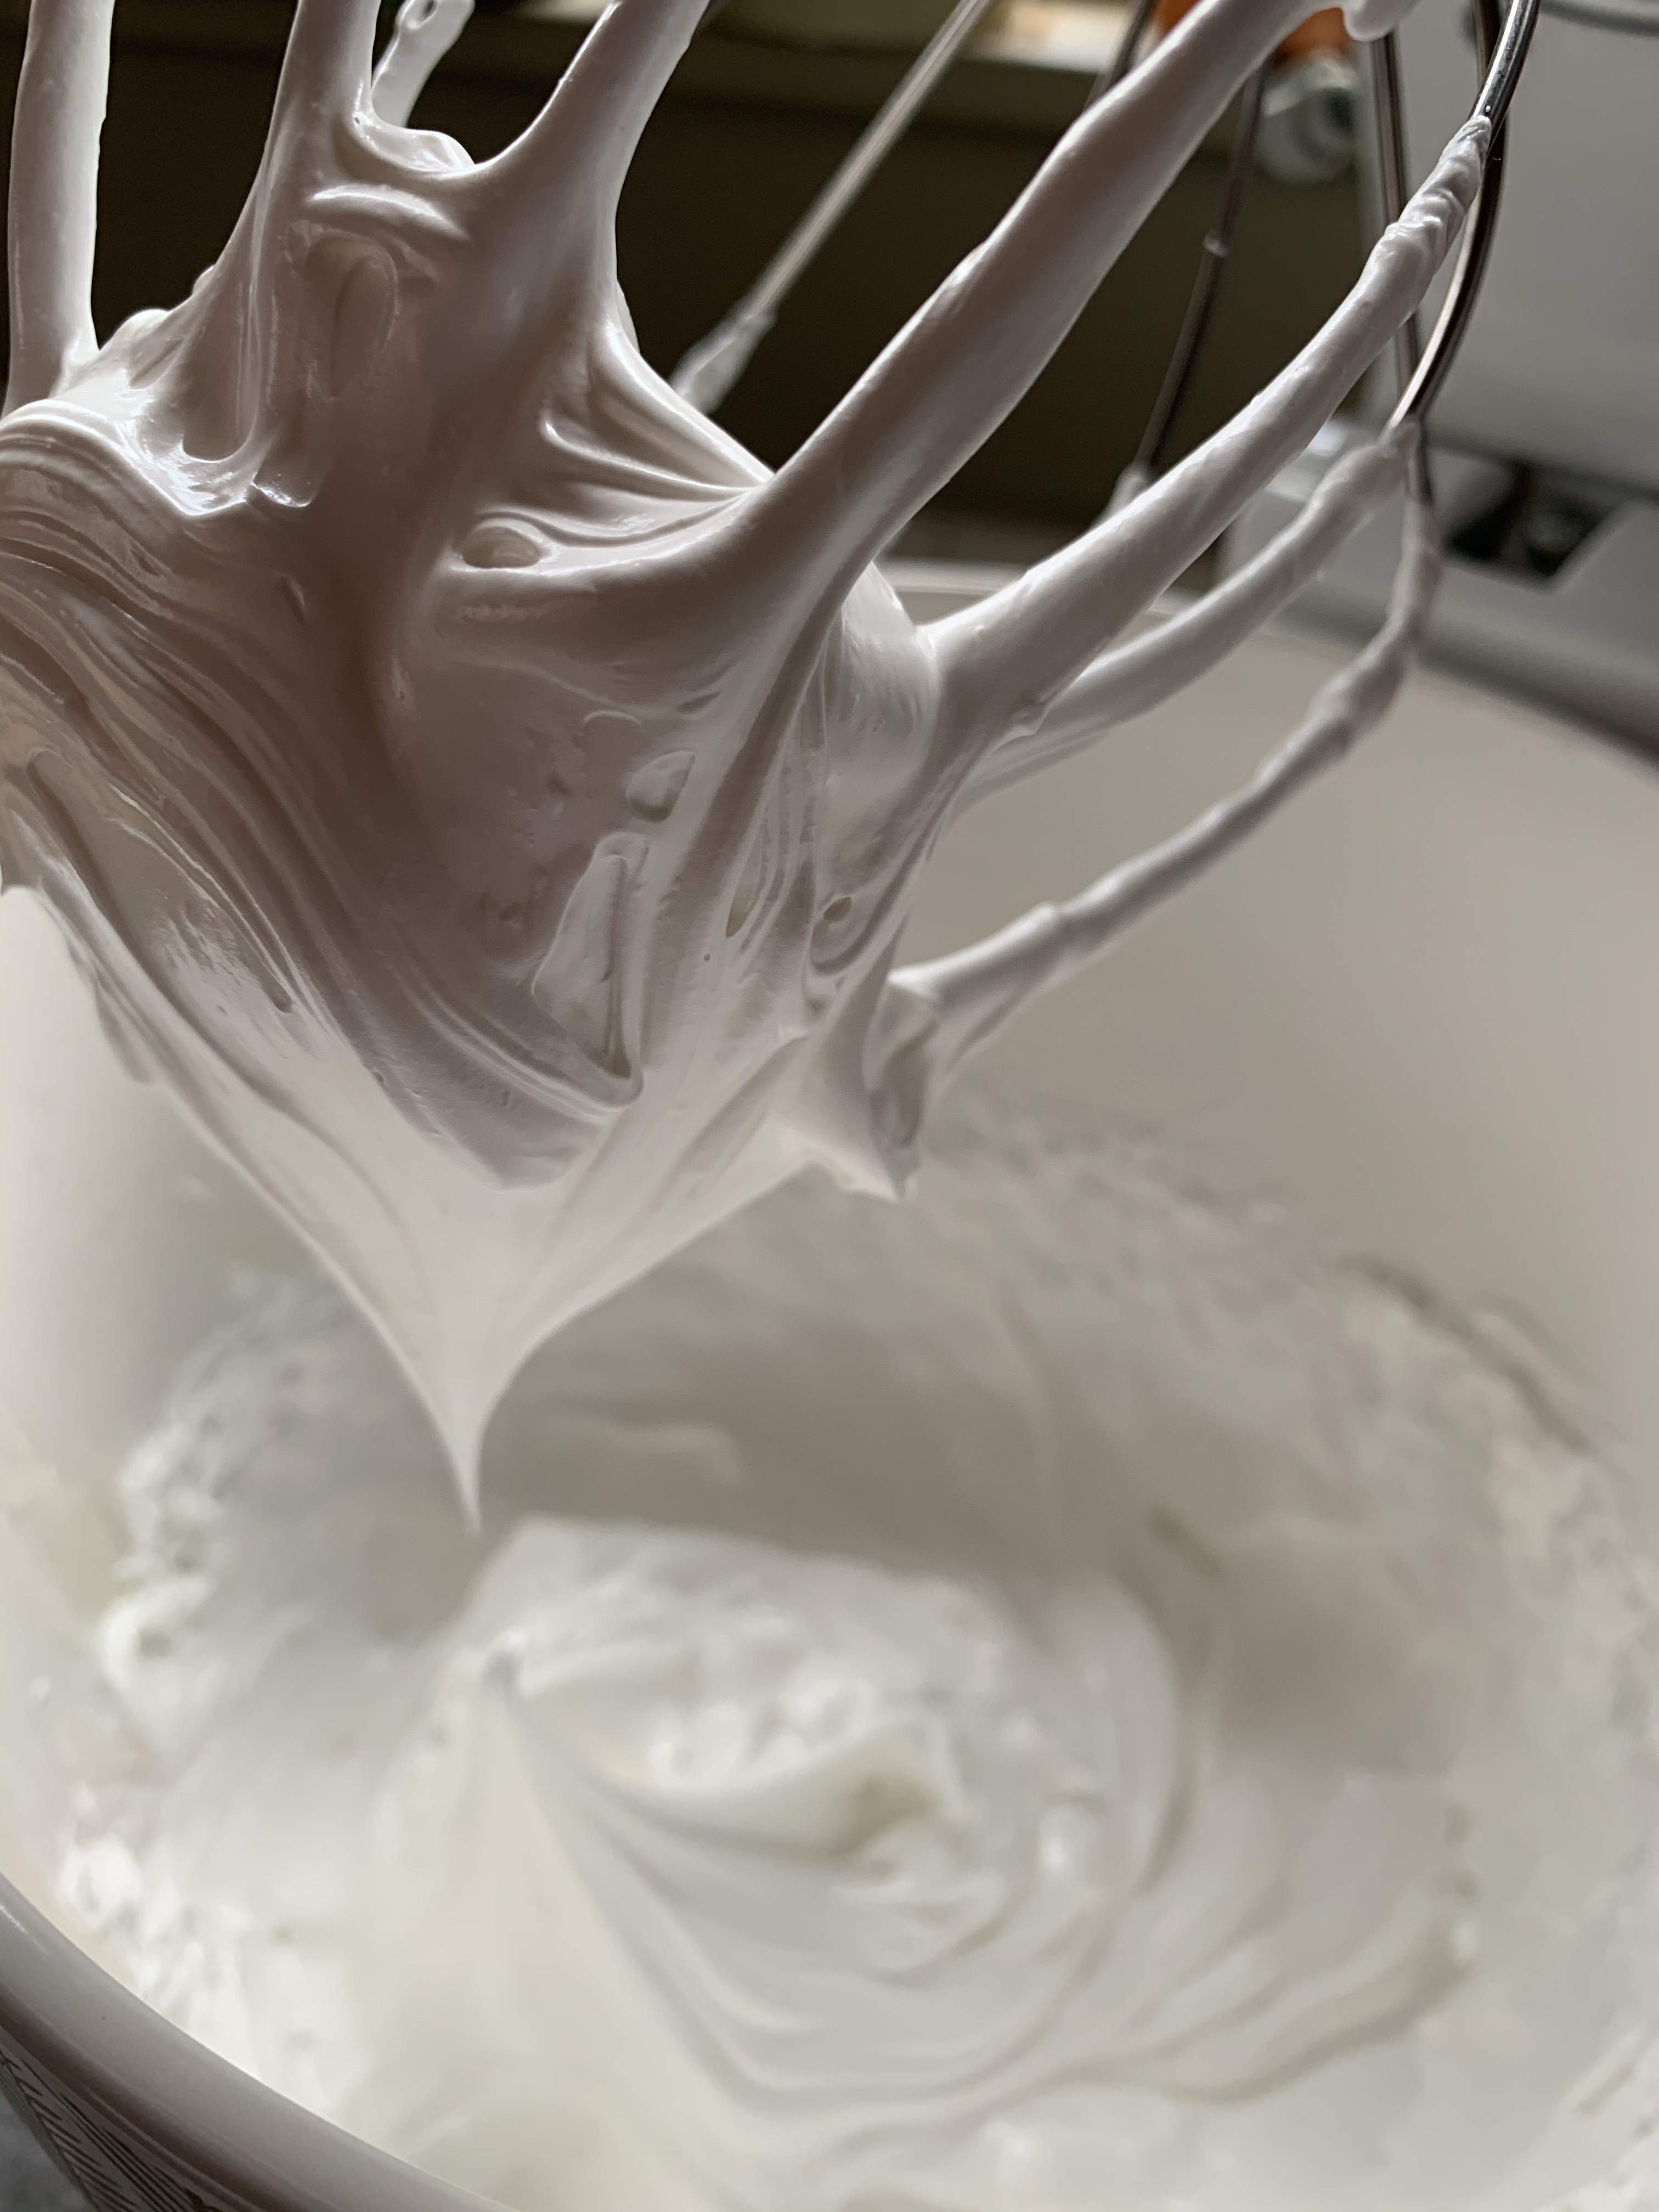
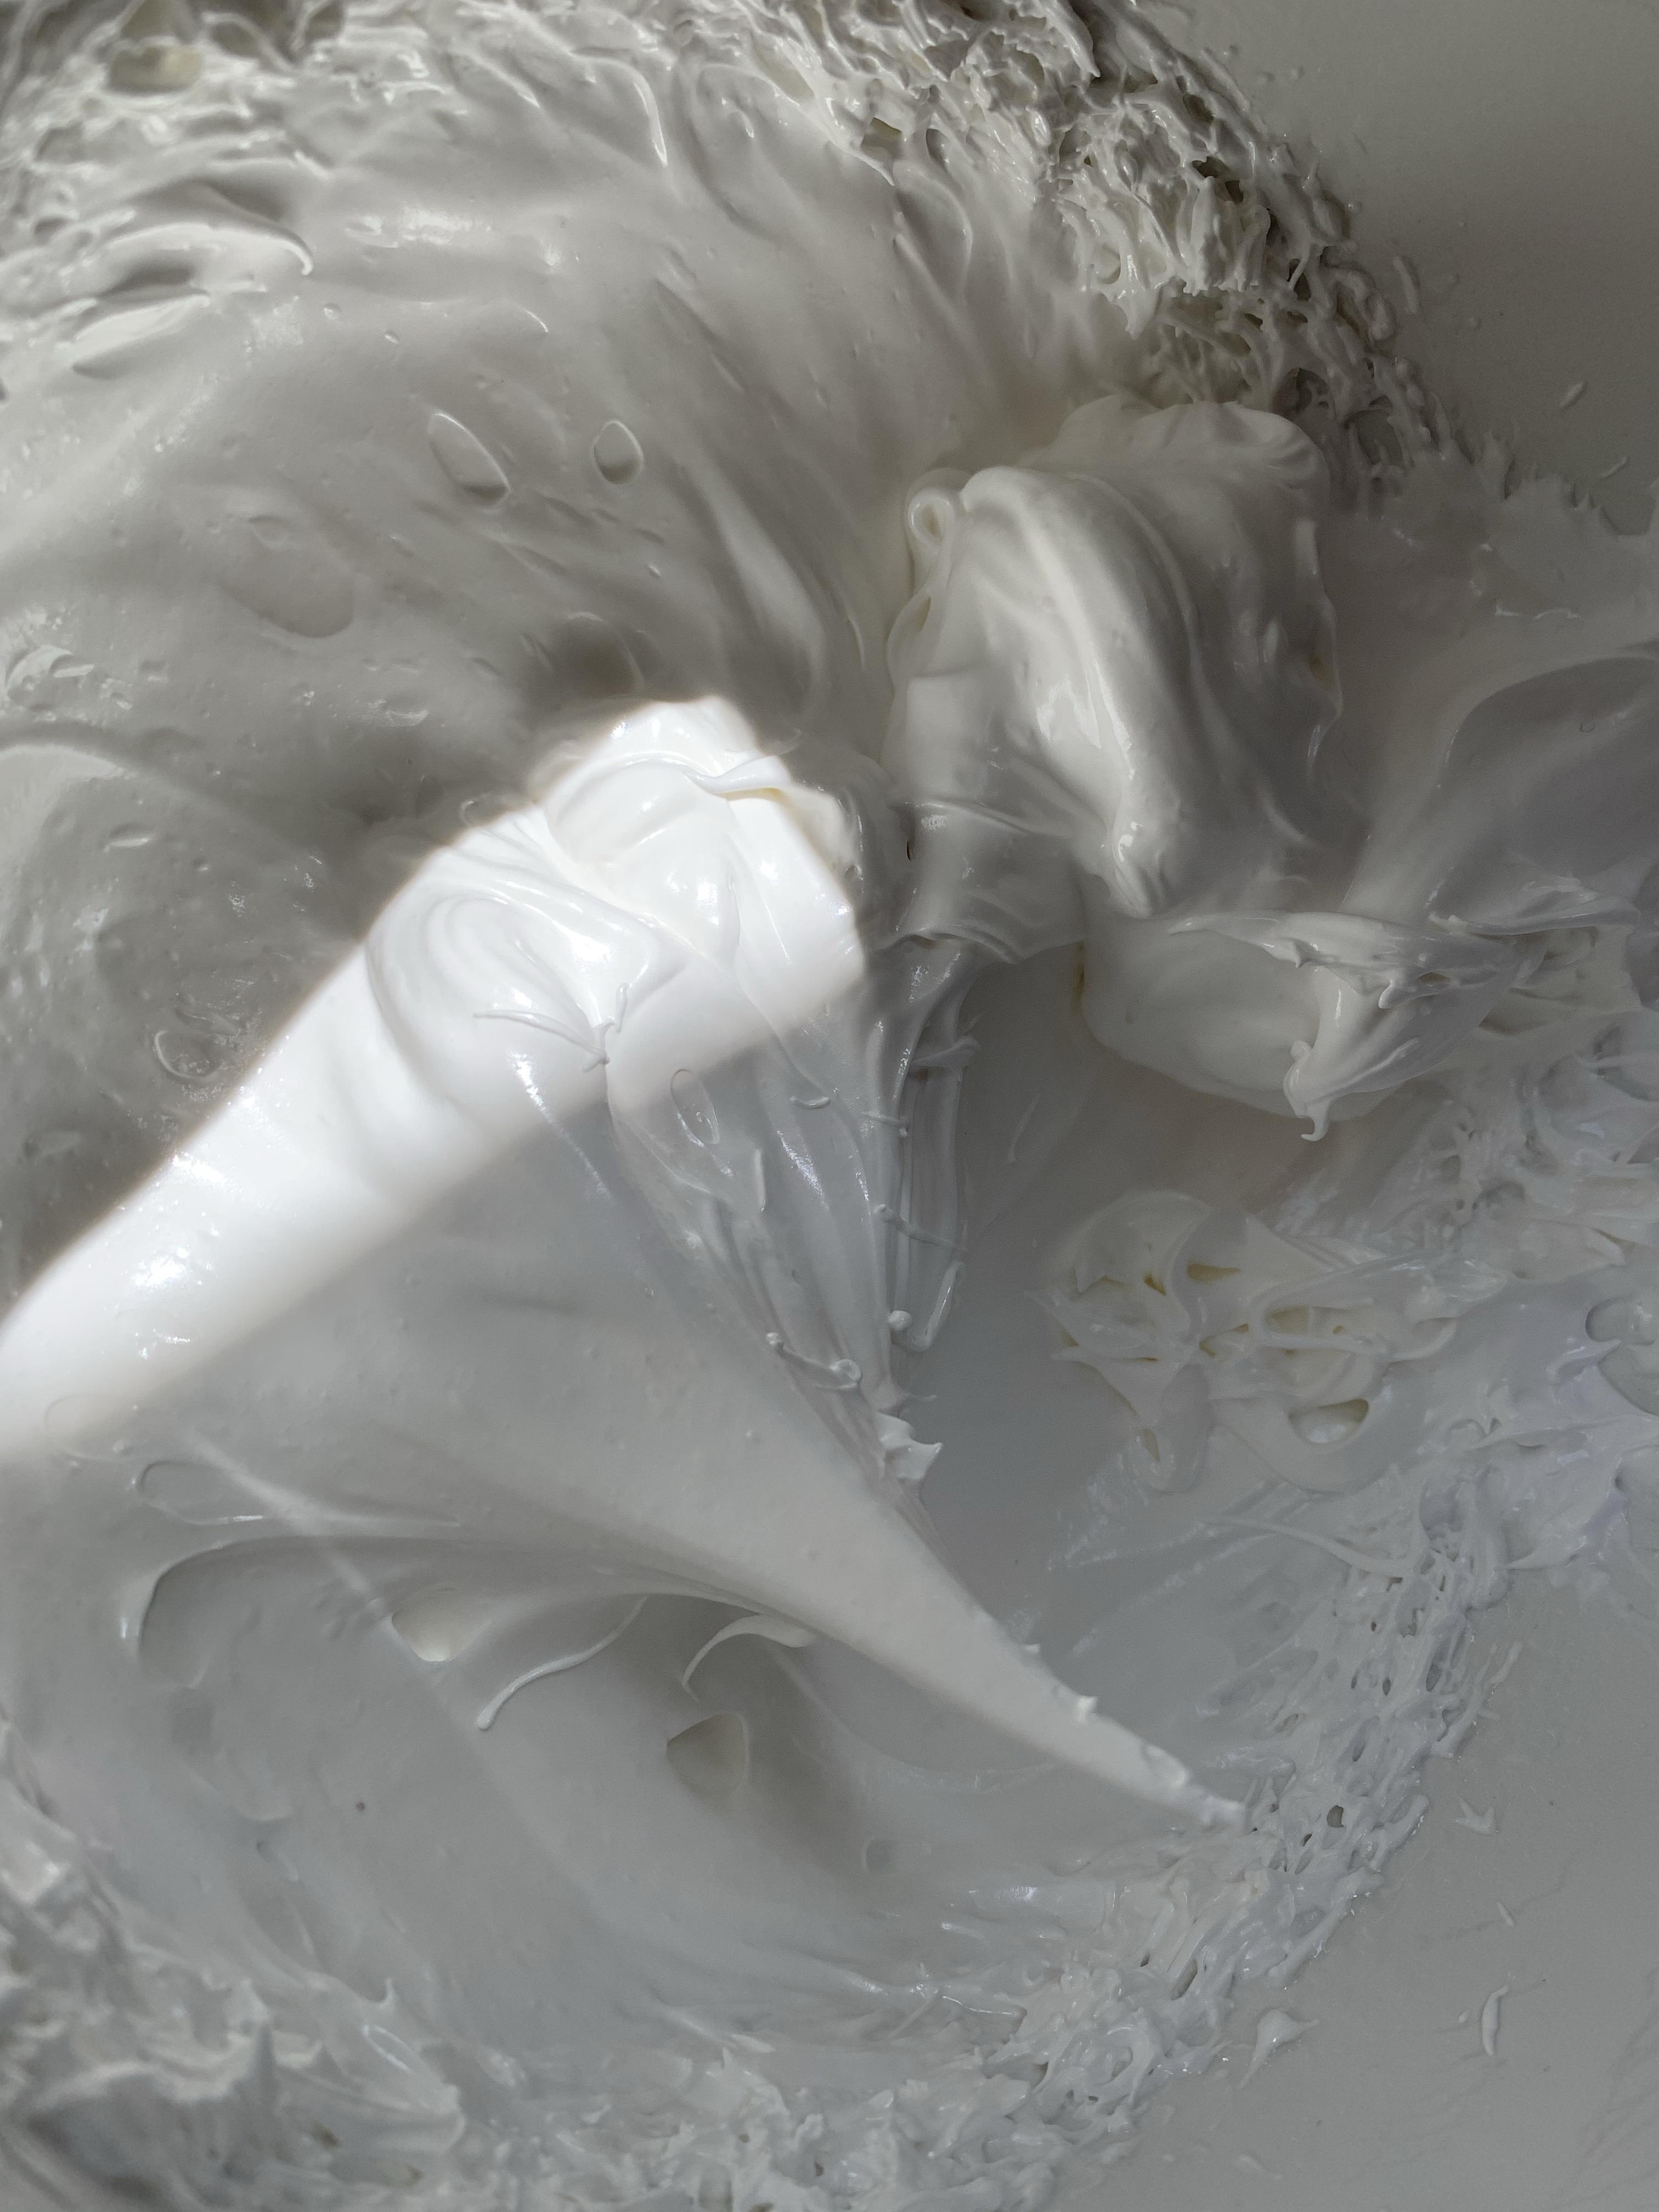
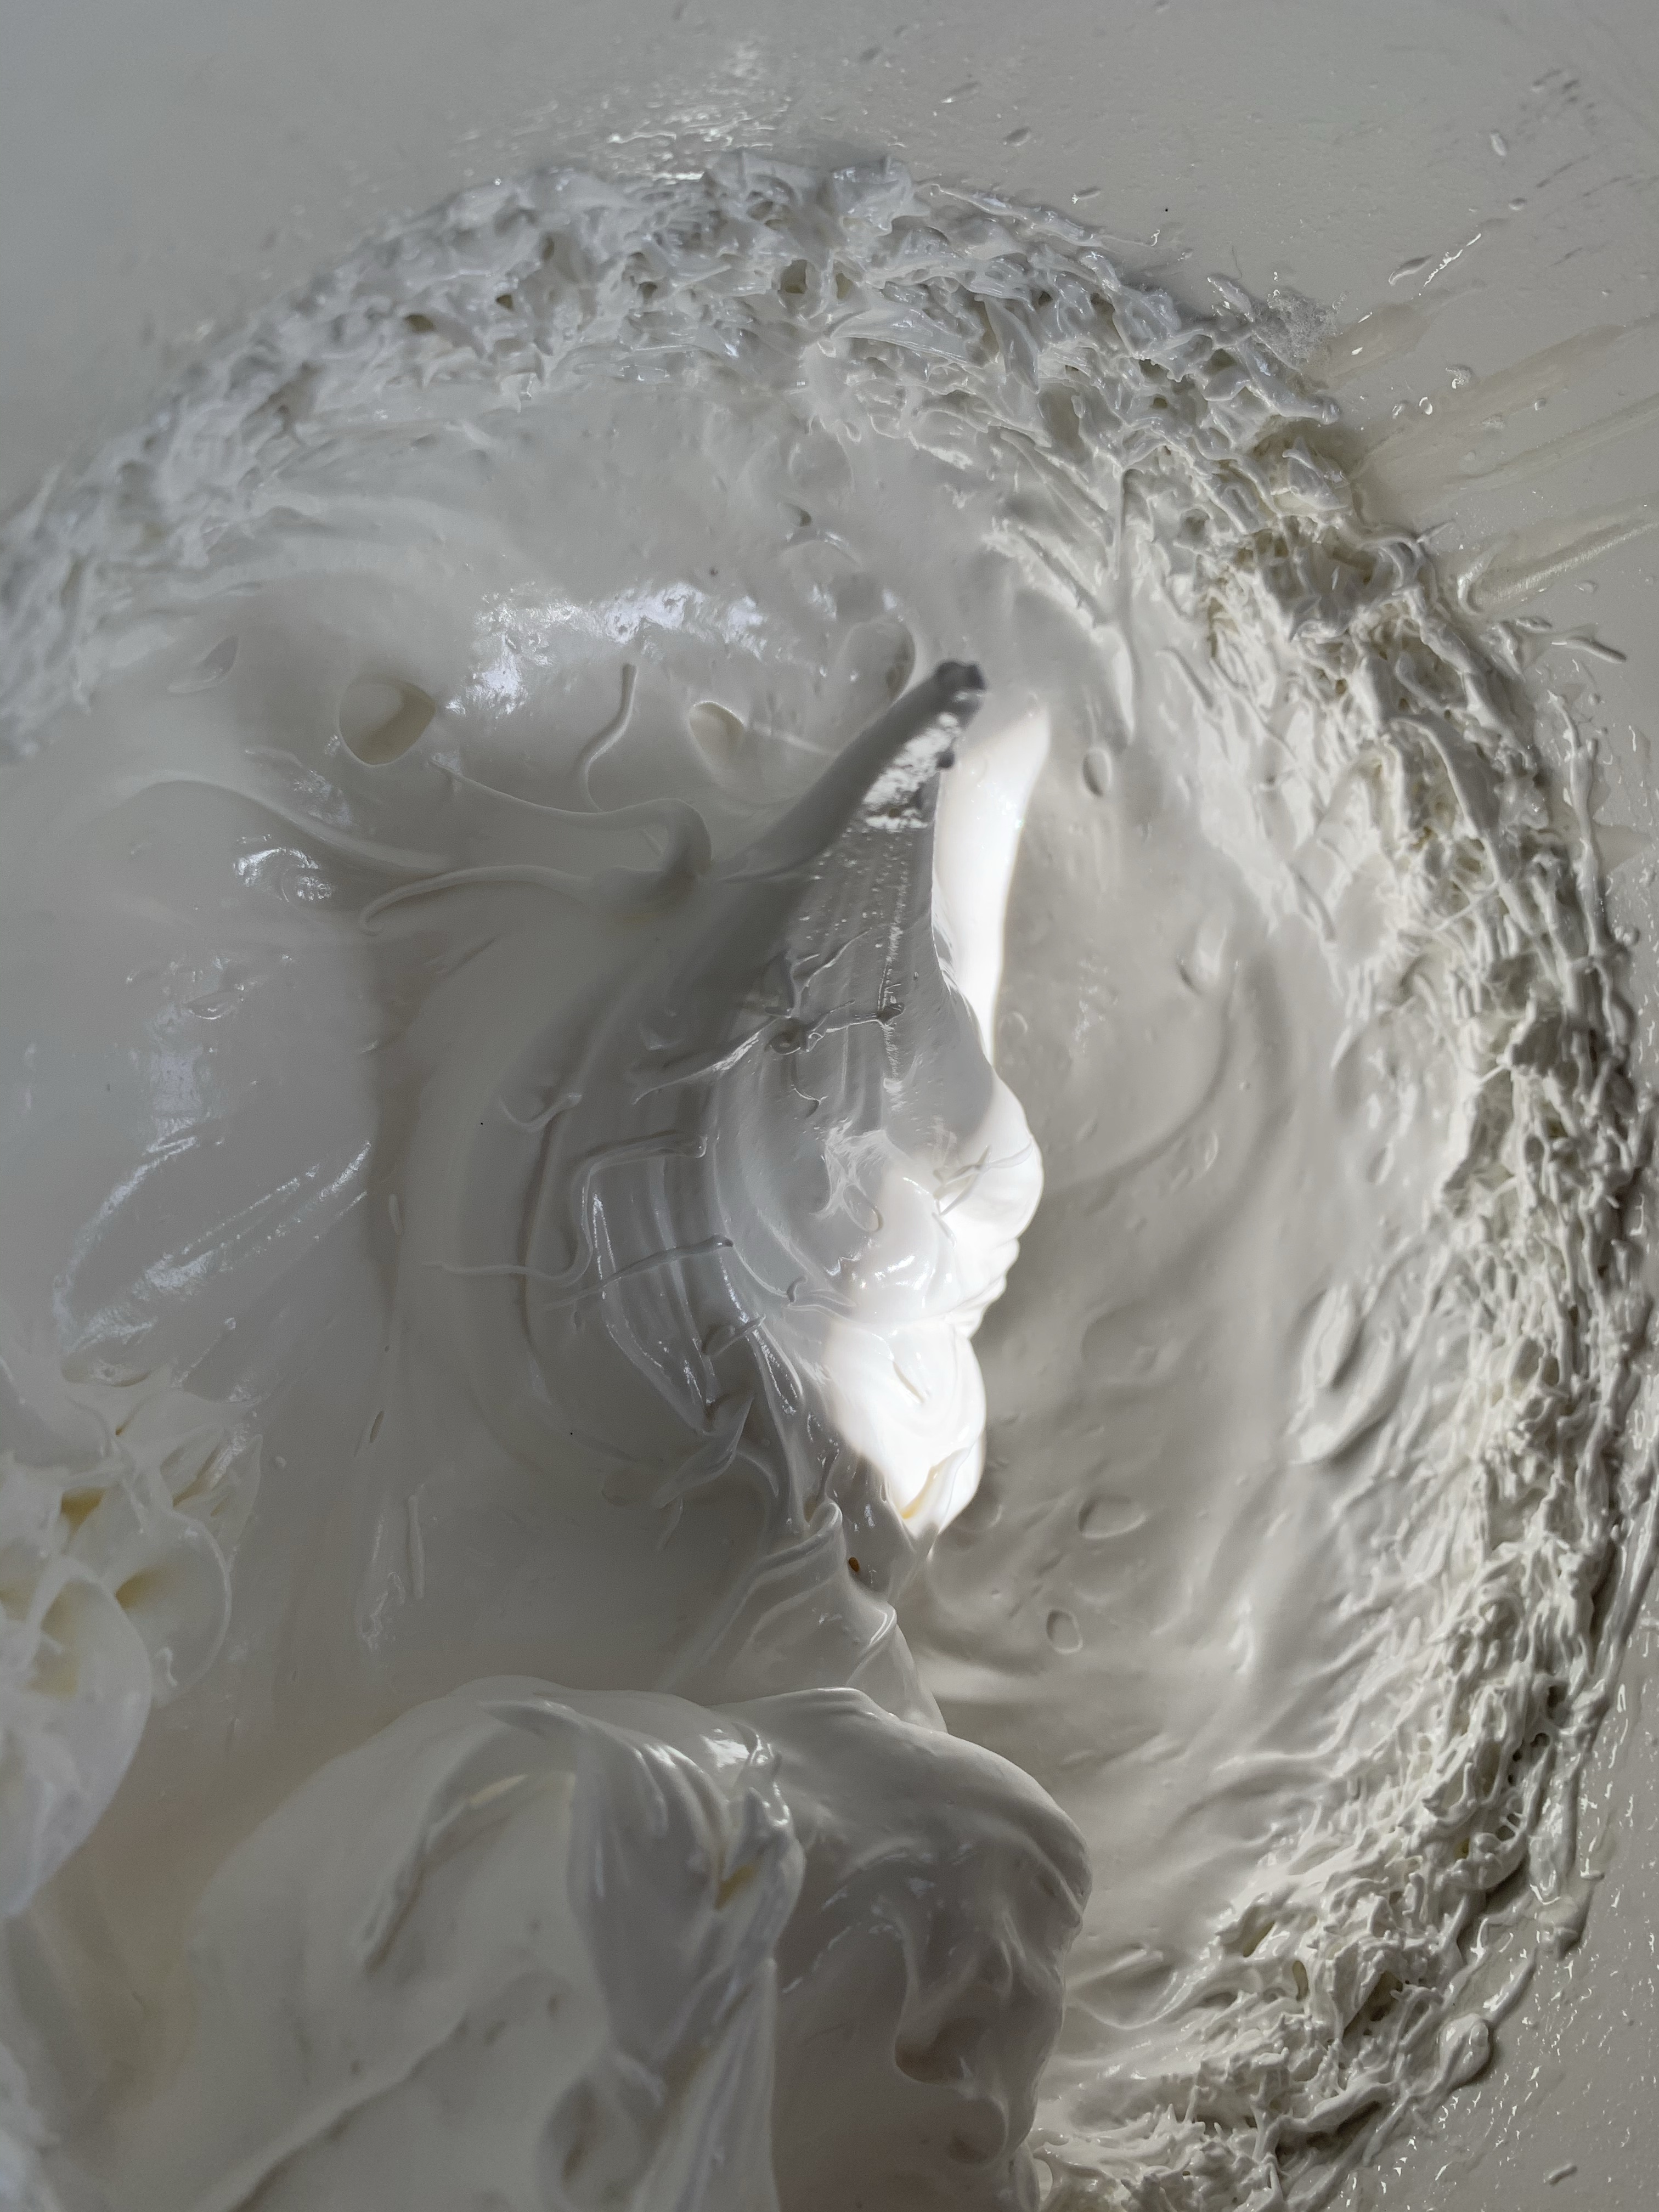
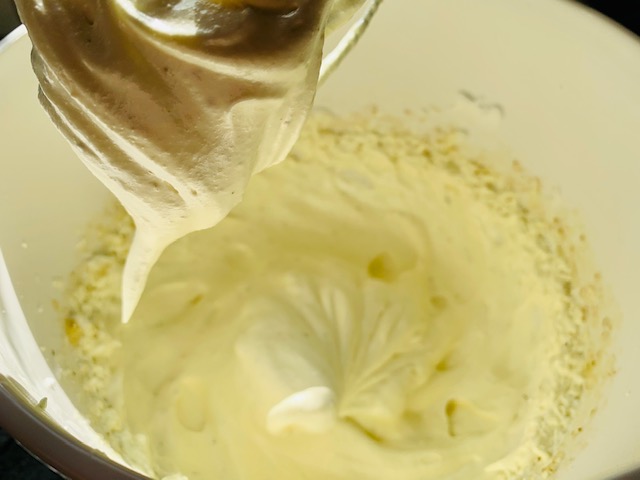
- You will slowly see your whites stiffen. The goal is to achieve STIFF, GLOSSY PEAKS. You will use the majority of your syrup but most likely not all of it. The key is to look for the stiff, glossy peaks and once achieved, stop adding syrup. I usually end up with less than a tbsp left.
- STIFF, GLOSSY peaks are just that. When you lift up the whisk, they should stand straight up without falling.
- You will find that the mixing bowl will also get warm (due to the hot syrup) and therefore your meringue is also a bit warm. Keep mixing until the bowl and meringue has cooled. This method of making meringue is the most stable, so over mixing your whites is less likely. With other methods they may ‘break’ but that is not something I have run into with this method. It is more likely you will accidentally cook the whites with this method so again…. step 13 is crucial!
- Now that your two final mixtures are ready to combine, prep ALL you baking and piping equipment so you can pipe, drop and dry your shells before baking. Line your trays with parchment (with template below it if using) or silicone macaron baking mat. Have your piping bag and tip ready to go! (I find that this recipe requires 3-4 baking sheets… you can also use just 2 but you will need to cap your piping bag so the batter doesn’t dry out and understand that this may add to the total time you need for this project as you will need to cool the used baking sheet, pipe more batter out and allow them to dry before baking.)
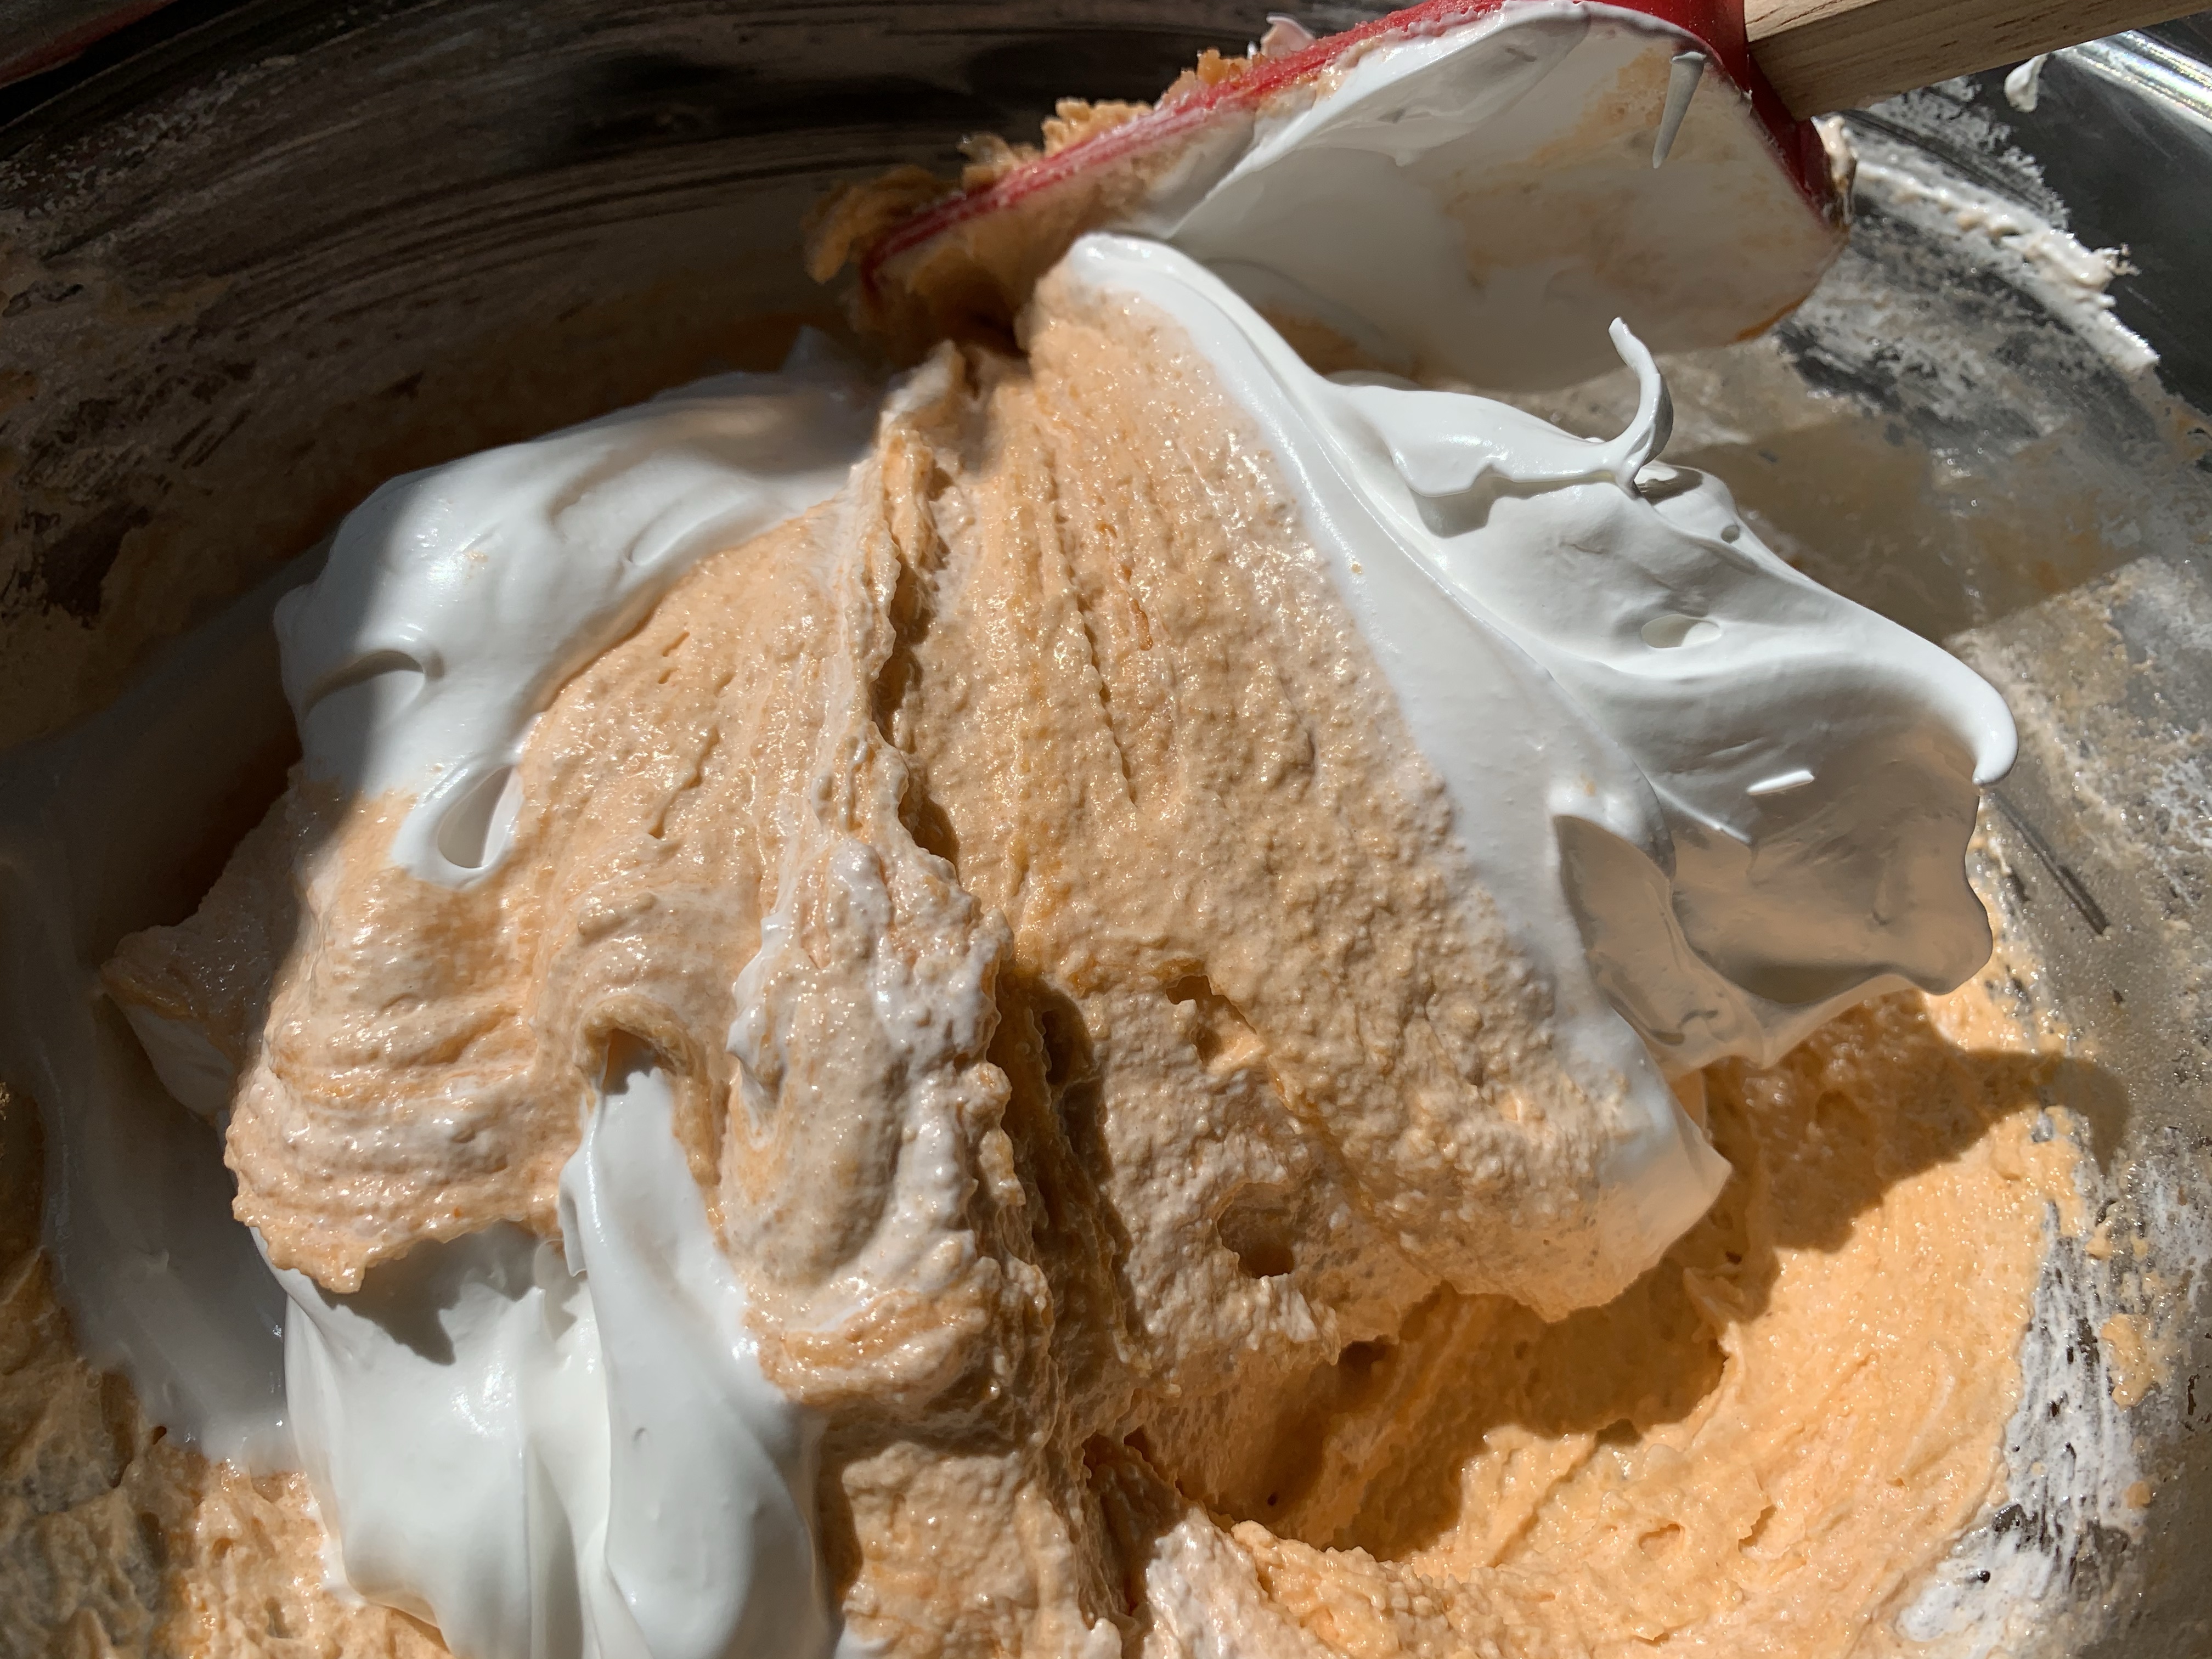
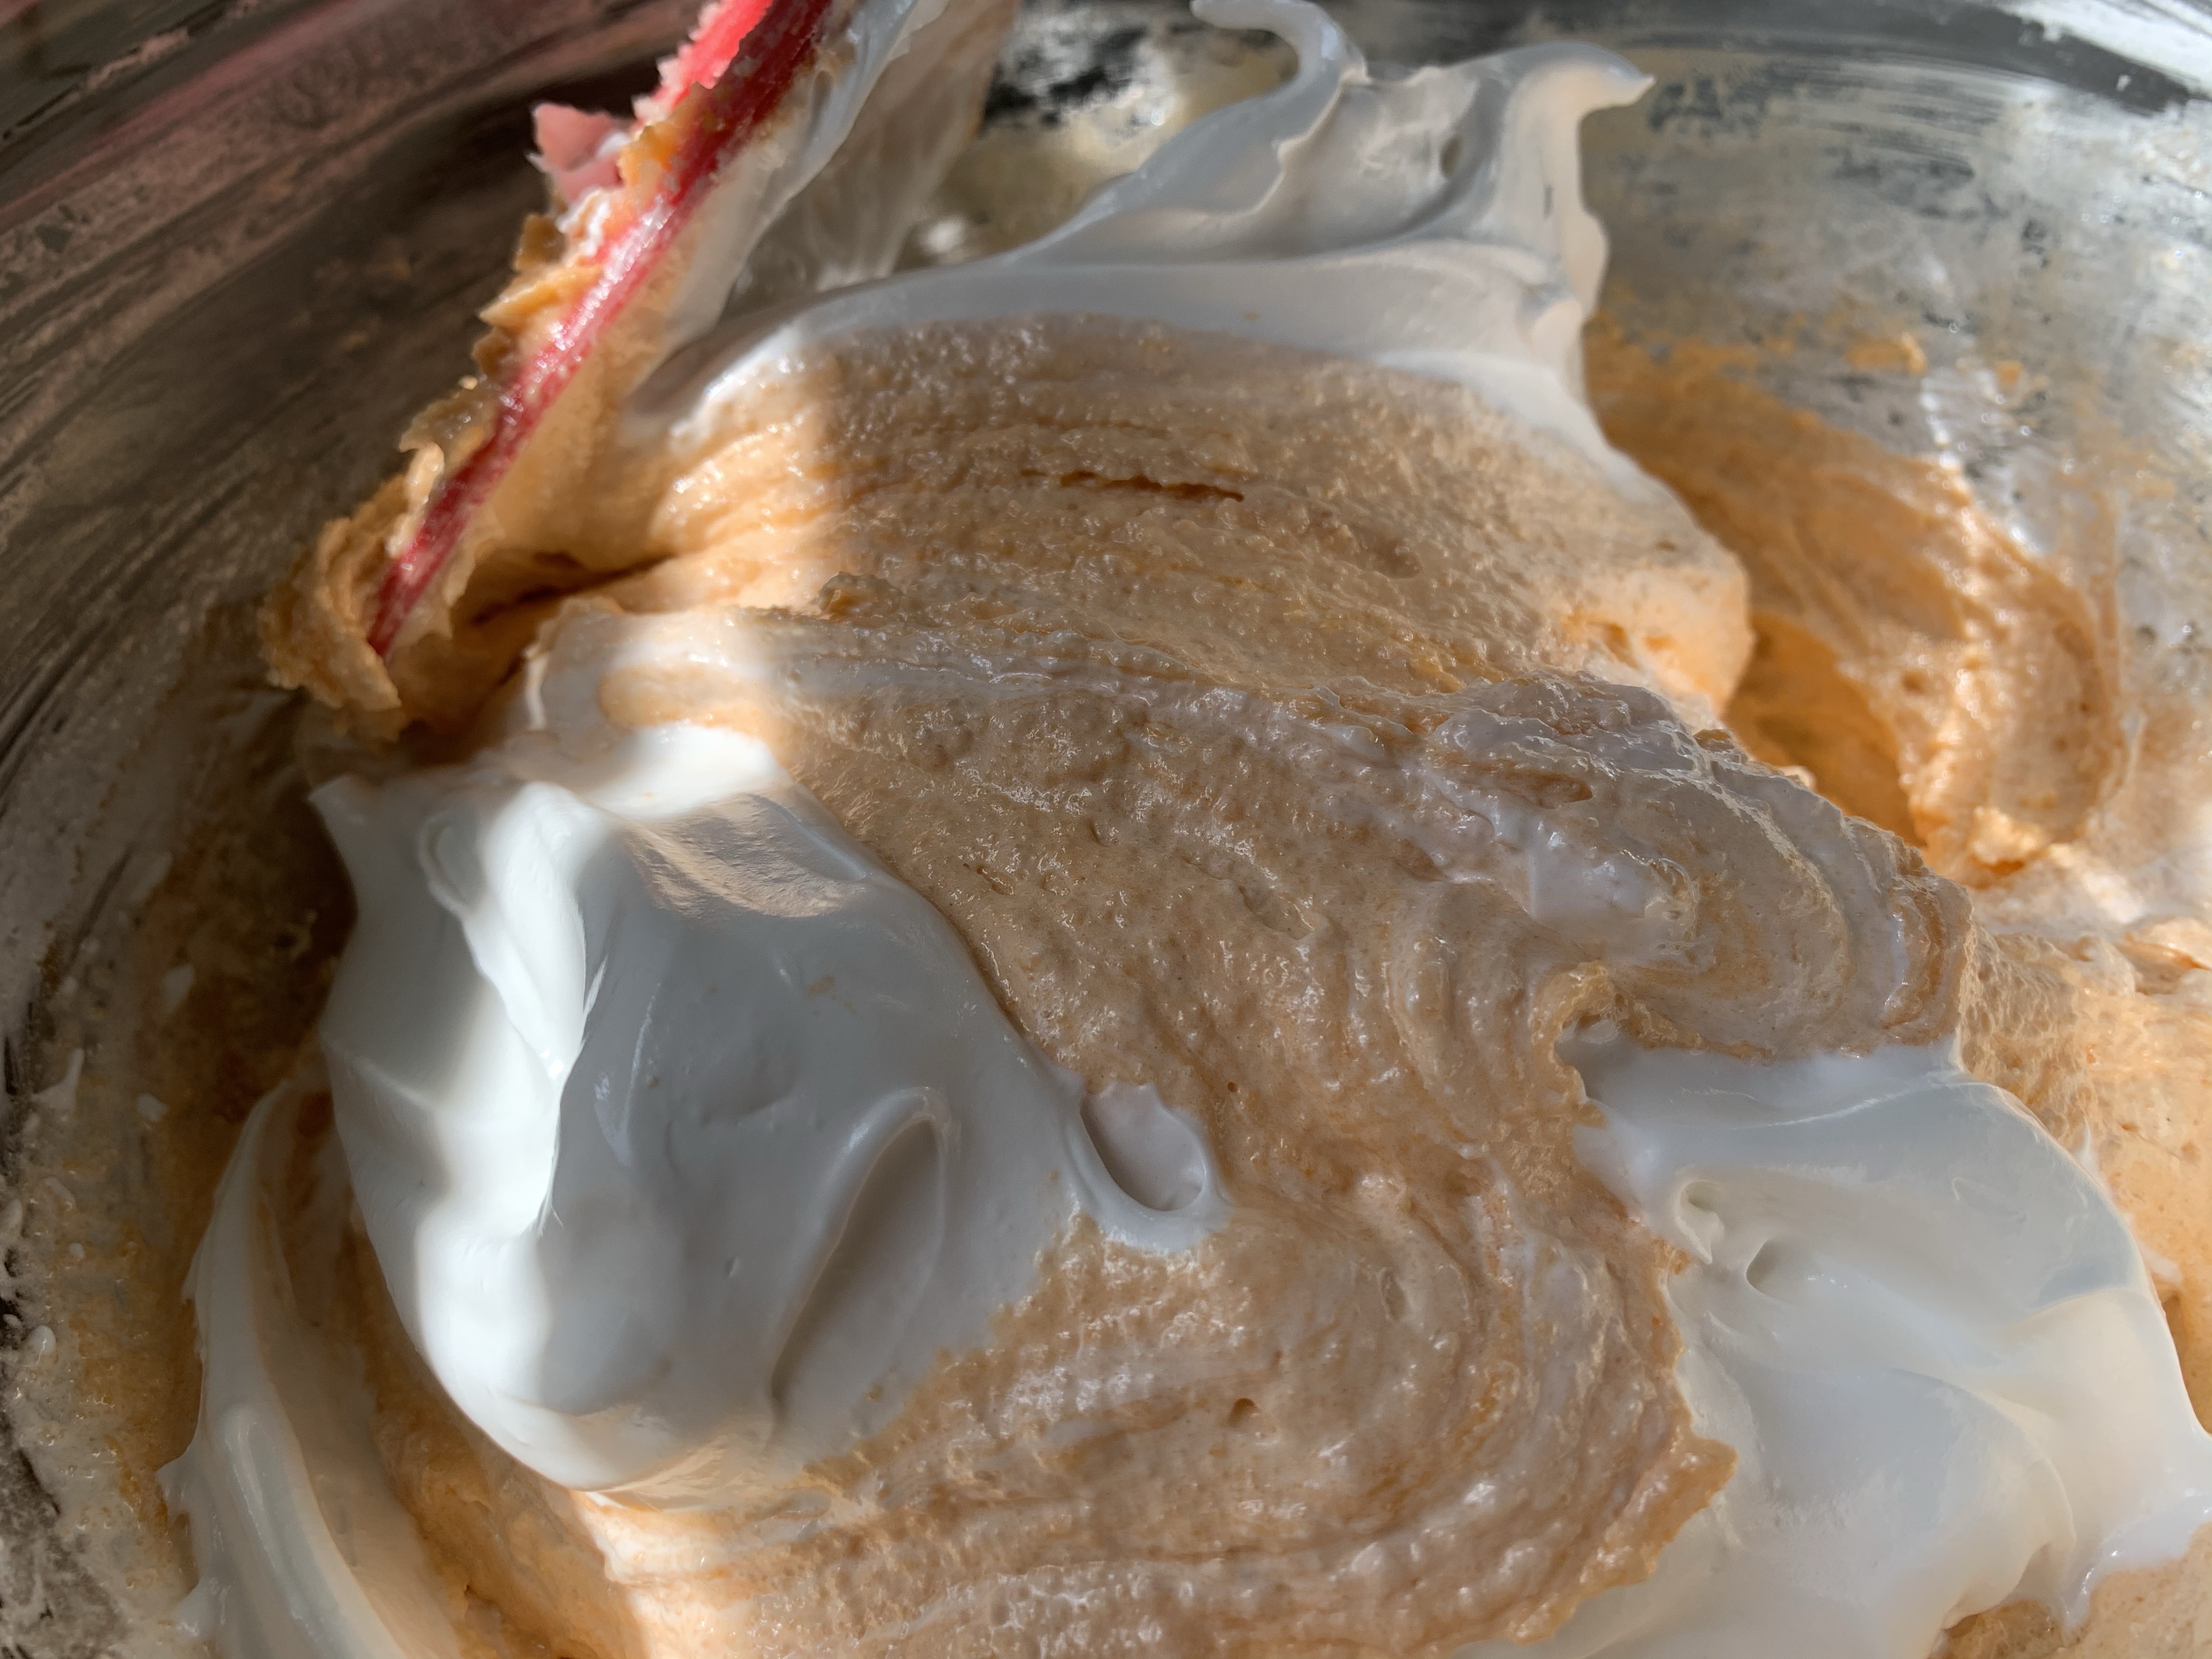
- Next, take 1/3 of the meringue mixture and fold into your batter paste. This method also allows you to be a BIT more aggressive when folding and getting into the macaronage stage of the recipe. This initial 1/3 of meringue will be hard to mix in… it’s ok! Just keep working at it. Take a spatula and starting at 12 o’clock, sweep it along the inside of the mixing bowl to 6 o’clock. Lift and fold whatever is on your spatula over into the middle of the bowl and then drag the spatula back through the center of the bowl, going all the way down to the bottom. Using your other hand, rotate the bowl a quarter turn and repeat the folding process.
- Once you’ve combine in that 1/3 of meringue, repeat the process with the remaining meringue 1/3 at a time until it is all incorporated.
- NOW, it is time to get it to the correct consistency. This is your macaronage. (Macaronage : the technique where you continue folding the mixture past full incorporation until you’ve achieved the perfect consistency.) Again, this macaronage is important because it determines how the batter will pipe when you are making your shells. The easiest way to do this is to continue to use the above folding method until the batter runs off the front of the spatula in a flat ribbon. You want it to continuously fall, without breaking. Once it begins to fall in a ribbon, you will want to try to make a ‘figure 8’ with the ribbon. If you can make a complete figure 8 without it breaking you are ALMOST THERE.
- Fine tuning the consistency at this point is all you are doing. The figure 8 should spread back into the batter (so you cannot see it) at about 30 seconds of waiting. If it has not re-incorporated by 30 seconds, it is still a bit too stiff. GO back to folding a bit more (to deflate the batter a bit) and try again. Some ‘paint’ the batter up the inside of the bowl, scrape down and then fold a few times. This is how I deflate it a bit… I usually only have to do this once or twice before I can ‘figure 8’ and it re-combines into the batter at approx. 30 seconds. (NOTE: if it re-incorporates immediately then you have over mixed.)
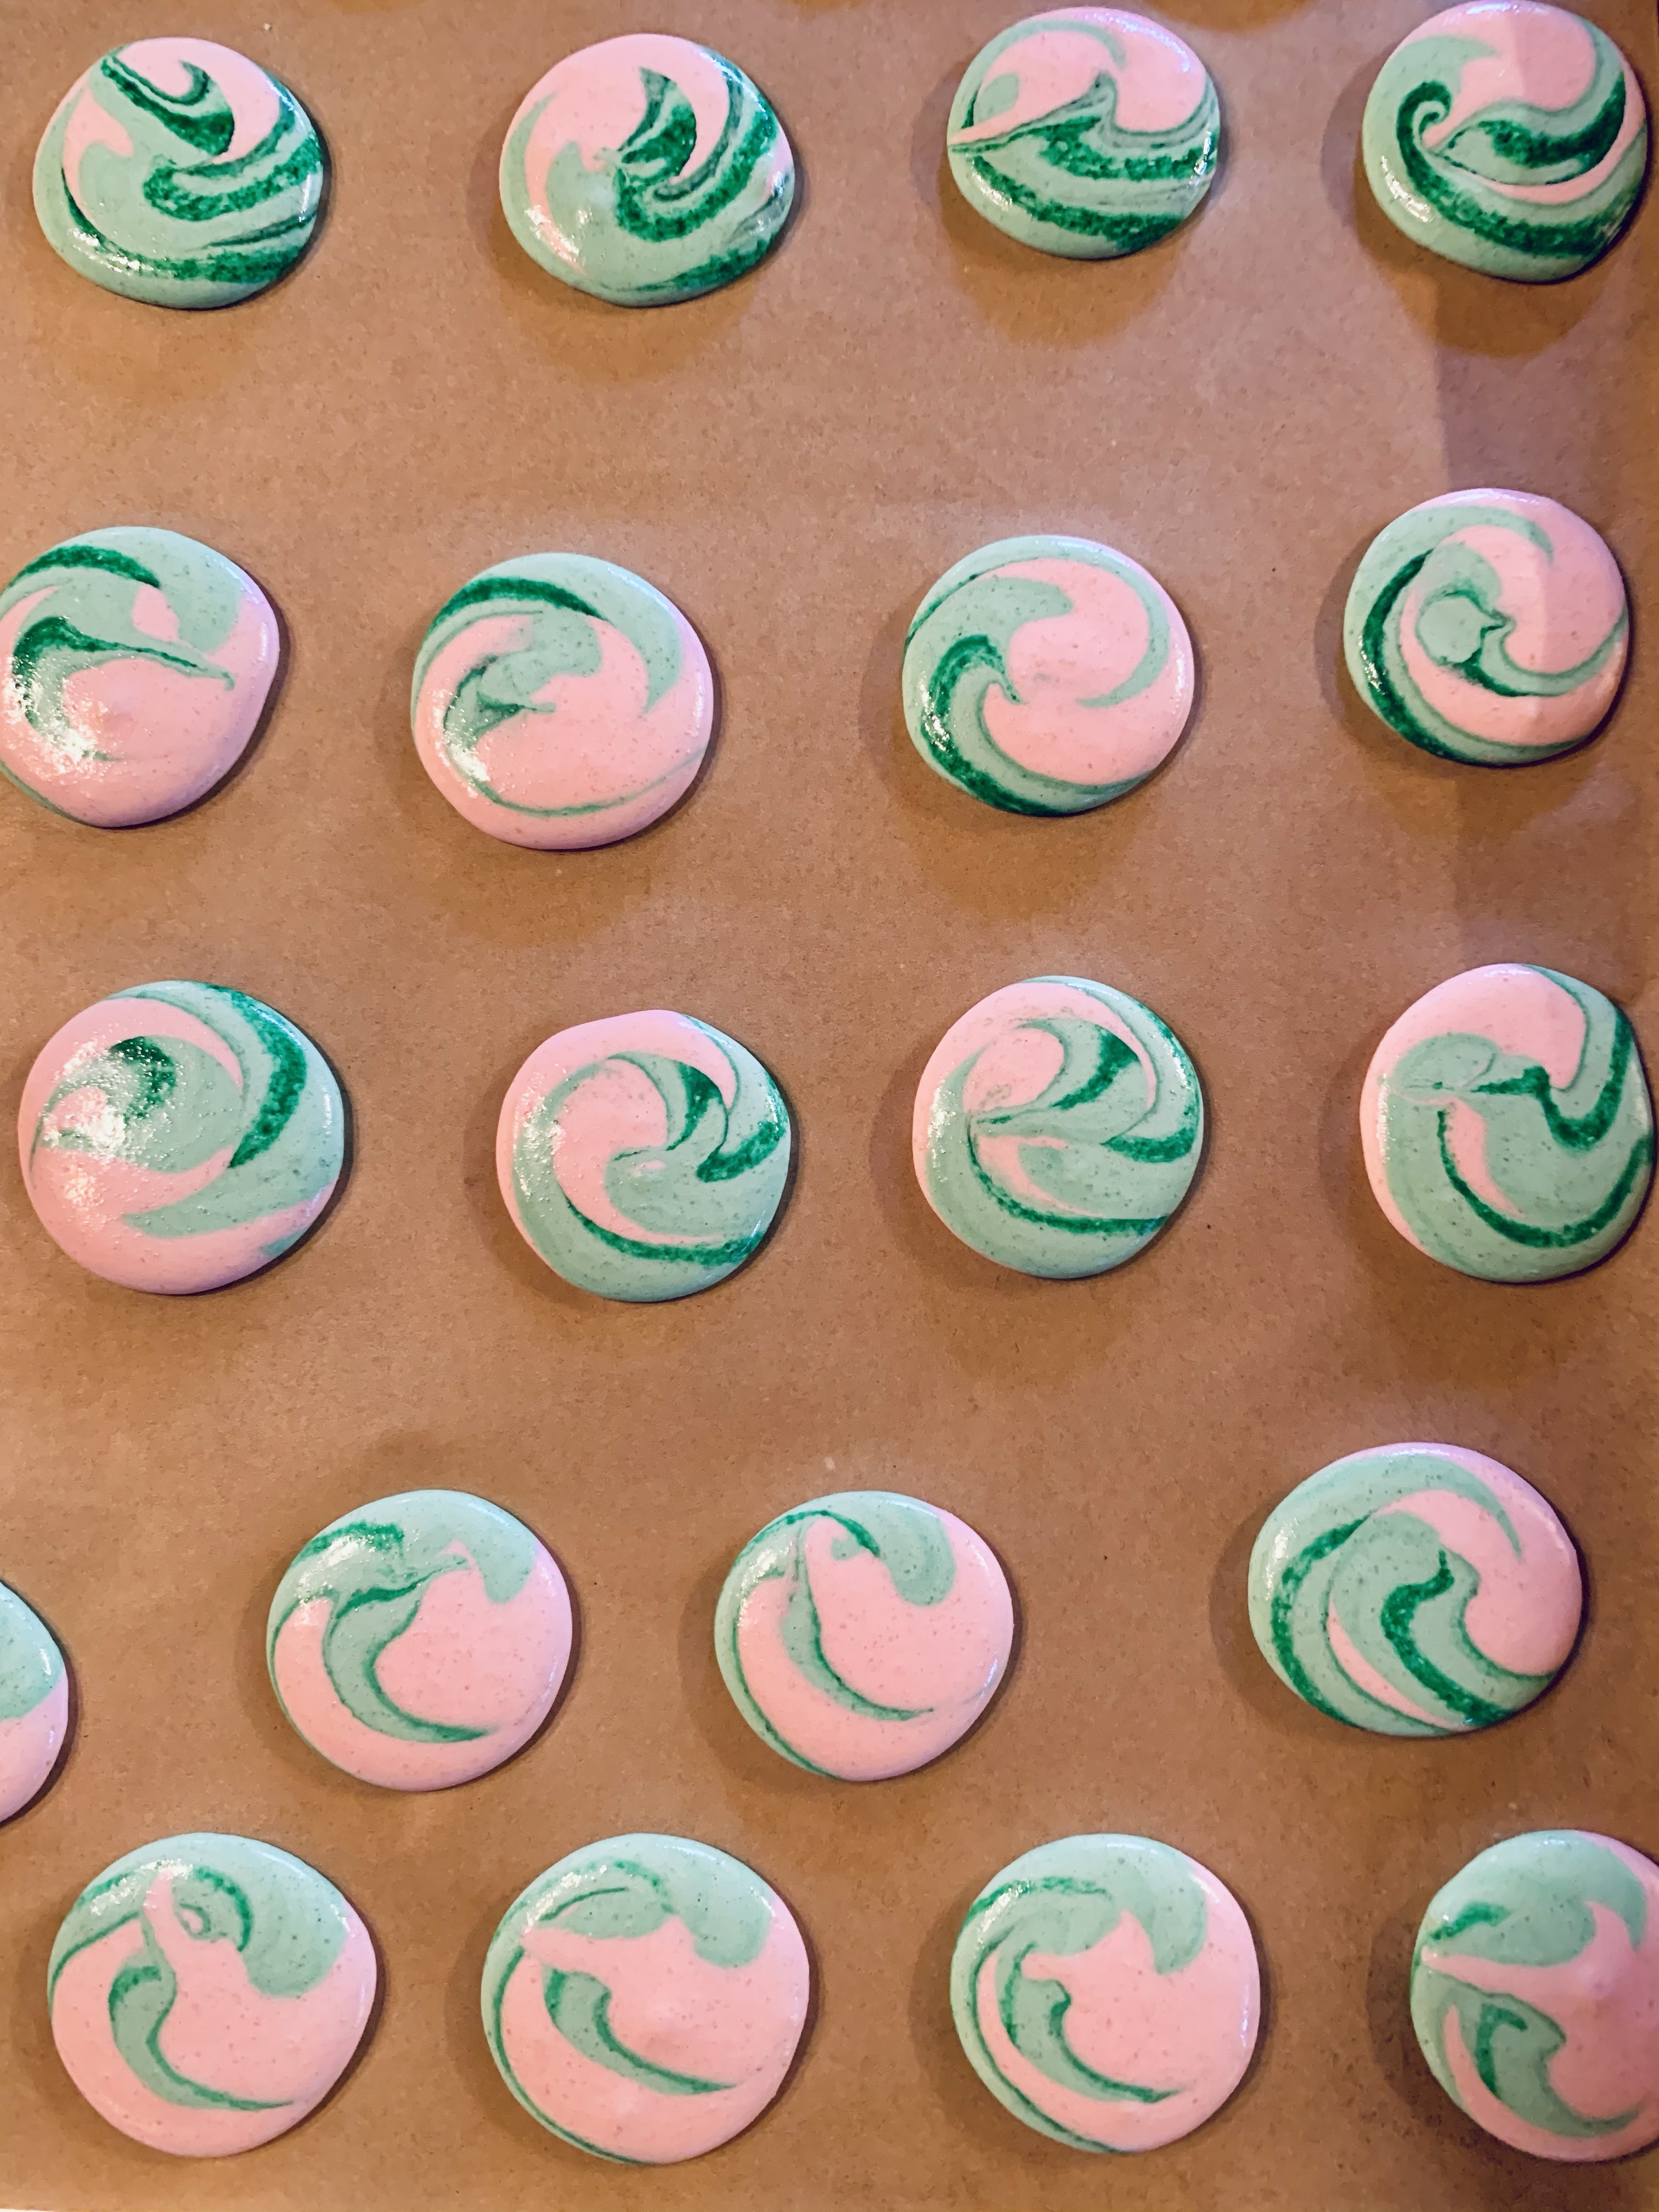
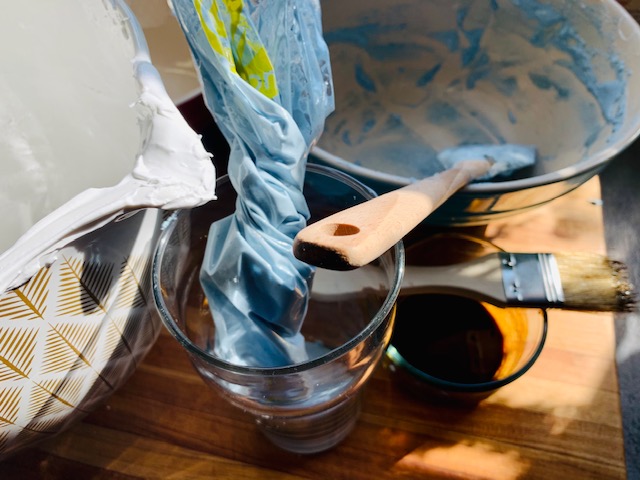
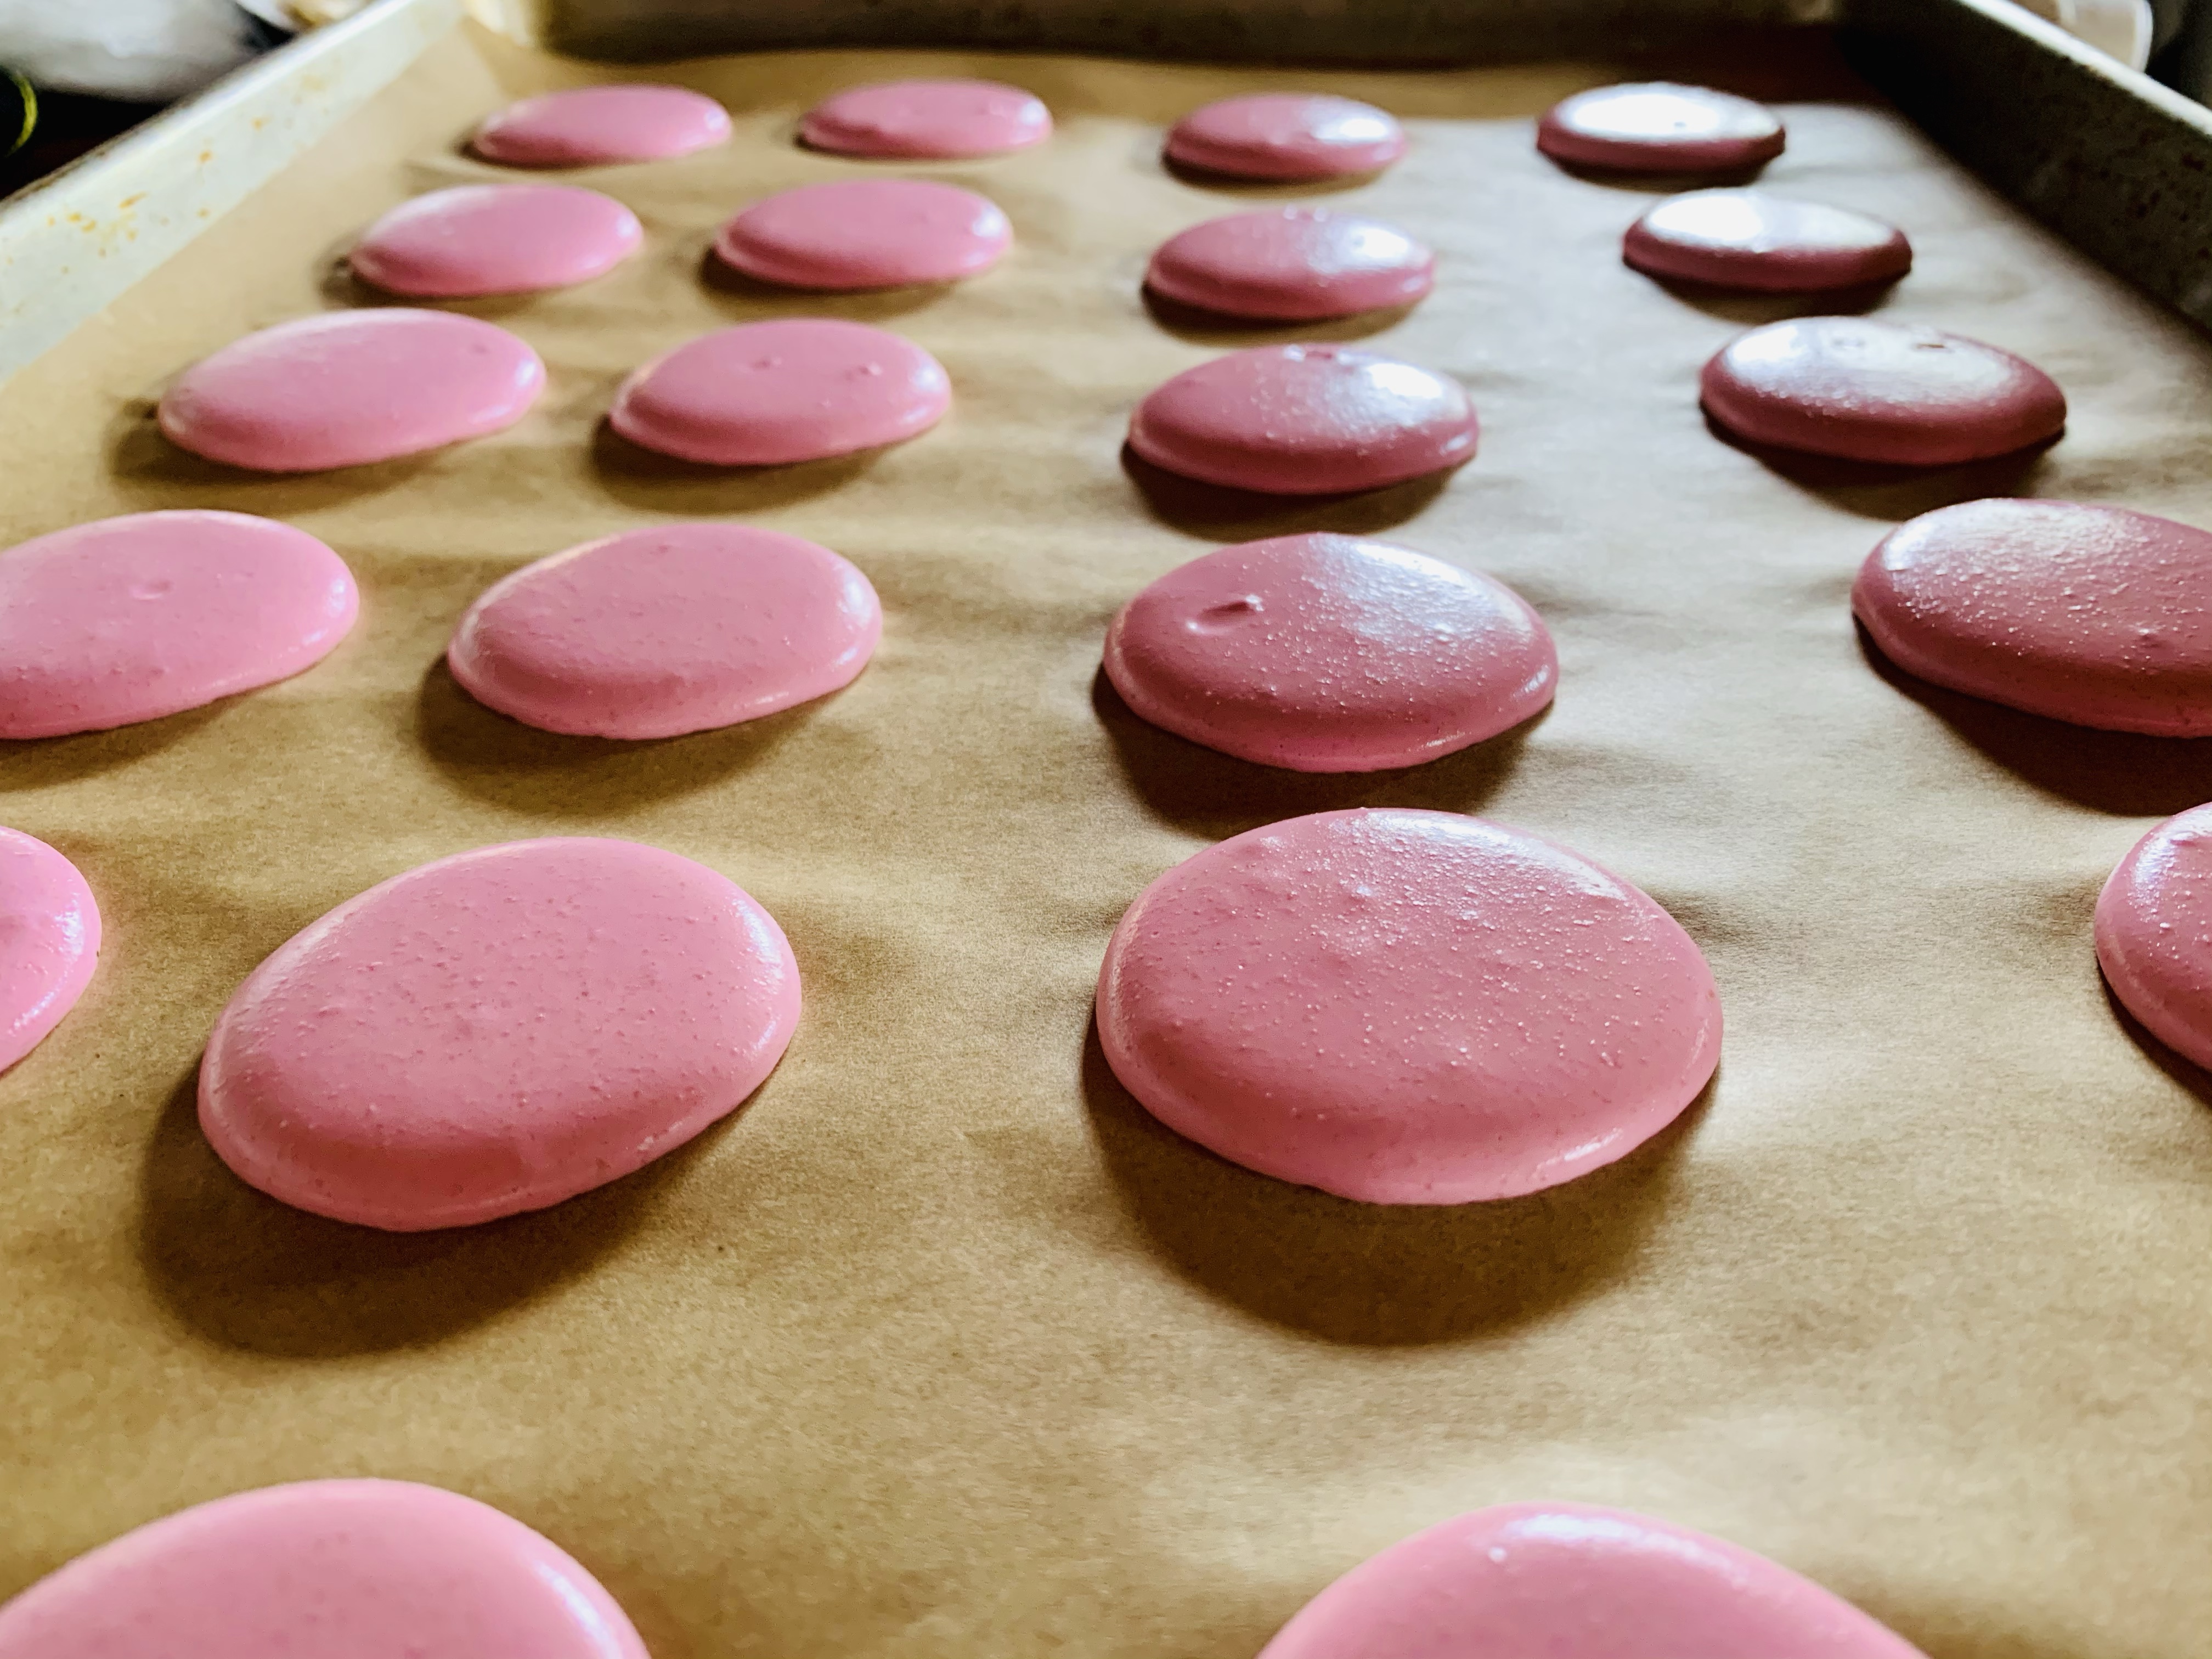
- Take your 16″ piping bag fitted with a 1/4″ round tip and fill the bag to 3/4 full and pipe out your shells. The key is to hold your bag perpendicular to the tray and pipe the batter straight DOWN. Do not swirl or draw a circle. Straight down piping lessens the amount of air in your shells and reducing cracking etc…
- Pipe your trays and then DROP ’em. You will need to drop each try a few times to try to force UP and OUT any air pockets in your batter. Just pick the tray up about a foot from the table or counter and let it fall back to the table or counter flat. Do this about 5-10 times then rotate the tray 180 degrees and repeat. (any deep air bubbles that don’t burst can be taken care of with a simple poke of a toothpick!)
- Preheat your oven to 300 degrees.
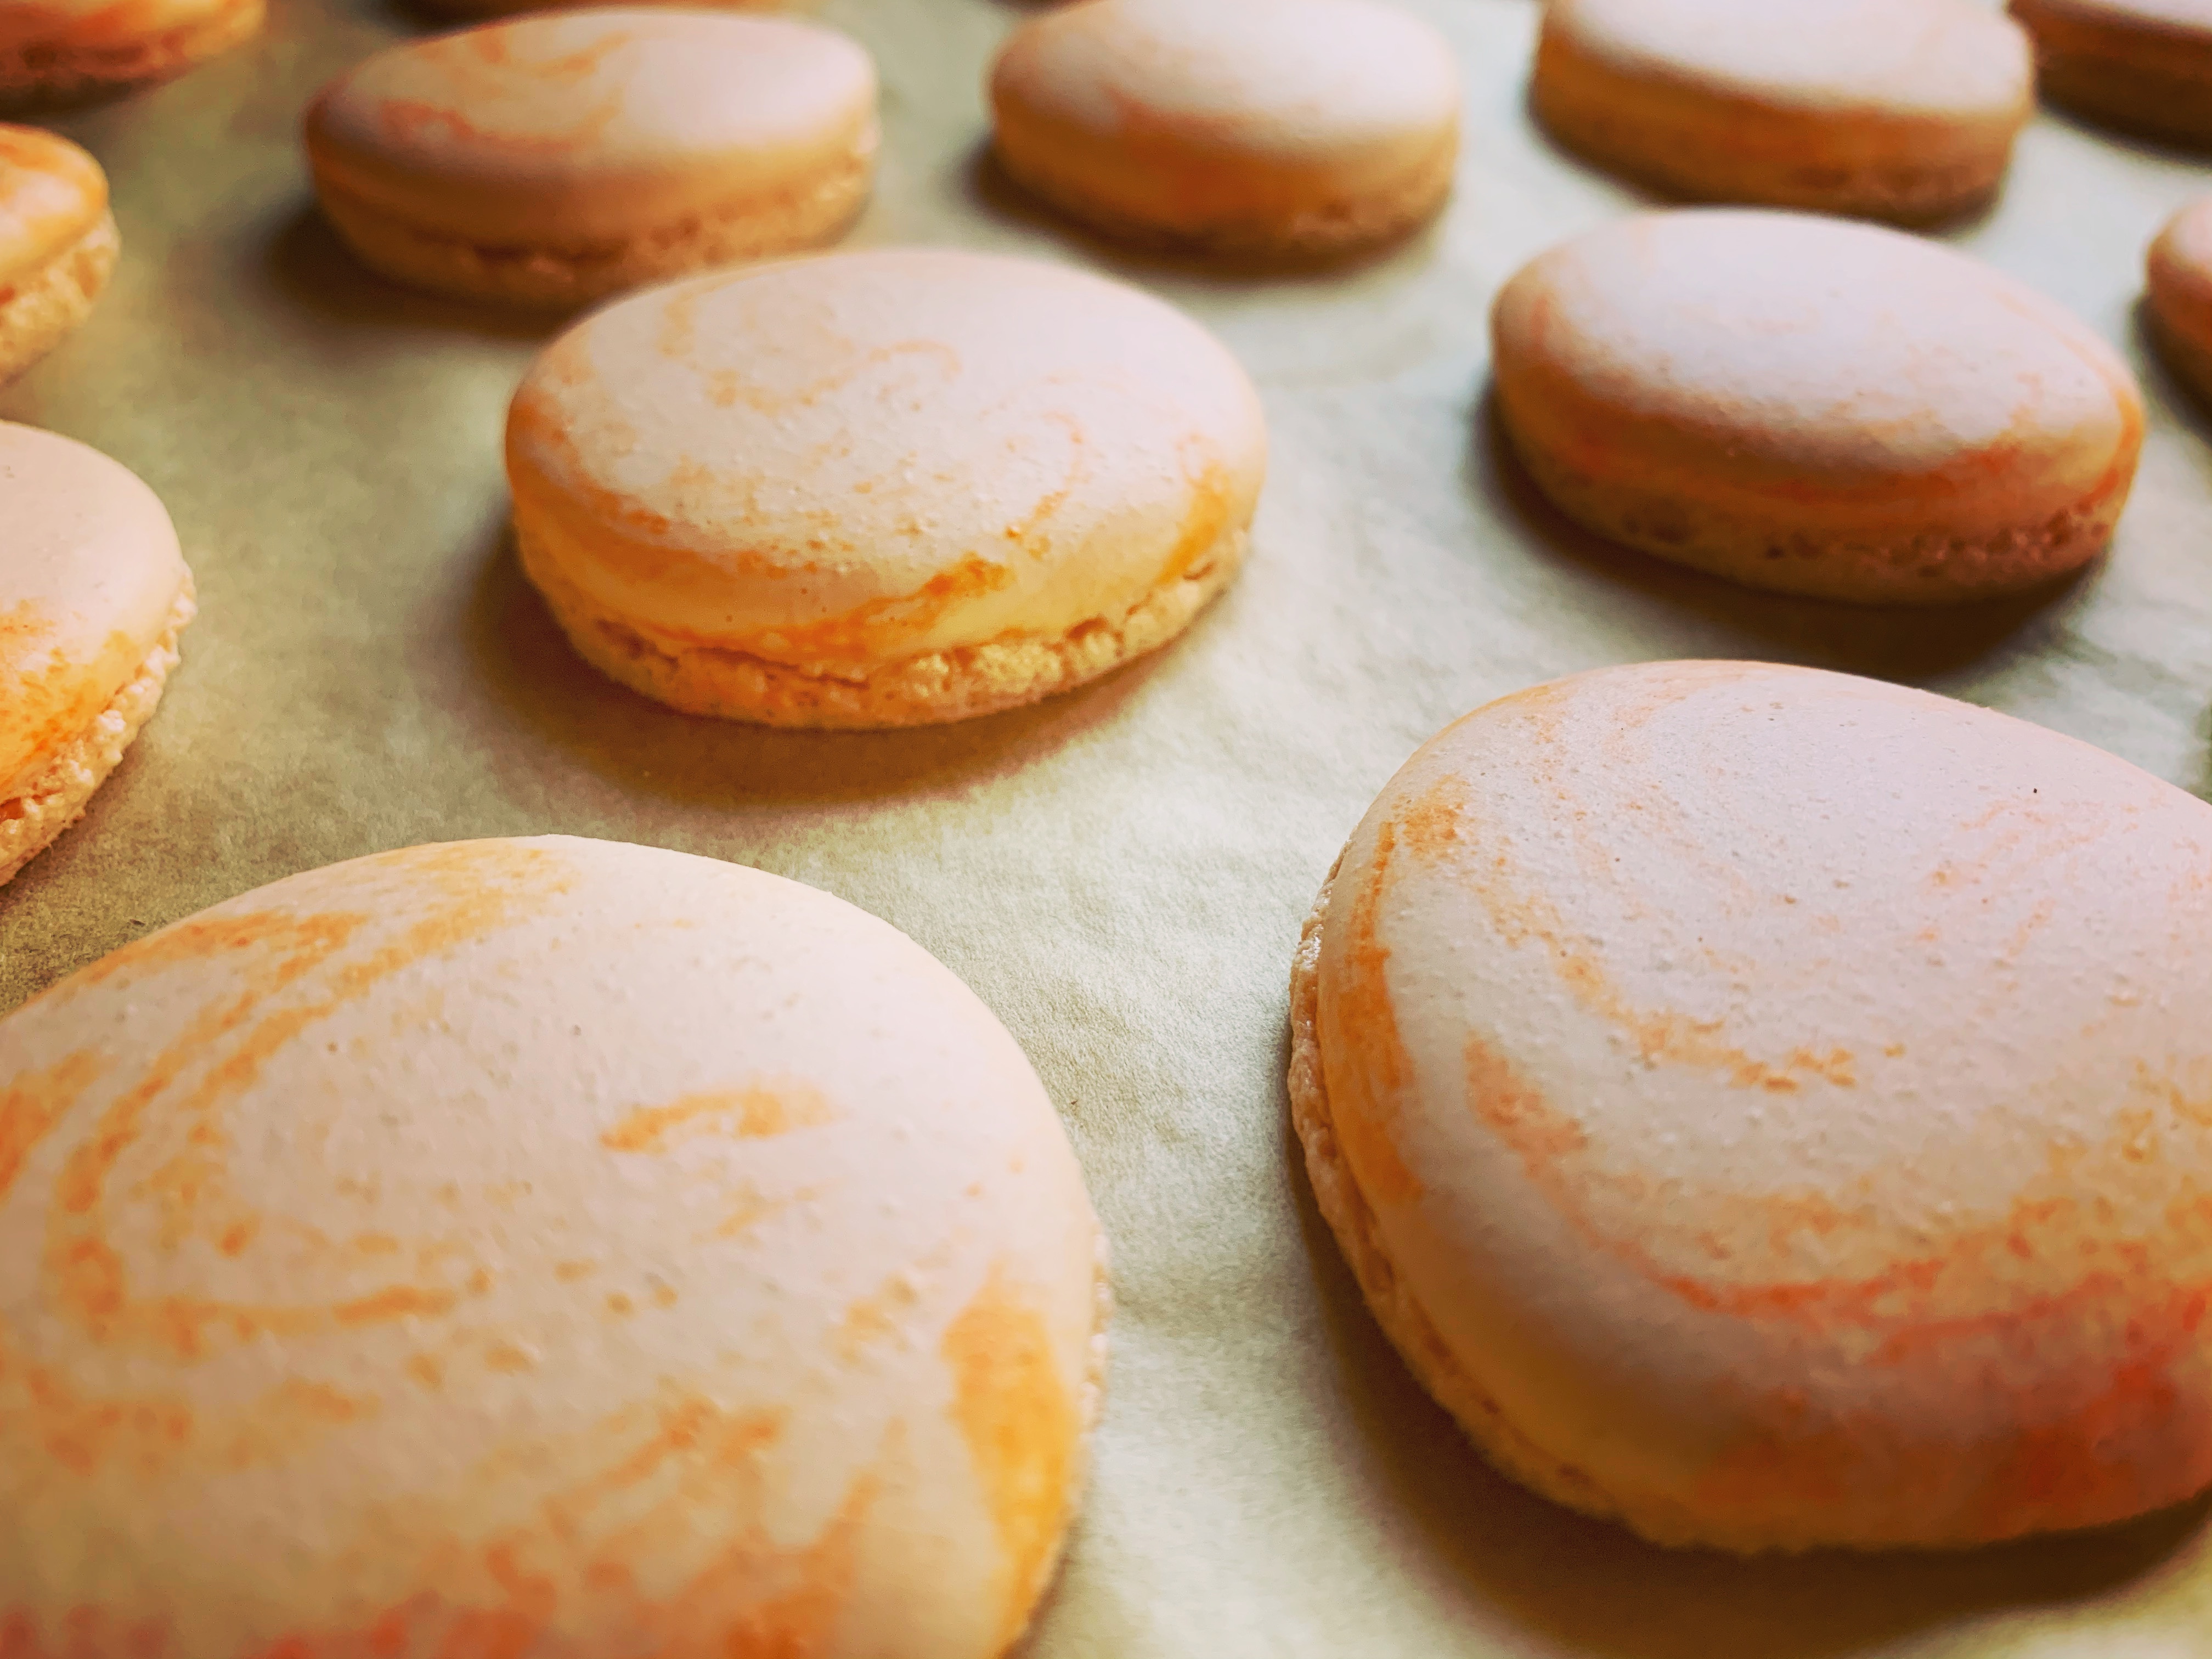
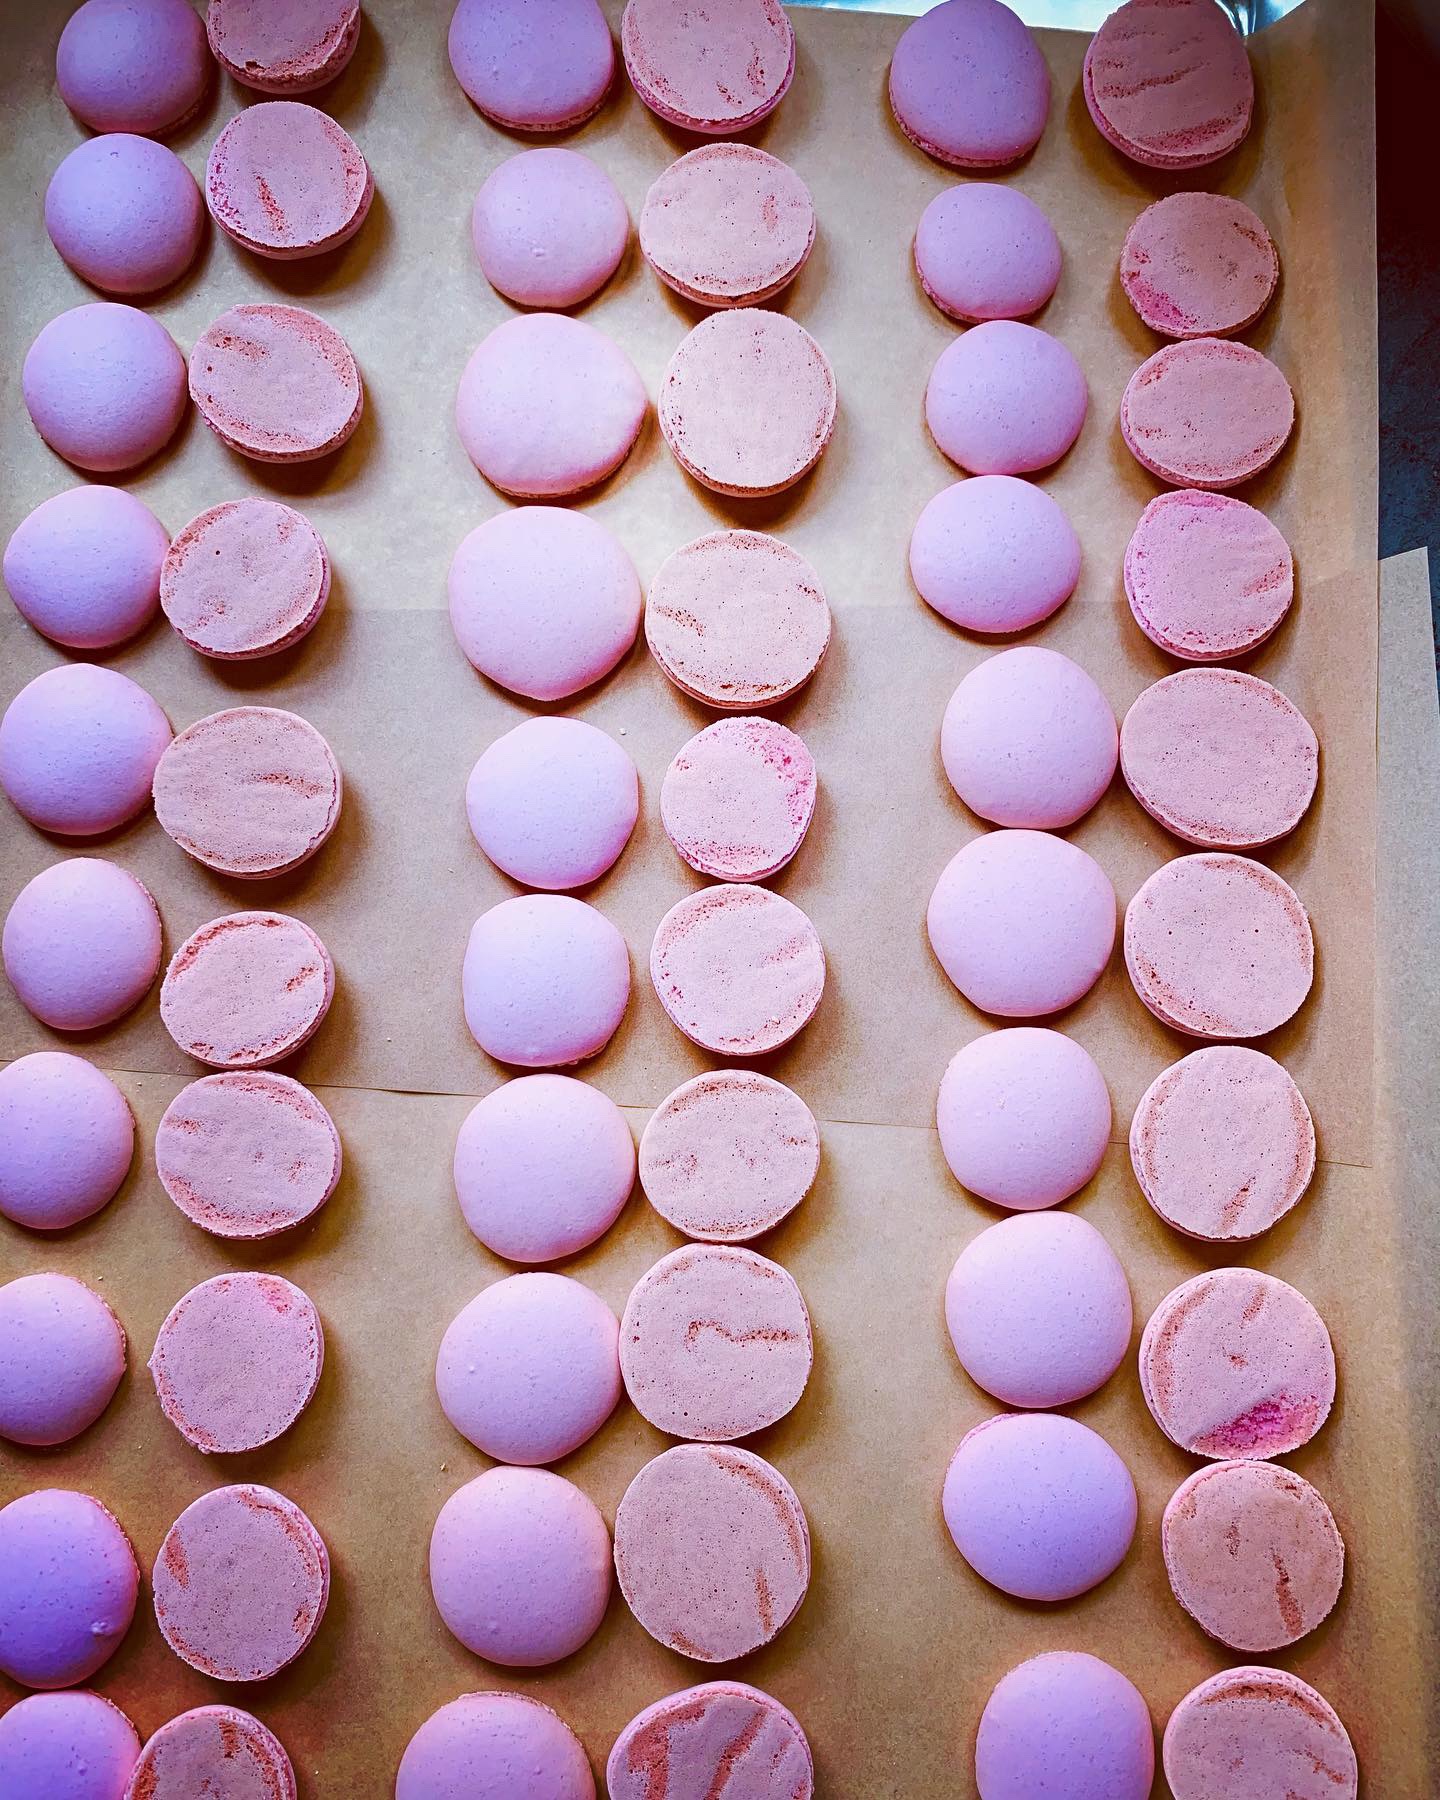
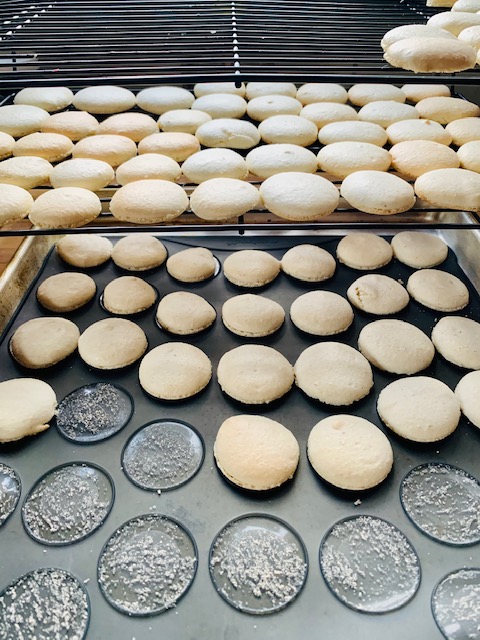
- Now, let your trays of shells DRY for 30-60 minutes. This allows them to form a SKIN along the top and is how you end up with a nice round dome sitting on top of ‘feet’. You should be able to touch the top or run a finger along the top without it sticking.
- Once you have dry tops, bake one try at a time. I bake for 9 minutes, then rotate the tray and bake again for an additional 6 minutes. If you have a temp over 300 the baking time will be less, under 300 it will require more time. I find 300 degrees at 15-17 minutes (depending on the pan and oven) is perfect for this recipe.
- Once done, remove baked tray and place in next tray and set timer.
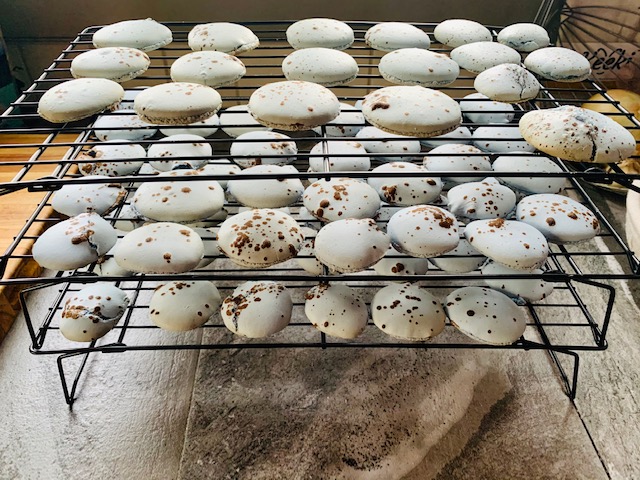
- Allow baked shells to cool completely on their tray. When cool, they should easily peel off the parchment paper. Place onto wire rack.
- If you are re-using baking sheets, prep and pipe the next sheet and allow to dry as the other pan bakes.
- Once all batter/shells are baked, place in a cool secure area (I use our secondary fridge ut you can use a table in a cold room where nothing will get at them) and allow them to chill for 2-24 hrs.
- You can fill these as quickly as 2-3 hours after chilling. If you are like me (with a toddler and a homestead to run) rest easy knowing you can make them one day and finish/fill them the next.
And that, my friends, is the most consistently awesome basic macaron shell recipe that I have found after trying about 15 different versions/methods.
Coloring the shells happens in step 3 here, adding swirls is by adding stripes of coloring to the piping bag before filling and multiple colors… well let’s say that you can find that secret in our Salted Watermelon Poppyseed Macaron recipe. (It’s a bit more involved.)

How is 31 steps easy, you ask? Well, I never said they were EASY.
I also never said they were QUICK.
Easy and quick methods exist, but honestly… the cookie wasn’t as good. Not even close.
My choice is to make the ones I will enjoy most, and invest the time and effort in where I know it will be appreciated!
Links mentioned above:
Kitchen Scale:

Bob’s Red Mill Superfine Almond Flour

Bouchon Bakery

I’ve used this method so much that now I don’t need to even reference the recipe! Now THAT is something I am super proud of, considering how nervous I was of making these in the first place!
Give it a try, don’t be worried and join me in this newfound world of confident baking! Even when I fail, I learn something new about making french macarons. It is truly a passion (and getting to create interesting flavor combinations and beautiful presentations isn’t all that bad either!)
The shell is the hardest thing to master (or even get comfortable with….) once you have the shell down, the fillings are EASY! 🙂
Start here, with our Basic Vanilla Buttercream and you could be enjoying your own, home-baked french macarons sooner than you think!
Happy macaron-ing!

One Comment Add yours