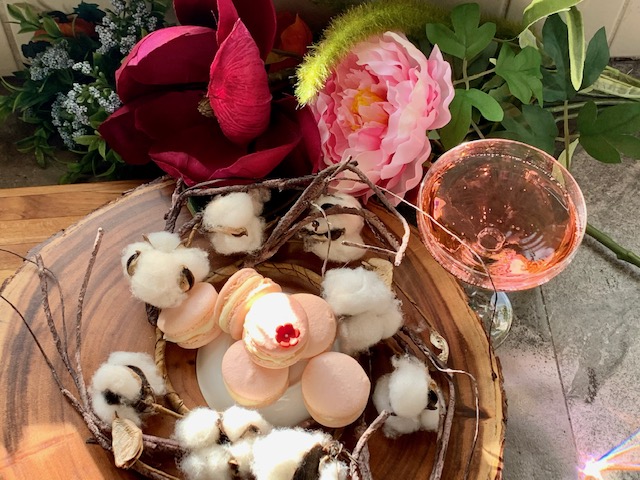
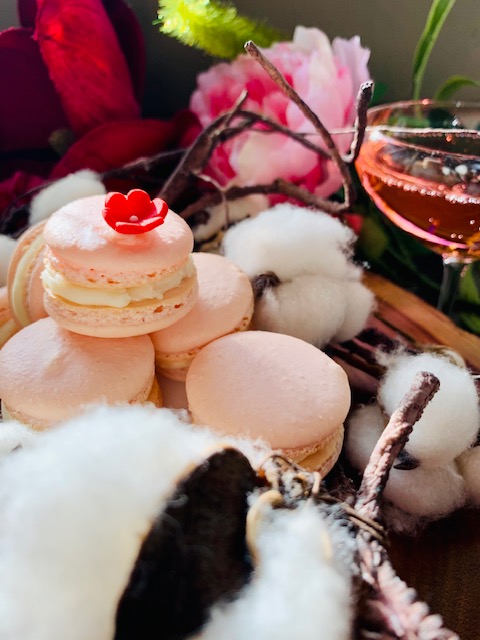
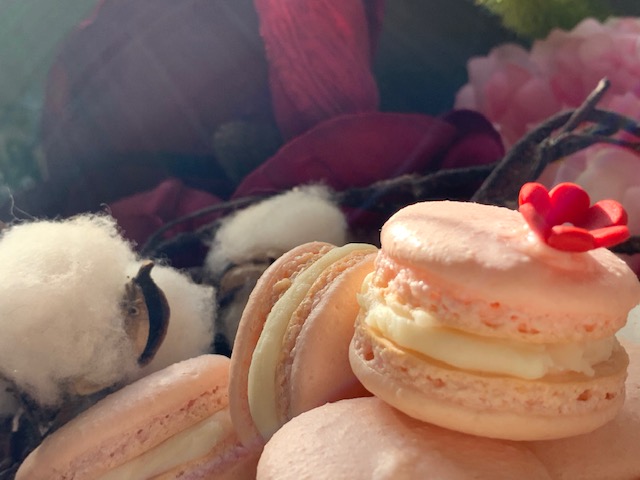
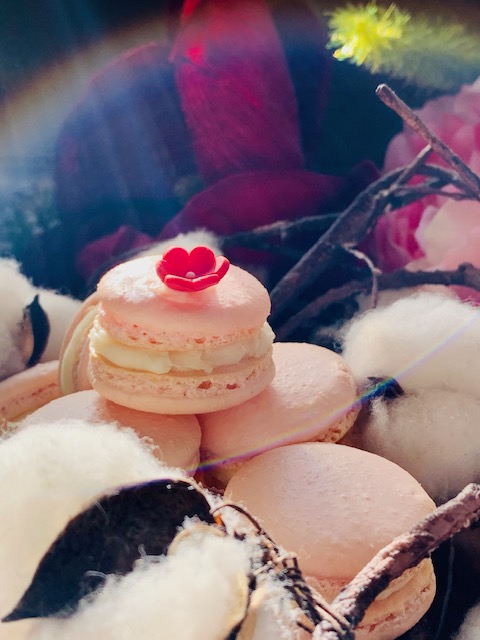
Now, I will be honest… this is the best macaron I have made yet. The flavor is so decadent that it just FEELS like you should slow down and appreciate it more (as you fight with the urge to eat like 10 of them….)
The base is the same in principle (for the most part) as the Xocolātl Macaron recipe I posted (minus the cayenne, cocoa and cinnamon) so it comes together pretty quick and yields a good, small batch.
The trick for these is to really make sure your shells come out well. ALL of the flavor is in the Rose Cream and as they sit a few days after building, the rose essence sort of absorbs into the shell a bit and the flavor is just…..well, sublime.
Enjoy! I will definitely be making these again!
ROSE CREAM MACARONS (yields approx 20-24 macarons)
INGREDIENTS
Shells
- 100g super fine almond flour (from blanched almonds)
- 110g confectioners sugar
- 75g room temp egg whites
- 1/4tsp cream of tartar
- 50g granulated sugar
- red food coloring (gel preferred to limit color fade in baking)
Rose Cream Filling
- 1 stick (1/2 cup) unsalted butter at room temperature
- 1 1/2 cups of confectioner’s sugar
- 1 tbsp cup heavy cream
- 1 tsp vanilla paste (or pure extract)
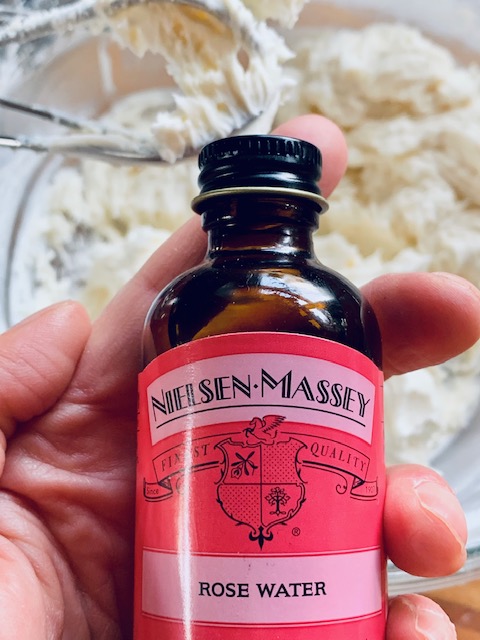
- 1/4 tsp of rose water (more if you really like rose… it is very potent though! Start small and build the flavor to your liking!)
INSTRUCTIONS:
- Place almond flour and confectioner’s sugar in food processor. Pulse several times to combine. If your flour mix is coarse, continue to pulse to make finer.
- Run dry mixture through a fine mesh sieve into a bowl to sift out any larger particles. Depending on the fineness of your flour, you will end up with about 1tsp -1 tbsp of solids to be discarded.
- Place egg whites (should be at room temp) into a mixer bowl with whisk attachment. You can also use a hand mixer for this if you prefer, and it often whips the whites quicker!
- On medium, begin to whip eggs until they get foamy. Once at this point, add the cream of tartar and continue to mix on medium for 1 minute to combine.
- Increase speed to high and begin to whip whites to soft peaks.
- Once soft peaks have formed, add your granulated sugar in thirds AS you continue to whip the whites (adding all at once risks losing the air you’ve whipped into your whites!) Once all sugar is added, continue to whip at high speed until stiff peaks form. You should have a nice, glossy meringue that ‘stands up’ when you lift your mixer head(s) out of it. Be careful not to over whip, you risk breaking the whites which will not result in a good textured shell at all.
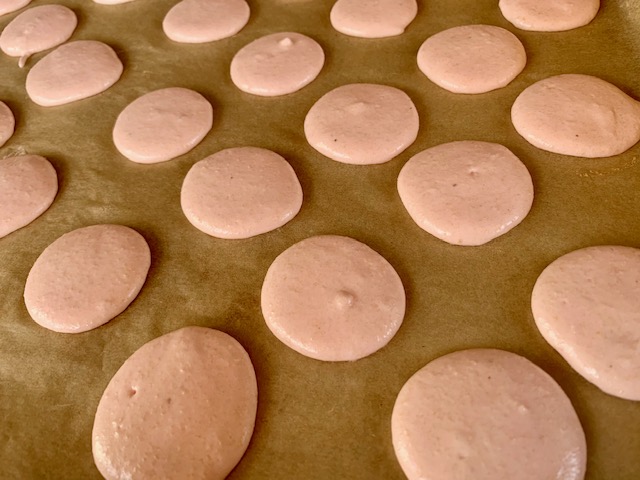
- This is the point that you add your coloring. I only had liquid, so used only 1 DROP of red to five a soft pink shade. They did not fade much during baking, but the feet did have a slightly different shade than the top of the shell in the end…
- Turn your whites out into your dry mixture and FOLD gently in. Remember you are tucking in the whites. It is an odd texture at first, but keep folding gently. Starting at 12 o’clock, bring your spatula around to 6pm along the walls of the bowl, then lift up and over the meringue. Give a quarter turn to the bowl with your non-spatula hand, and repeat. This process is the macronage. (oooh la la!)
- Continue to fold/mix until you arrive at the correct texture. Sometimes it is 40 strokes, sometimes 50… just be careful not to over mix. It is a delicate balance. You are looking for a ‘lava’ like texture, when you lift the spatula will flow slowly off of it. Some say when you can make a figure 8 with the ribbon off the spatula, your dough is perfect.
- Fill your piping bag (with 1/4″ tip), twist and pipe out your shells onto prepped baking sheet (with stencil underneath… unless you’re a boss and don’t need it! Yeah, I need it.)
- Take your full baking sheet/tray and tap down several times to release air bubbles trapped in the piped shells (air pockets mean broken shell tops… the air has to escape somehow and will crack the hard shell crust to do that… don’t miss this step!) Turn tray 180 degrees and tap again several times.
- Now, let piped shells rest for 30min-1hr (or longer if in more humid locations… humidity will totally mess with your macaron dreams…) Preheat oven to 275-300degrees (it doesn’t need to be exact, the key is to keep within that range. Over heating the delicate shells can also result in cracked shells as they cook too quickly and, well, crack.) Don’t forget to pipe ALL your dough. letting it sit risks it hardening or falling. Pipe it all, folks.
- Once your shells have that ‘skin’ over the top (you can run your finger across the top without it sticking…) bake shells, one sheet at a time for a total of 16-18 minutes. I like to bake for 10 minutes then turn the sheet and bake again for 6-8 minutes. Checking again after 6. This is really about your oven, so you need to be attentive. I expected to need more time, but they were done quicker than I expected… I probably could have taken out a tad earlier! If you are wondering the same, you can check doneness by taking a shell and seeing if it easily releases from the tray/parchment. If it does, they are done! 🙂
- Remove first tray and bake second with same cadence.
- Allow first tray of shells to cool slightly, then gently remove shells from parchment and allow to fully cool on a wire rack. They should come off with barely any effort.
- Once all shells have cooled, you will chill them a bit before filling. Again, this is to help them get that awesome ‘crunch and chew’ that we love from a good macaron. Chill in fridge for a few hours. 30 minutes before you are ready to fill, make your rose cream.
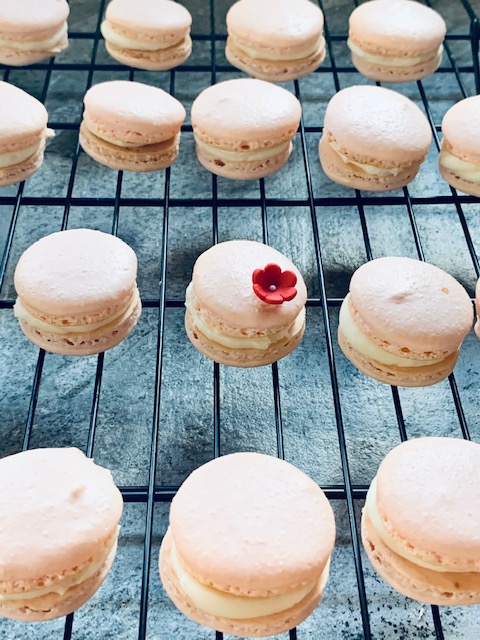
- Don’t forget to match your shells before filling so you have a nicely uniform macaron.
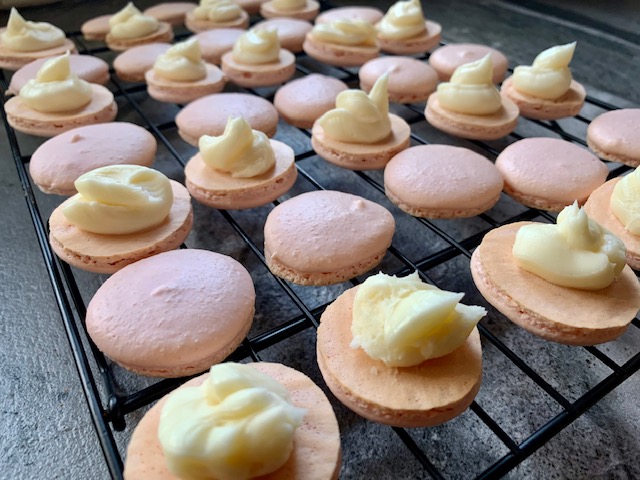
- Pipe your rose cream onto the bottom shell, then top.
- Remember to store in an airtight container in your refrigerator! They are best eaten within a week. You can also freeze in an airtight container as well!
Rose Cream Instructions:
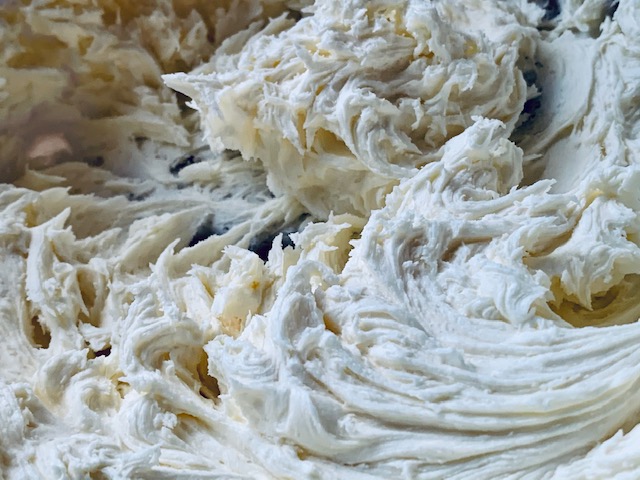
- Take 1/2 cup butter at room temp and whip until smooth
- Add your heavy cream and confectioner’s sugar (1/2 cup at a time so it doesn’t fly all over the place) and continue to whip, creating a fluffy buttercream.
- Add in your vanilla paste (or extract) and rose water, then whip to combine
- Use immediately or keep in airtight container in fridge for up to a week. (if taking out of fridge to pipe, you will need to allow it to come up to room temp and re-whip to ‘wake it up’! Sometimes you will need to add a tsp of heavy cream to rehydrate and get back to proper texture.)
Np reference photos, but they are just so pretty… even when piping filling… *sigh* Also, still trying to figure out my styling setup and building a toolkit for end of project styling. This one I wanted to make feel romantic (with Valentine’s Day and all) and I think it came out pretty well. There’s only one pic I am not pleased with overall as I should have used more macs to cover what I was using to elevate them on the wood round.


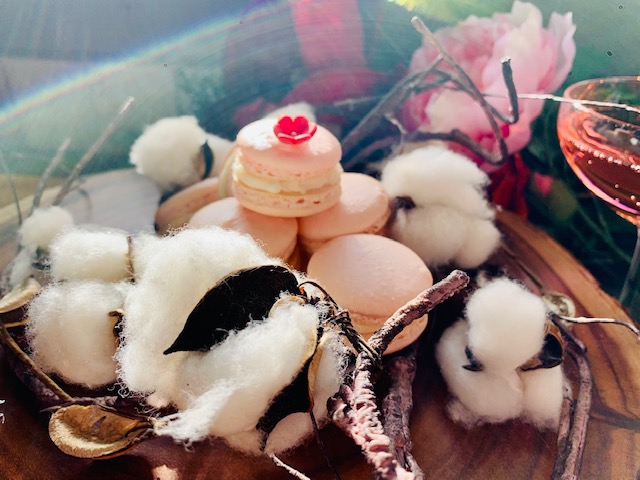
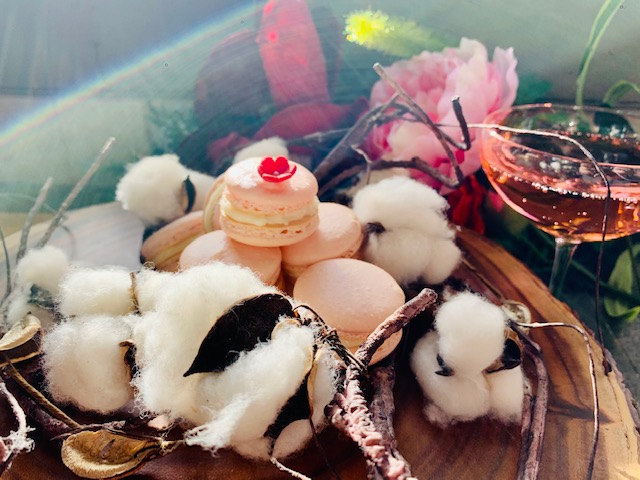

Enjoy, you romantics!
❤
