If you like condiments, this one needs to be on your MUST MAKE list.
As most of you now know, I love growing garlic and growing hot peppers. (I mean they’re in our Top 5 Crops to Grow list nearly every year!) One way to make sure you don’t waste any bit of what you grow is to use the ‘broken/damaged fruits or harvested but not able to be stored’ bulbs for other storable edibles – like OIL. This is one of those recipes… for the ugly fruits, the extra stuff you can’t think of how to use… for the bulbs you accidentally bruise or break (yes, I had some sloppy garden fork work on this year’s harvest… trying to film and fork ain’t easy, people) or just OLD garlic and drying out peppers. It happens *shrug*
This oil is so delicious and so versatile, you can use it over savory or sweet dishes… breakfast, lunch or dinner…
This has quickly become one of our household’s most used condiments (other than soy sauce, kewpie mayo and smoked salt.)
So easy, and so quick… this little sauce comes together in 5 minutes and keeps well in an airtight container on the counter for up to a month.
It’s 3 ingredients: THREE.
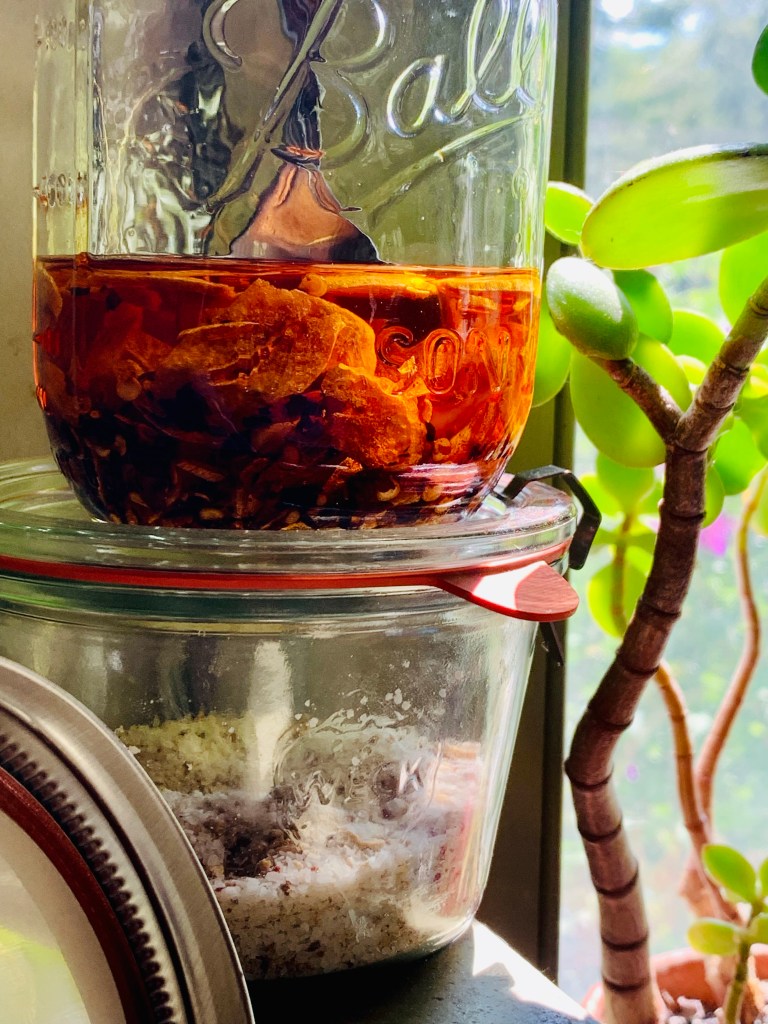
You need a heavy bottomed saucepan to make and a mason jar with lid for storing afterwards.
SIMPLE.
You got this.
INGREDIENTS
- 1 cup Vegetable Oil
- 2 tbsp red pepper flakes
- 10 large cloves of garlic, sliced thin
INSTRUCTIONS
- Add oil to pan and heat to shimmering over medium high heat
- Add sliced garlic to pan and cook until just turning brown, stirring gently to prevent sticking to pan
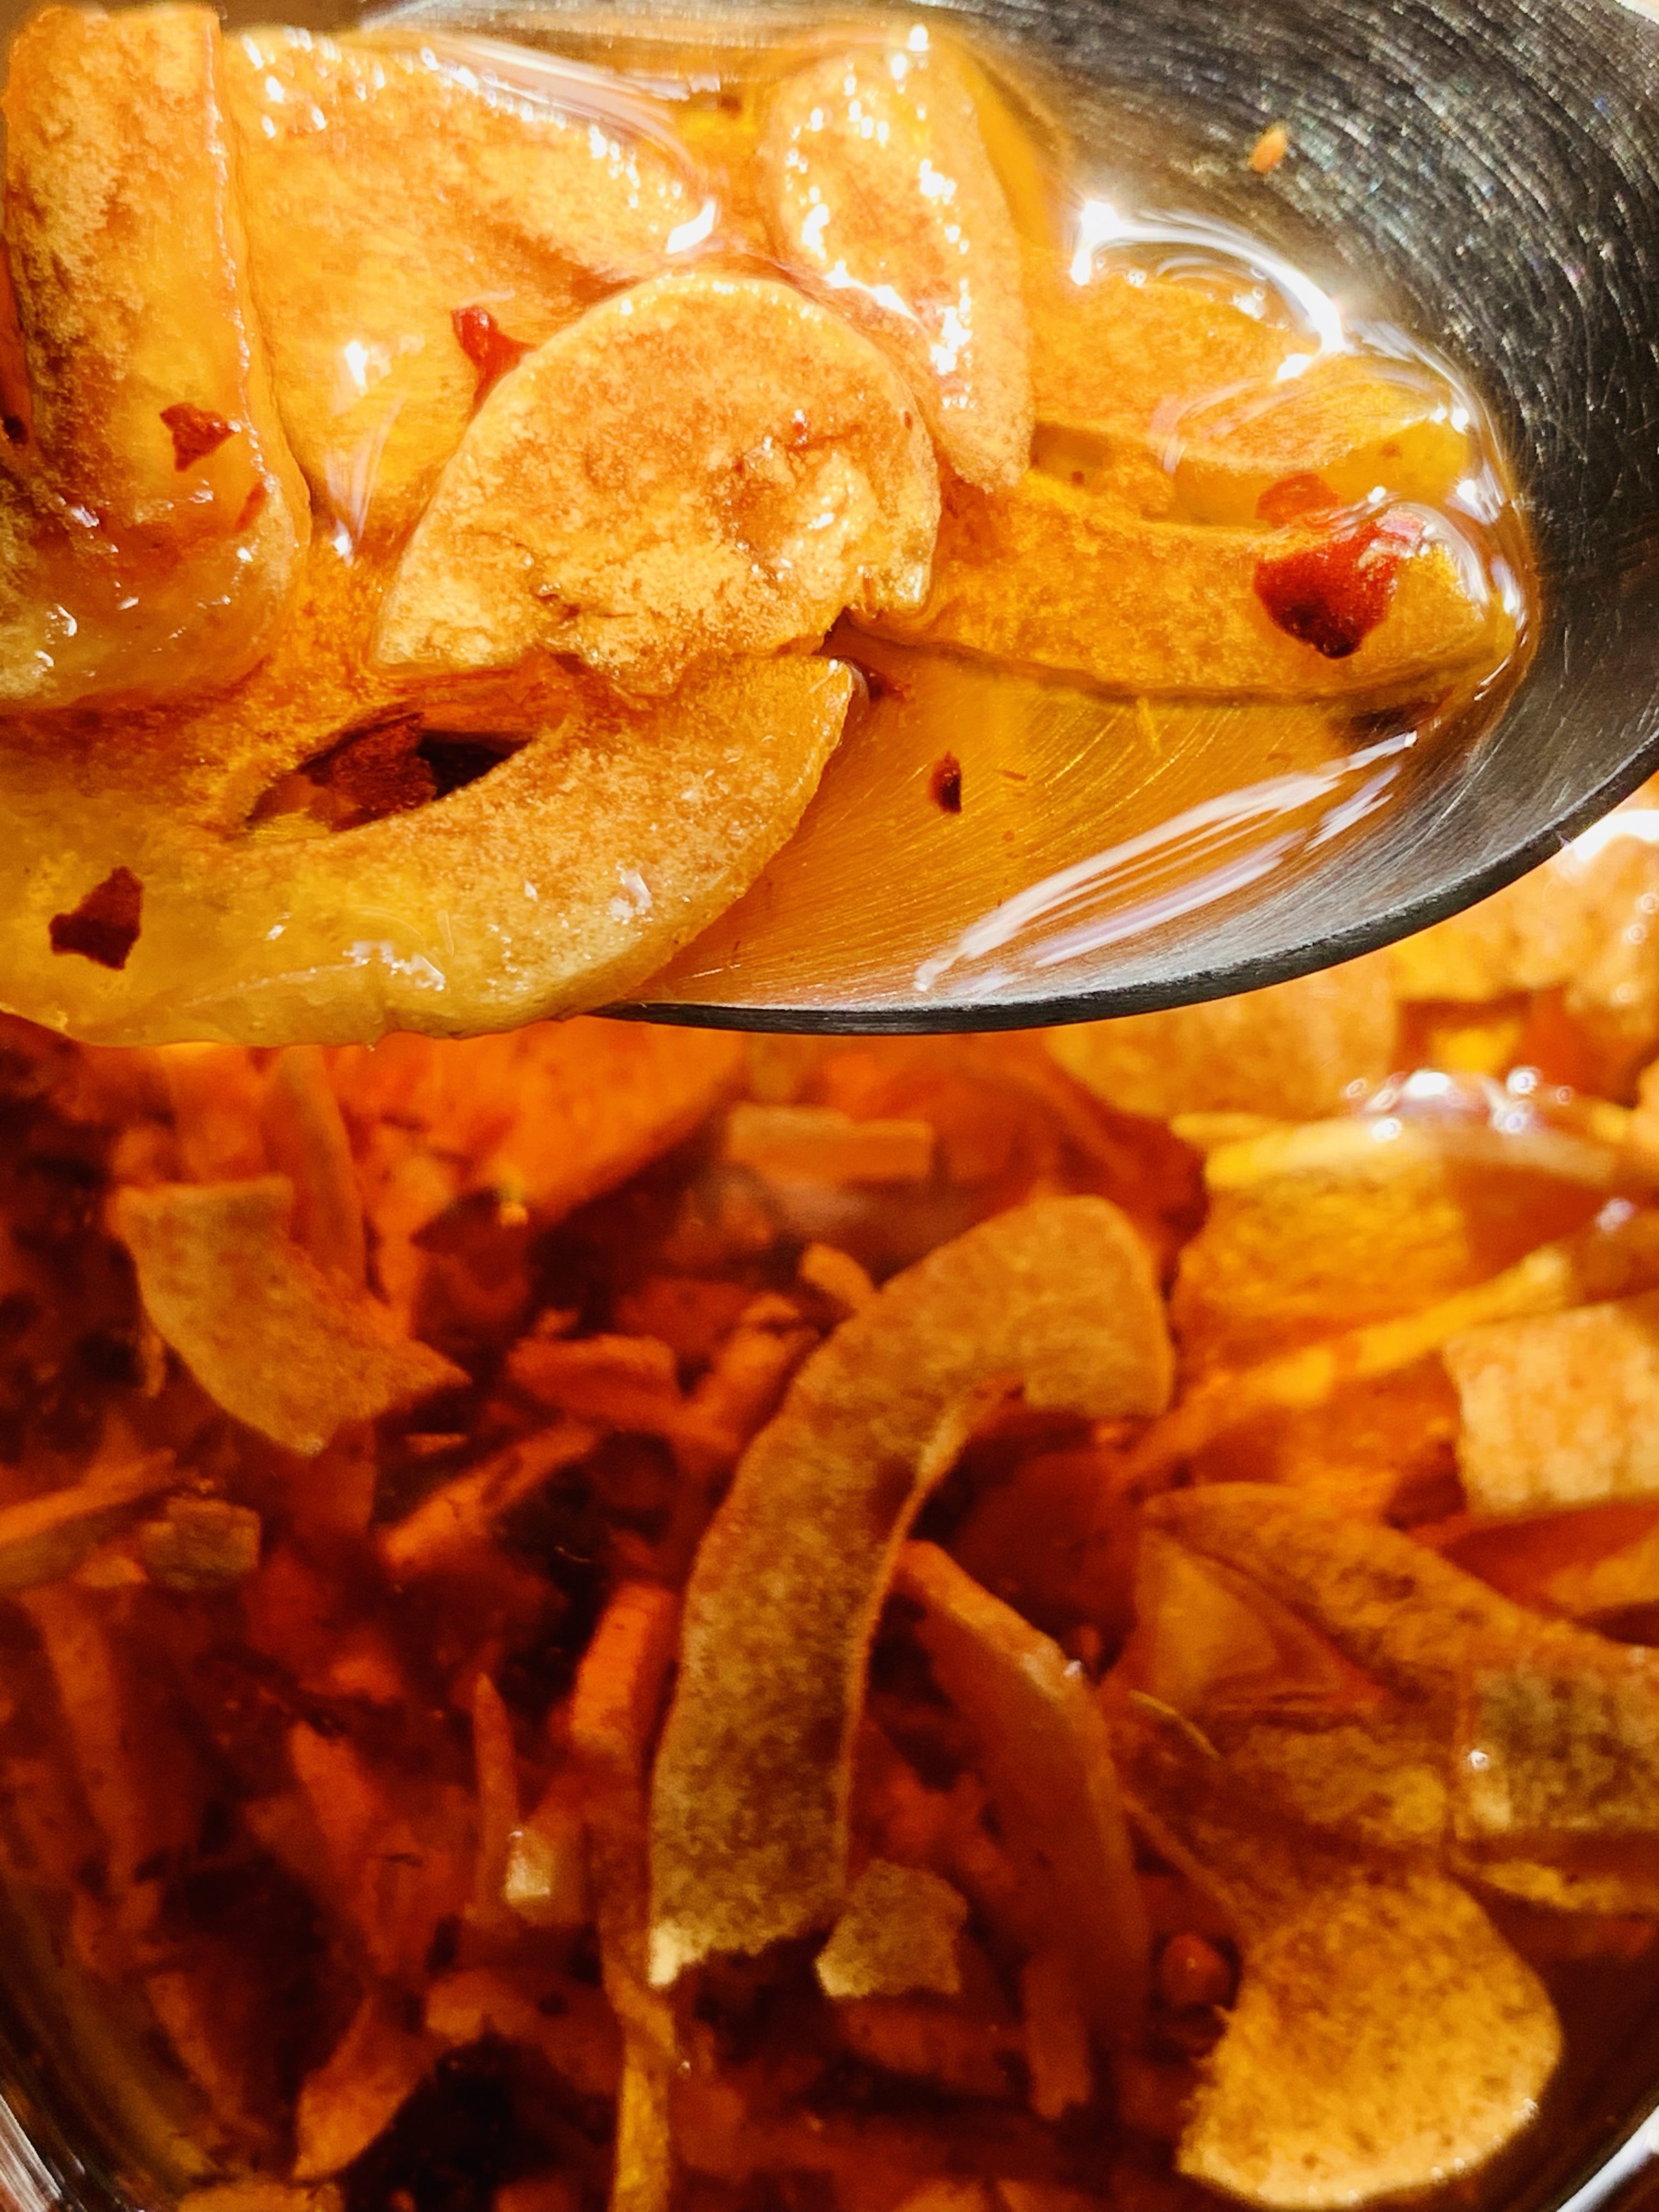
- Remove from heat once garlic is starting to turn brown (it will continue to fry in the hot oil once removed the heat, cooking off the moisture and making delicious, golden garlic chips!)
- Place red pepper flakes into pyrex measuring cup
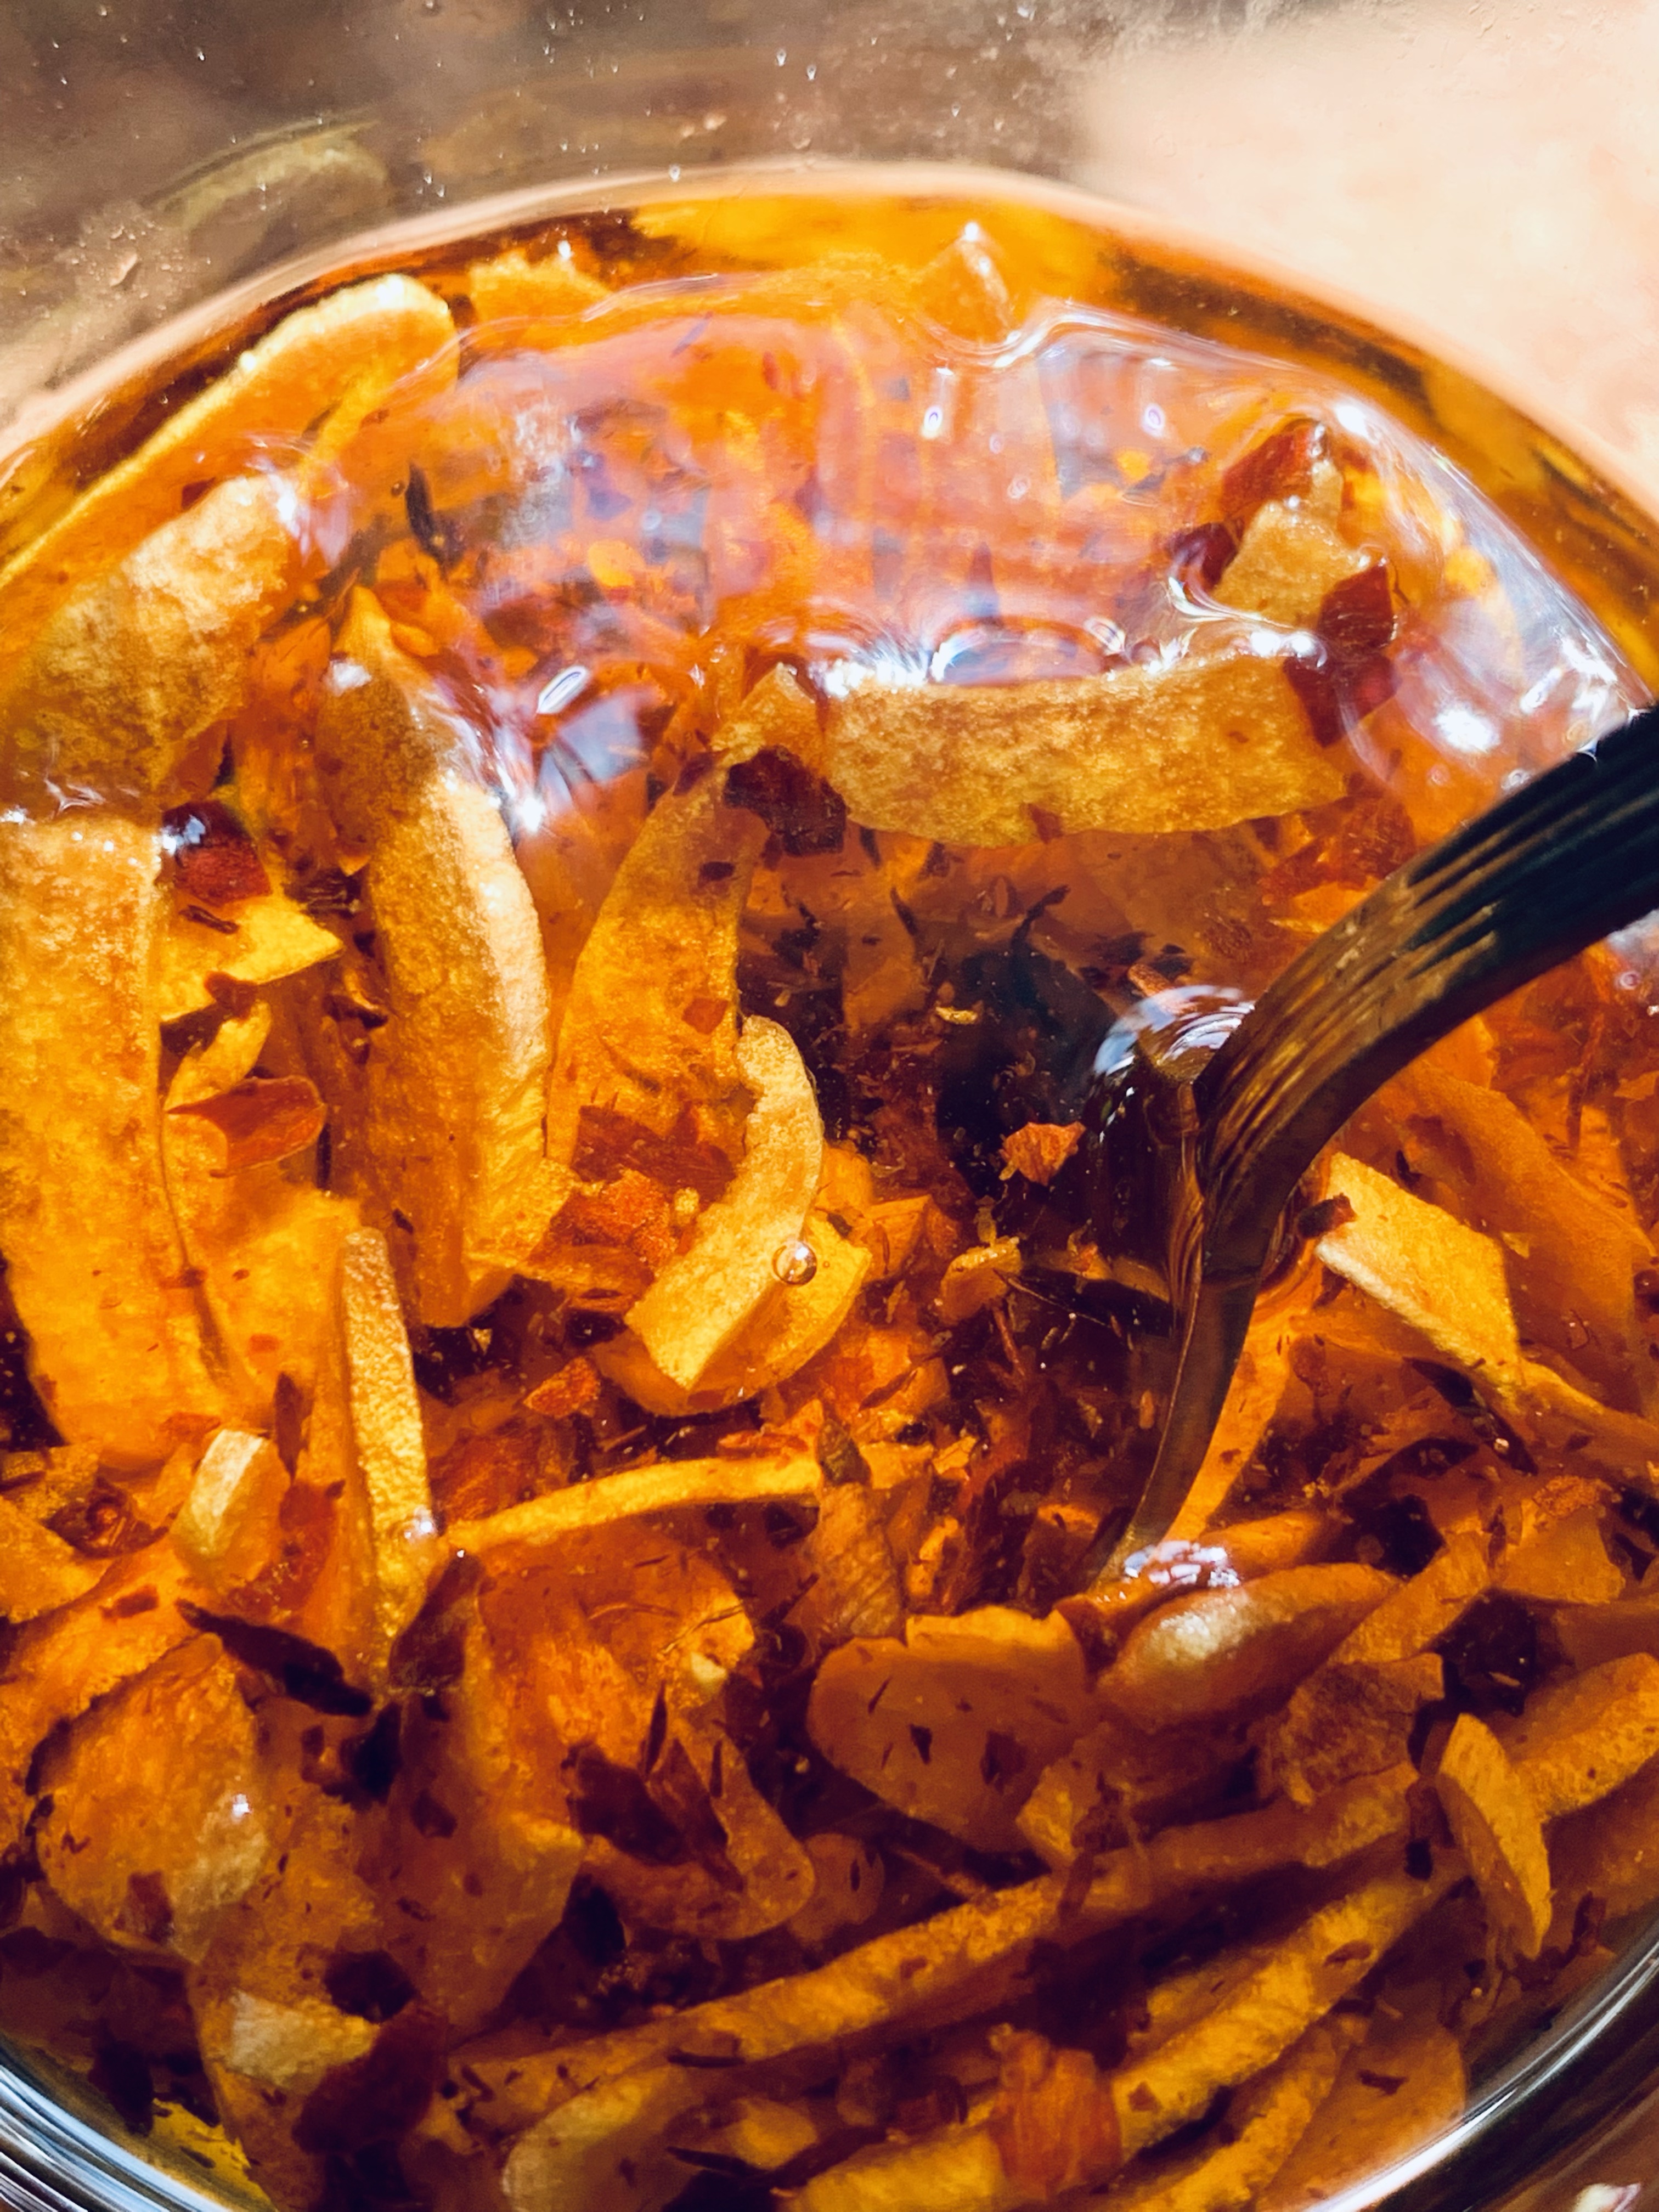
- CAREFULLY pour HOT oil/garlic mixture over the red pepper flakes and stir well to combine.
- Allow to cool in measuring cup, stirring occasionally to ensure the pepper flakes steep evenly throughout the oil.
- Pour infusion into ball jar to store and cap. Use within a month. Can store in pantry or on counter or the fridge…
This simple lil concoction finds it’s way into (and onto) so many of the food we make.


–> Love dumplings? Make these little pouches of wonder and drizzle this oil on top – Mushroom, Cabbage and Shrimp Dumplings
–> Having a simple brunch of scramble, toast and fruit? Some of this infusion over your eggs is heavenly.
–> Nuking up some store-bought wontons for a mindless dinner? Drop a tsp of the oil into a tbsp of soy sauce for a great dipper!
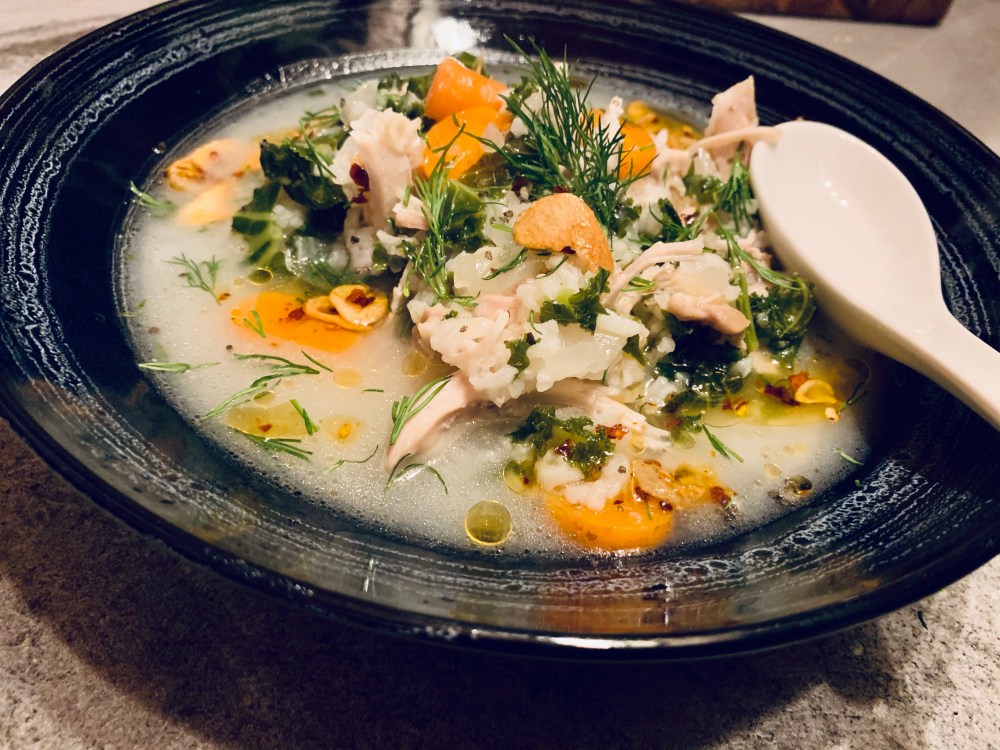
–> Making some of THIS amazing soup? Drizzle a tsbp with crisped garlic on top to finish it along with some salt and lemon – Chicken and Rice Soup
–> Want a simple pasta? Boil up some bucatini, toss in lemon and parmesan and then finish with this oil… it’s AMAZING.
**Don’t even get me started on adding this to the top of your favorite homemade pizza… or grilled veggies, or…. it is really THAT yummy!
If you like to add a little heat to your meals, this oil will not disappoint.
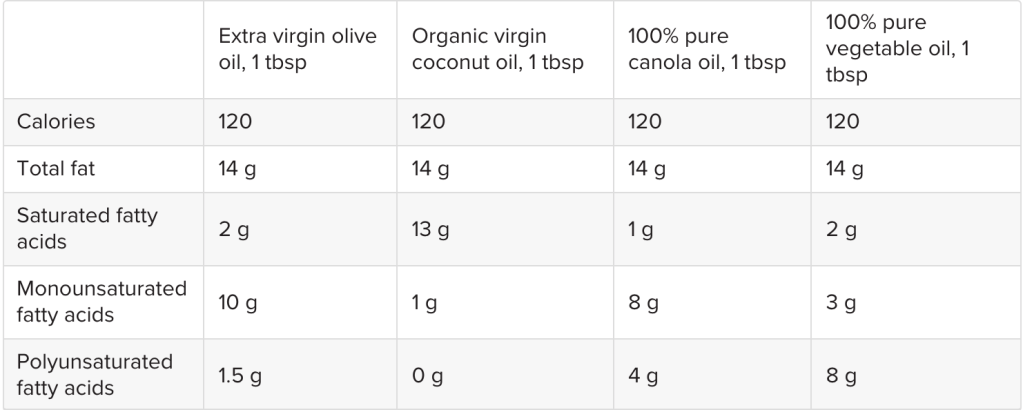
(NOTE: using Vegetable Oil is the best for this as its’ smoke point is high allowing for the best frying conditions for the garlic to infuse the flavors, and as a bland oil, it allows the chili and garlic flavors to SHINE in the end end product. Here is a quick infographic from an article on Medical News Today to give you a quick snapshot of the basic health values of different oils if you want to check fats, calories and do a side by side.)
(ALSO NOTE: For those considering canning this oil for long storage, the USDA had tight guidance around canning raw garlic due to botulism. Most guidance you will find on infusing oils is around using the garlic, herb or veggie FRESH, however even fried or roasted, garlic can still harbor it. While we have never encountered any sort of issue with this recipe, as the garlic is fried to a crisp, placed in oil and stored on counter in an airtight container, this is NOT a recipe we would recommend making a TON OF and keeping for more than a month. As it’s a simple preparation and consumable on so many things, we recommend only making enough for a week or two. This recipe is for that amount. We always go through ours in 2 weeks… maybe 3. Then just make more! The most common time constraint out there for crispy fried garlic chips or oil is 1 month, although ours never lasts that long!)
For more resources on canning, head HERE to the National Center for Home Food Preservation (created in partnership with the USDA… those outside the US, there may be different guidance.)
