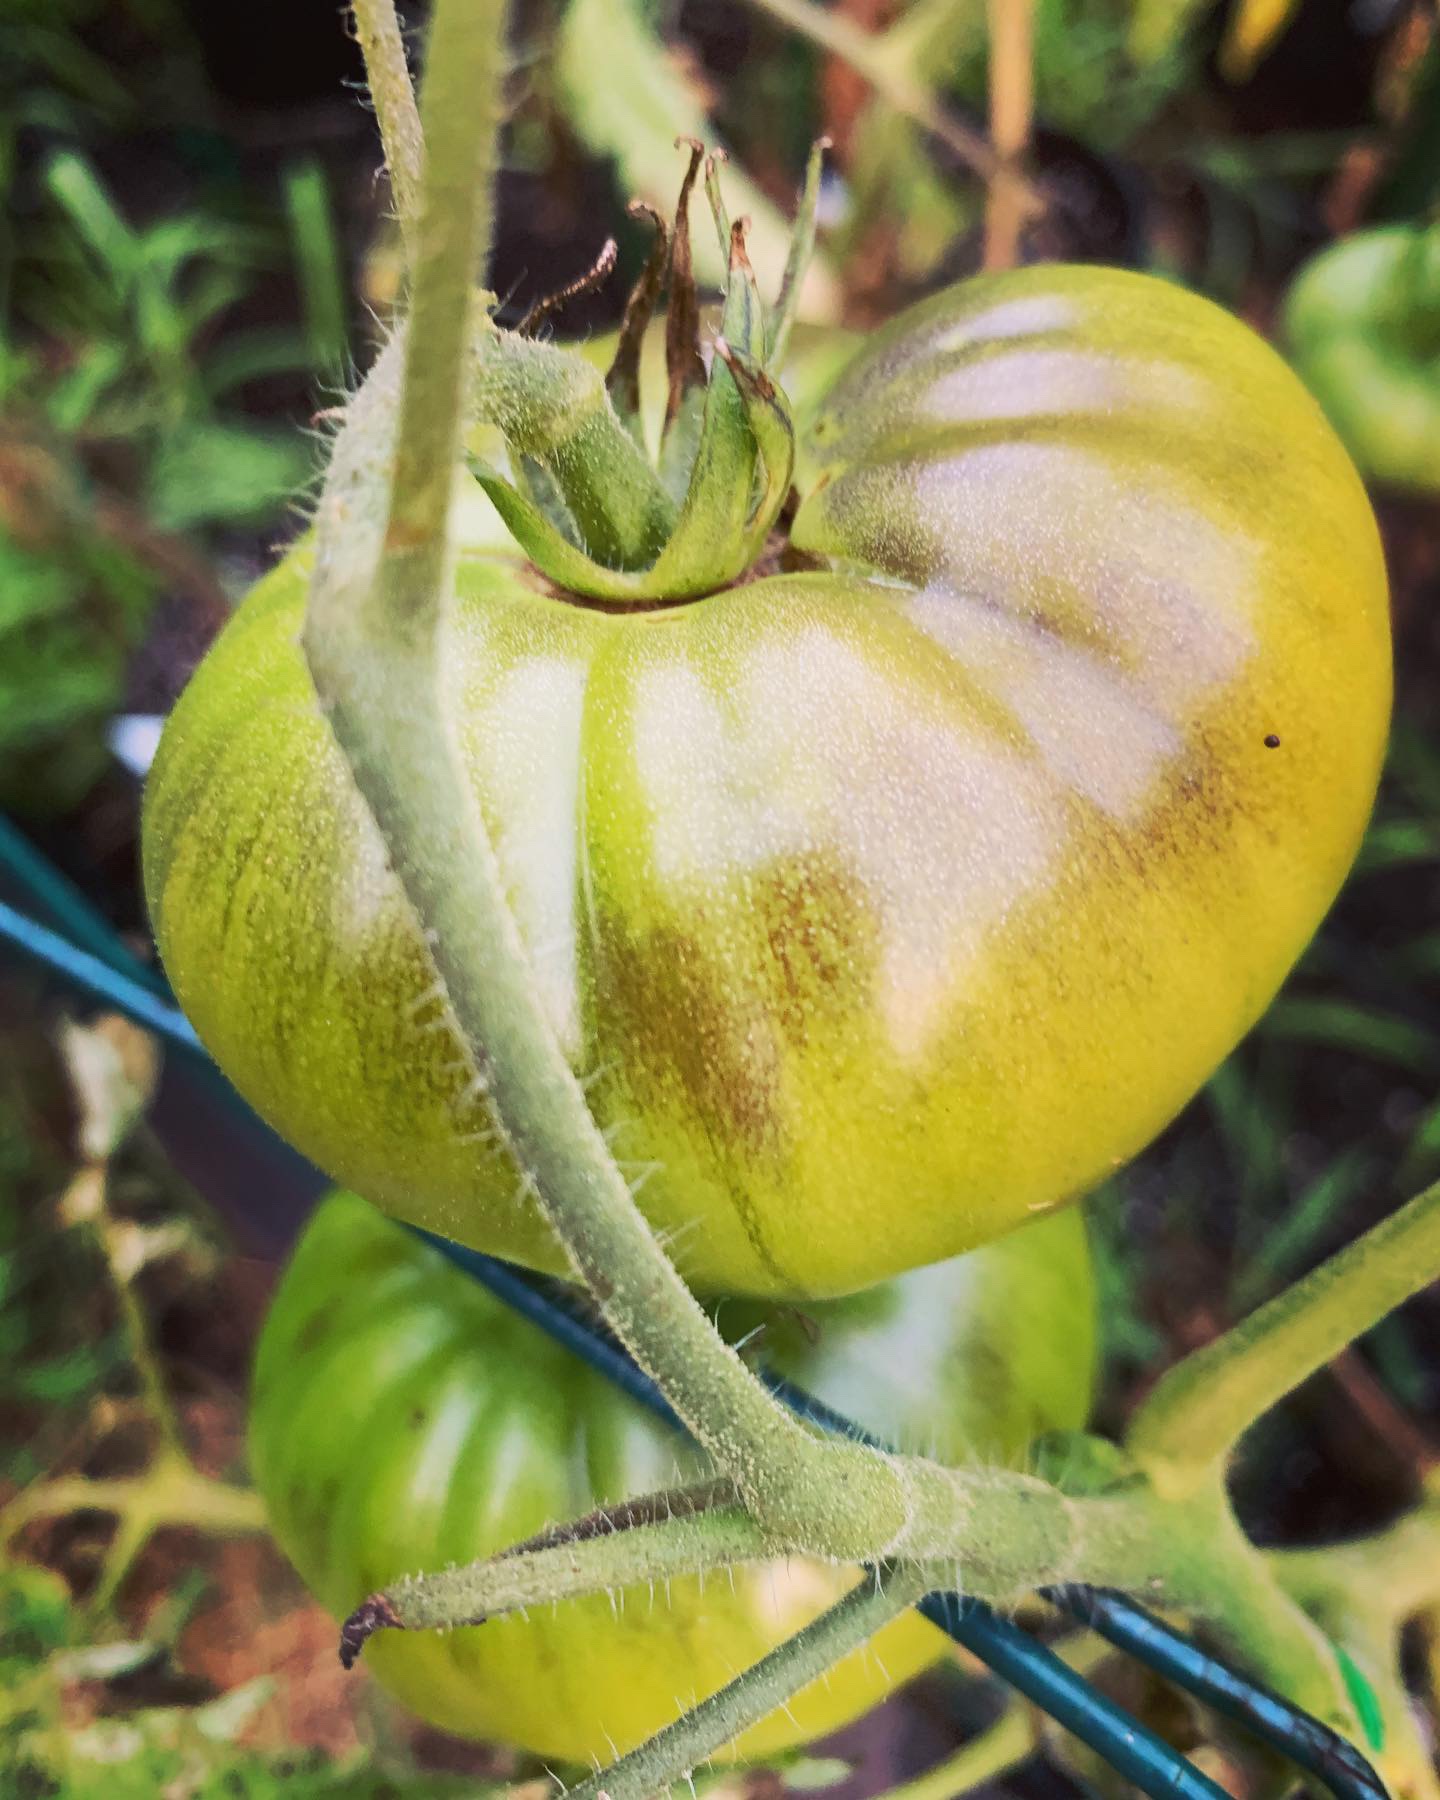
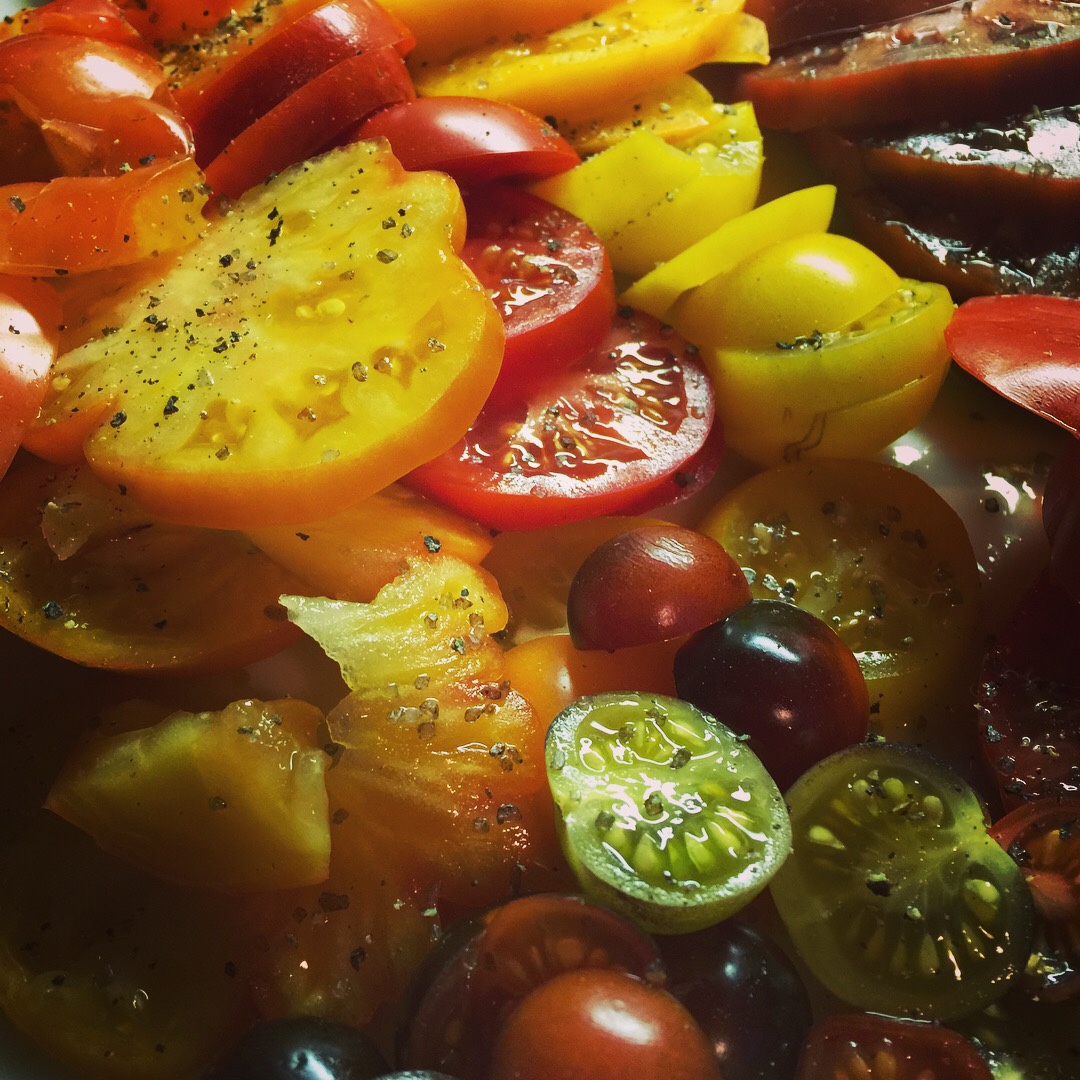
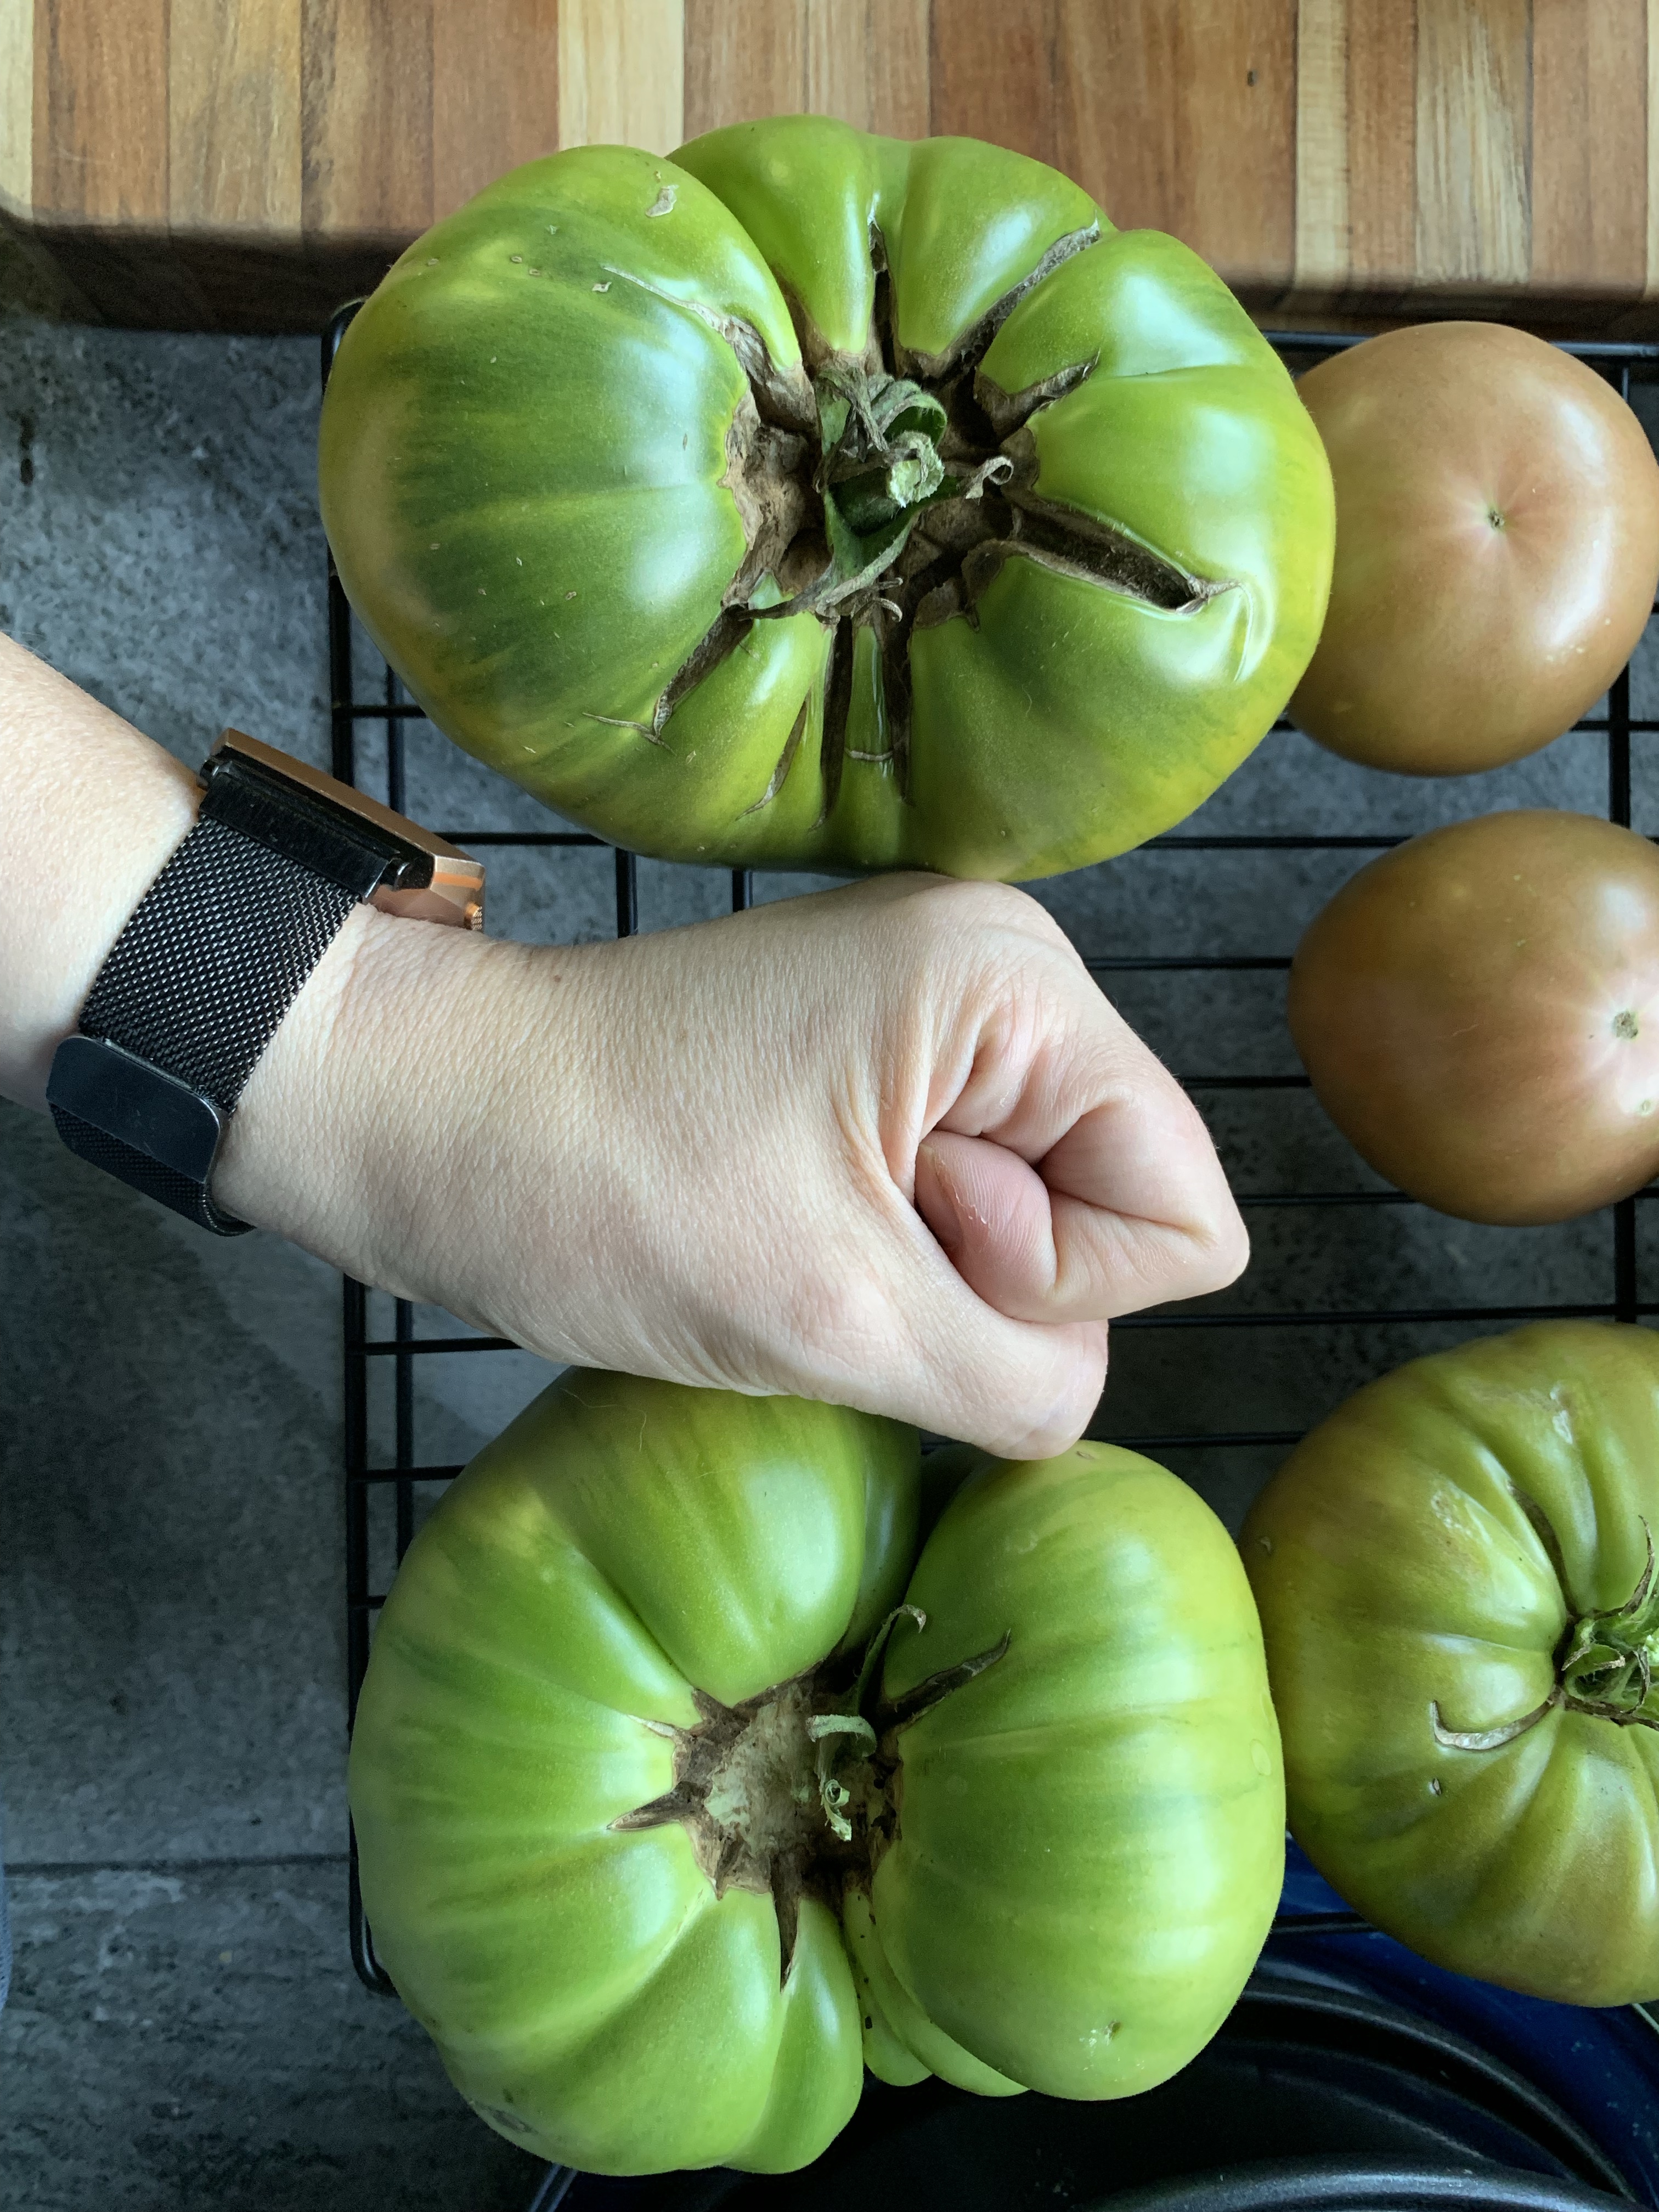
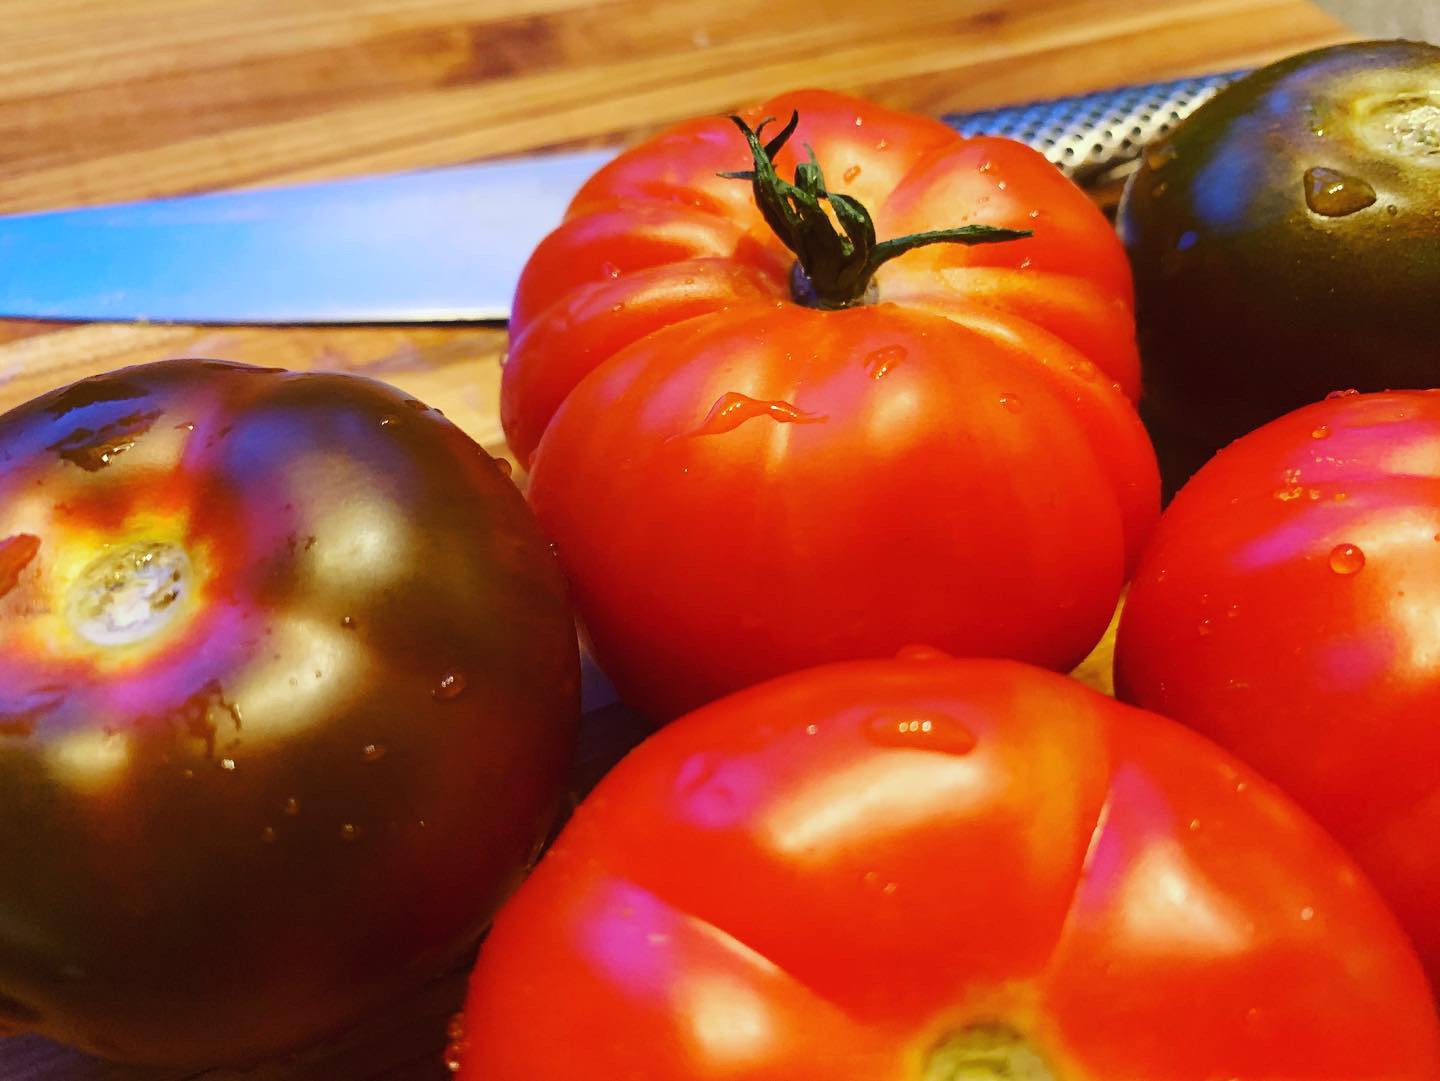
We LOVE tomatoes. And our garden wouldn’t be OUR GARDEN if it didn’t have 2-3 entire beds (and our deck and various other locations) filled with their deep green, thick foliage and incredibly delicious fruits in a rainbow of colors.
Tomatoes HAVE to be one of the most used veggies out there. It’s found in so many different foods and products, in a variety of different forms. From Tomato Water perfume scents to skin care to thick, rich tomato jam, this crop is hands down:
- my FAVORITE veggie to plan
- the one crop I own the MOST varieties of seed on (ummm, it’s downright ridiculous how many packets of different tomato seeds I have in the freezer…)
- and the crop that crushes my soul the hardest when there are failures
Most growing seasons we have a massive amount and variety growing throughout the property.
This year, however, we are trying to reign in some and work hard to get the most use out of what we cultivate (and stay up on preserving throughout the season so we minimize waste of good produce!)
Here is a quick reference link to WIKI for some tomato history and general info. One thing that never ceases to amaze me, is how easy it is for us to forget WHERE our food comes from. Common belief is that tomatoes originated in South America. Tomatoes intentionally cultivated for food most likely was started by the indigenous people of Mexico (the Spanish Conquest most likely brought the fruit back to Europe) and one of the things I find so interesting, is that it is written about in South American text as early as 500BC as a cultivated crop (most likely grown and consumed much much earlier) and not introduced to Europe and Asia until approximately the 1540’s. It was not a cultivated crop in the US (documented) until approx 1700 (potentially introduced from the Caribbean.) Of course, honoring where our food comes from is very important. Growing heirloom varieties to maintain the impact of longstanding food crops is also extremely important.
SURE! You can go grab a hot house tomato from the grocery store. But think a moment:
- These could have been picked and artificially ripened (not matured, but just turned red so they look ripe at the store… hence bright red but ROCK hard and tasteless tomatoes…) by introducing ethylene gas to green tomatoes during transportation
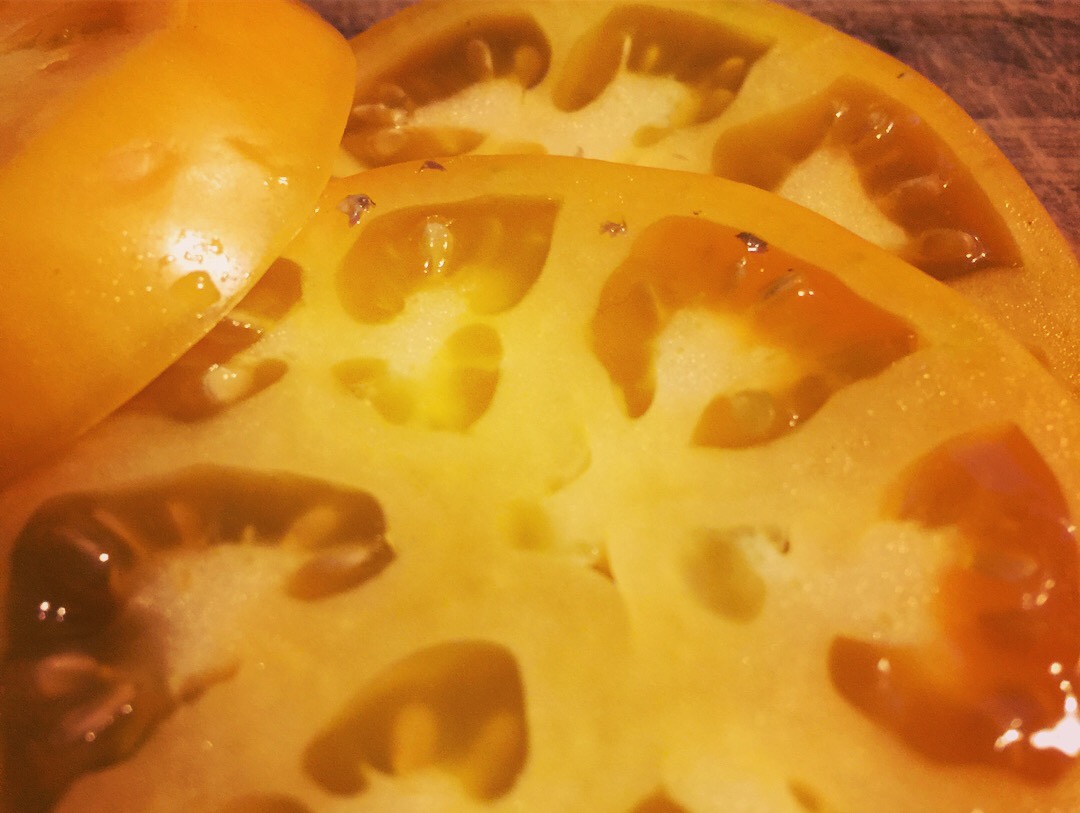
- To be perfectly round, with no knobby, striated fruit… most likely they have been treated or are variety that has been genetically modified (not BAD for you at all, but also not true to tomato realities most times) to look like a perfect, smooth globe.
- To maximize yield, chemicals might have been used to manage pests, fungus or other types of disease and challenges to plant growth and fruit production.
- They most likely are grown with massive amounts of energy use, versus the glory of the sun and all it’s incredible power. Not saying ALL mass produced tomatoes are carbon HORRIFIC, but it is something to consider. Tomatoes grown naturally are 100% available in stores (to varying degrees) but will cost much, much more due to the challenges that are handled naturally, without maximum yield due to said challenges approached naturally, BUT most likely will be the best tasting tomato you could buy at that establishment.
There are many reasons to grow your own food if you have the ability to. But sometimes space (or housing arrangements) don’t allow for it. Finding a good local farmer’s market is also a great way to ensure the best tomato on your burger, in your sandwich or in your salad.
But again, sadly, not all folks have the ability to seek these out as well… food deserts are REAL.
Head to the Food Empowerment Project to learn more about food deserts in the US. To learn about one way to impact food deserts (and an organization that is world wide), head to The Urban Gardening Initiative, which is just one resource out there to help try to impact food scarcity and make our planet greener … even in the midst of the most concrete of jungles…
The beauty of the tomato is that if you have sun, a pot (preferably 12″ or bigger), some soil and water, you can grow your own tomatoes. Depending on where you live, temperatures, growing seasons and space… you can grow the best tasting tomatoes on one plant, enjoy them all raw, sauce them, salsa-ify them or stew them for the winter months… you can grow MANY of these plants and do it all… or just grow a cherry tomato plant on your sunny balcony or window sill for tasty snacks in the heat of summer.
Here at DBF, we grow slicers and saucers in the garden and most cherry types in containers (the ability to limit the root growth and keep the soil warmer helps push out a TON of energy into fruit production so we get amazing yields this way……and they are within a few steps reach when we are making a side salad for dinner or just want a quick snack!)
Now HOW?
- Understand your growing zone and plant accordingly. Where we live, it is best NOT to direct sow tomatoes, but to start indoors 1-2 months before you will transplant outside (or move outside). I start tomatoes in March here in zone 5b and plant out around Mother’s Day (I am a tad late this year transplanting, but will only be 2 weeks off that date.) Check your zone recommendations for starting tomato seeds indoors and be prepared for a few months of indoor tending. The good news is that as long as there is room for them to grow in their pots, they will keep growing until transplanting.
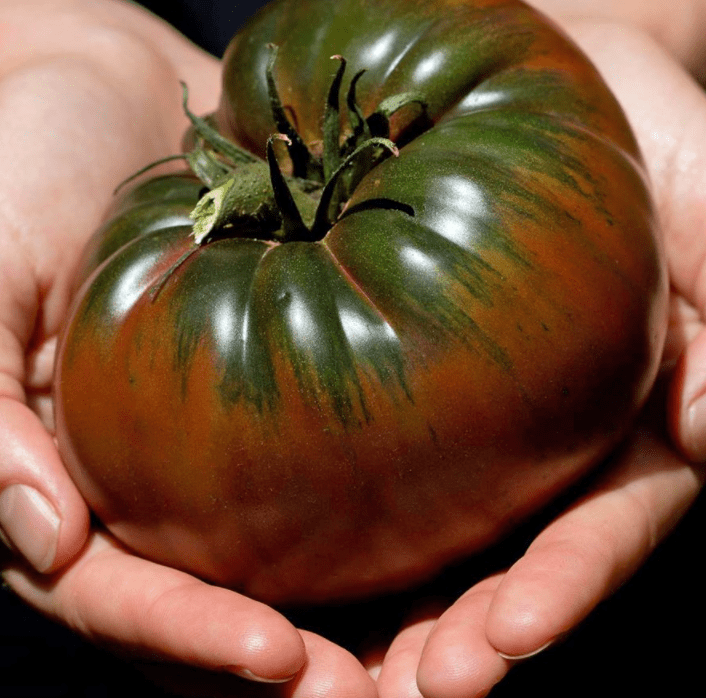
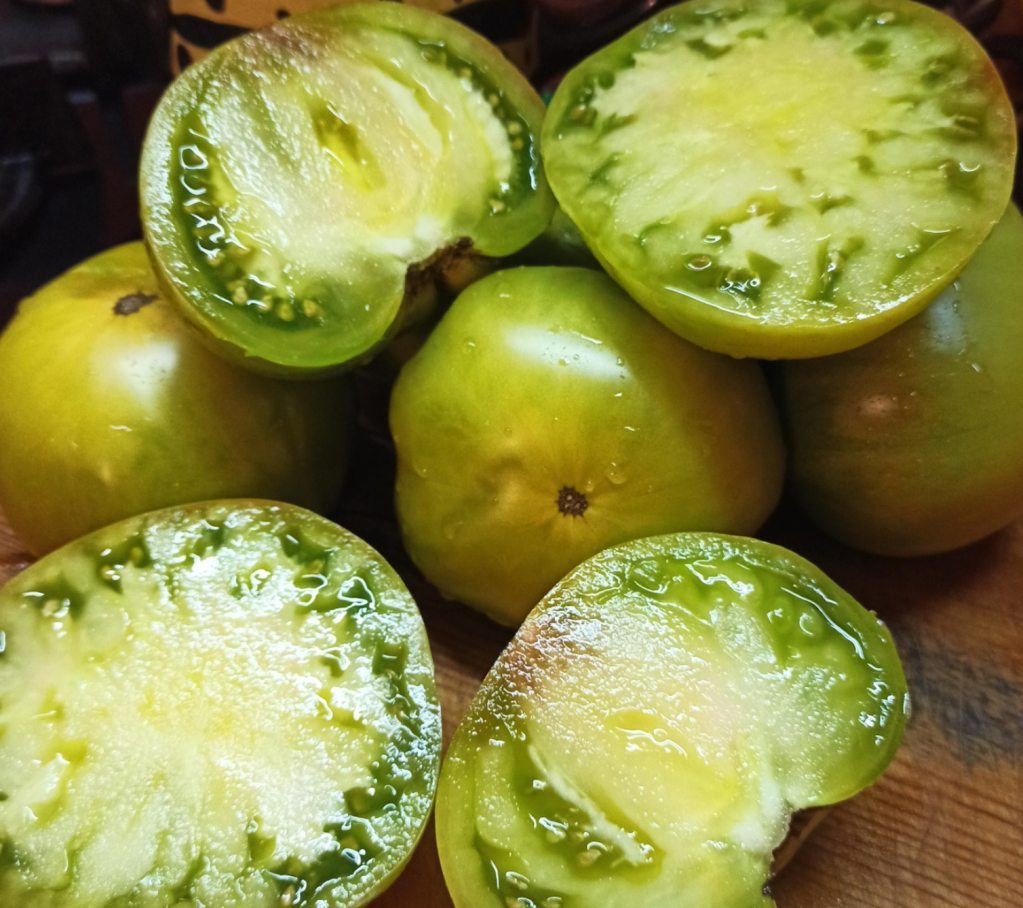
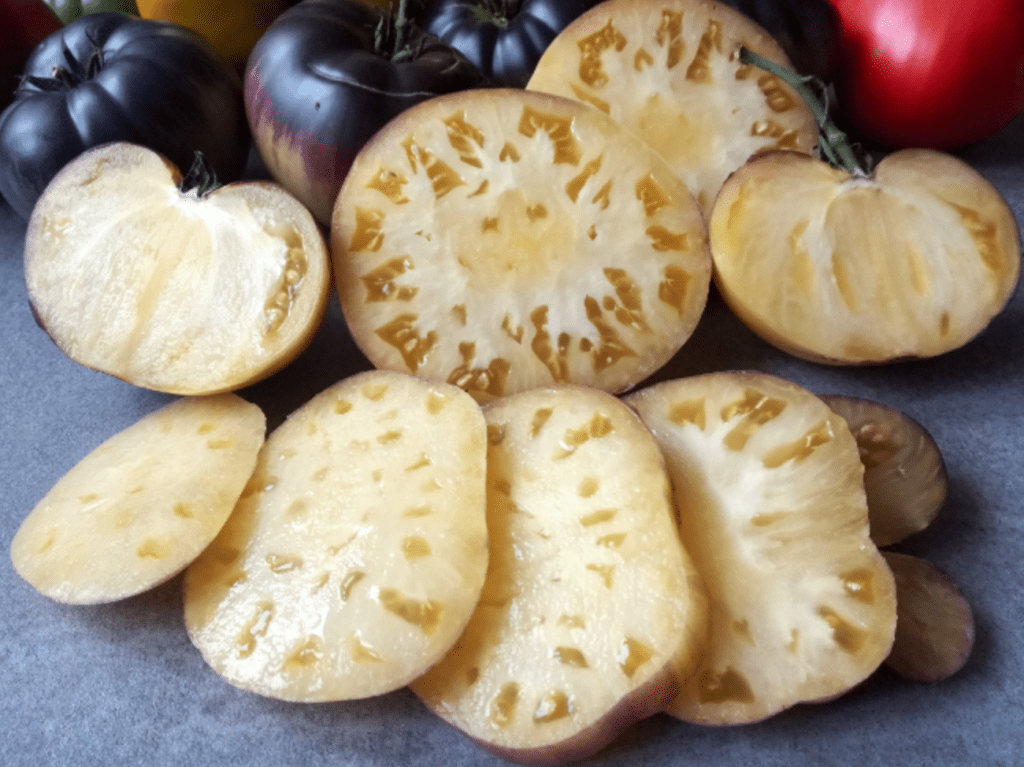
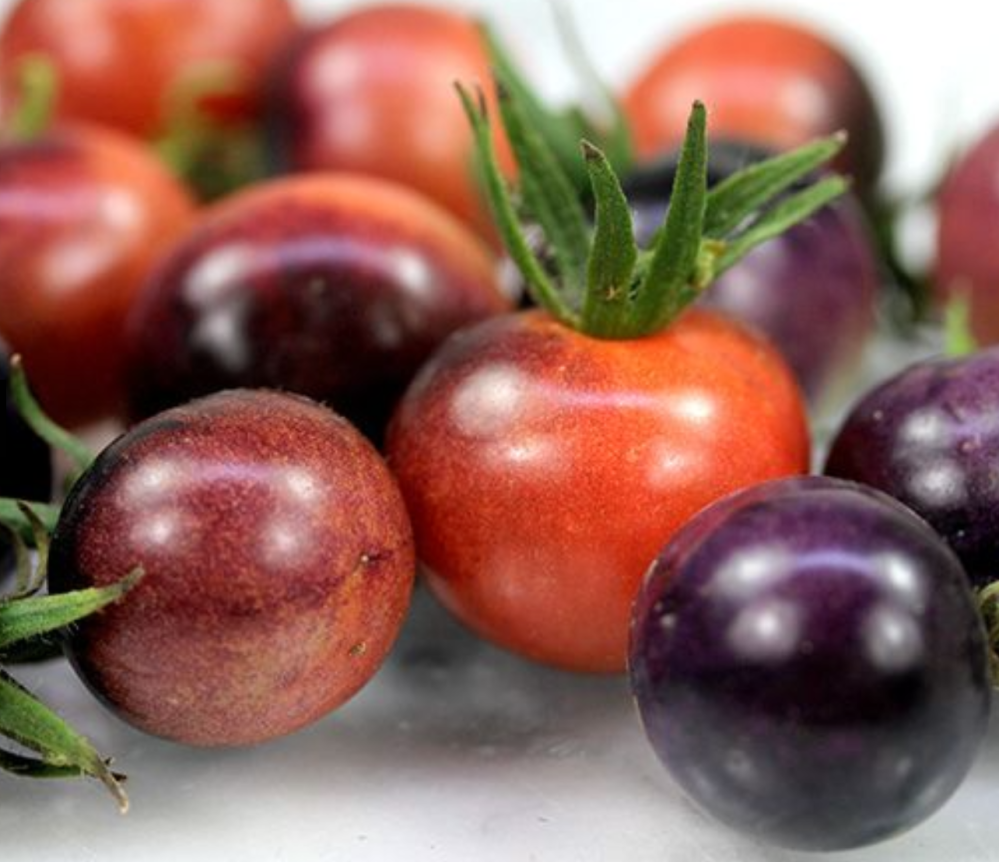
- Pick your varieties. Do you want them for snacking? Raw slices for caprese all summer? Saucing? For making salsa or stewing? Do your research and have fun! There are over 10,000 tomato cultivars. YES! TEN THOUSAND! Here is a list if you’re a tomato nerd like me LOL
- Start your seeds with the ability to give them heat and light for 18 hours a day. Sounds TOUGH, but a cheap heat mat does the trick as does a cheap grow bulb. In March, we do not have strong sun, so I suggest both of these items to help you get your tomatoes ready for plant out! 2-3 seeds in a seed starting peat pod or a starting tray plug (section) about 1/4 inch deep is all you need to do. I don’t press down the soil over the seeds, watering with a mister for the first few weeks compacts the soil enough in my opinion. If you have a greenhouse tray, keep it covered for humidity until you see the seeds sprout then prop open the lid!)
- Keep soil moist, and light/heat on until their second set of leaves grow. You can start to lessen the heat mat if they are growing well at this point, but keep that light on them!
- By the time they are about 2 inches tall, they are most likely ready to be up-potted. AKA: put in a larger pot with more soil and some young plant food. This gives you the chance to cut back/thin any extra plants in your seed starting pod/tray plug… although I never like killing plants, I try to break them apart and then plant them as bonuses. 🙂 MORE TOMATOES!
- The joy of transplanting…. YAY! While you CAN plant a tomato plant in each square foot, I don’t like to do that unless I’m growing all the same varieties. Cross pollination and all…I tend to give a bit more space (1.5 feet on all sides) so in a 4×8 bed I will get about 12 plants. Although I don’t seed save from our plants, and cross pollination still happens, that extra 6 inches reduces it for me a bunch and I get ‘more true to seed’ fruit versus hybridizations (which are still mighty tasty!) I plant about 3 inches DEEPER than the potted start, and at a 45 degree angle. WHY? Basically the stalk of a tomato plant will put out roots if it’s in soil. An angled plan, planted with a few inches of stalk underground will set out an extremely solid root structure. If you are in a windy location or are growing a particular variety that will produce large fruit, this will help.
- Once in the ground, water from BELOW (you invite pests and disease with wet leaves) and feed a good tomato fertilizer every few weeks.
- Check for pests and disease OFTEN. Like with any homegrown crop, if you are choosing not to use chemical deterrents, you will have pests and disease. The key is catching it early and managing asap.
- Enemy #1 round these parts? The Hornworm. I hate them. They will take down an entire plant in a few days. And you never can see them until it’s almost too late. Personally, I suggest following the Almanac methods HERE…. I still struggle with them, but hope this year will be better (trying the ‘blacklight’ method and hope I can catch them earlier!)
- Harvest when ripe and well, enjoy!
The above Wiki article sheds light on common pests and diseases as well as the Farmer’s Almanac has a treasure trove of info on how to combat tomato issues. I generally only have hornworm issues, some blight (overcrowding is usually the cause and too much moisture) and occasionally blossom end rot (but that is a pollination issue that I haven’t had in a few years…)
What are WE growing this season, you ask? Well…….
- 3 Slicing varieties
- 3 Cherry/Small varieties
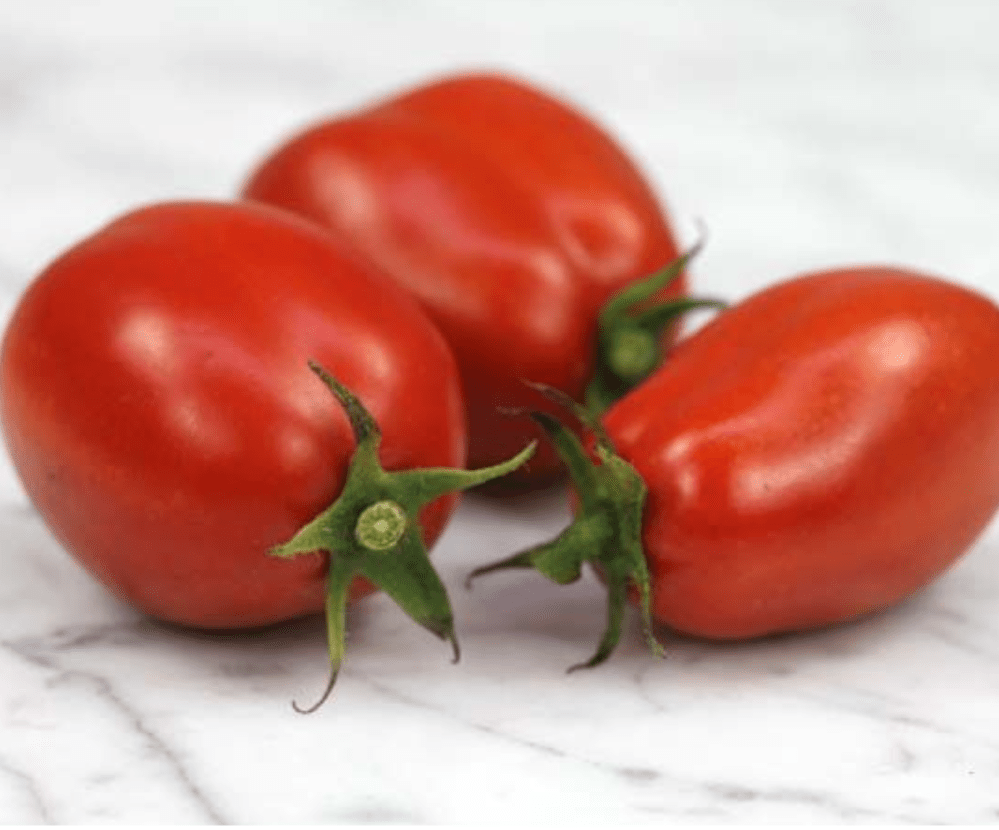
- 1 Paste variety
(might add a single plant of an orange slicer if I can find one in a garden center…)
(NOTE: photos are not my own, they are owned by or credited on the referenced links below!)


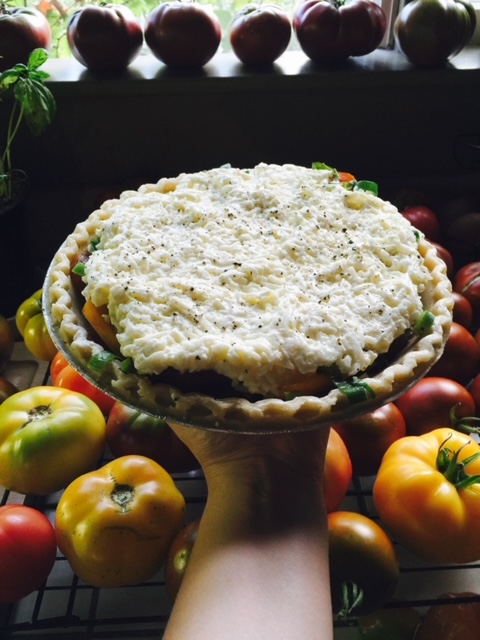
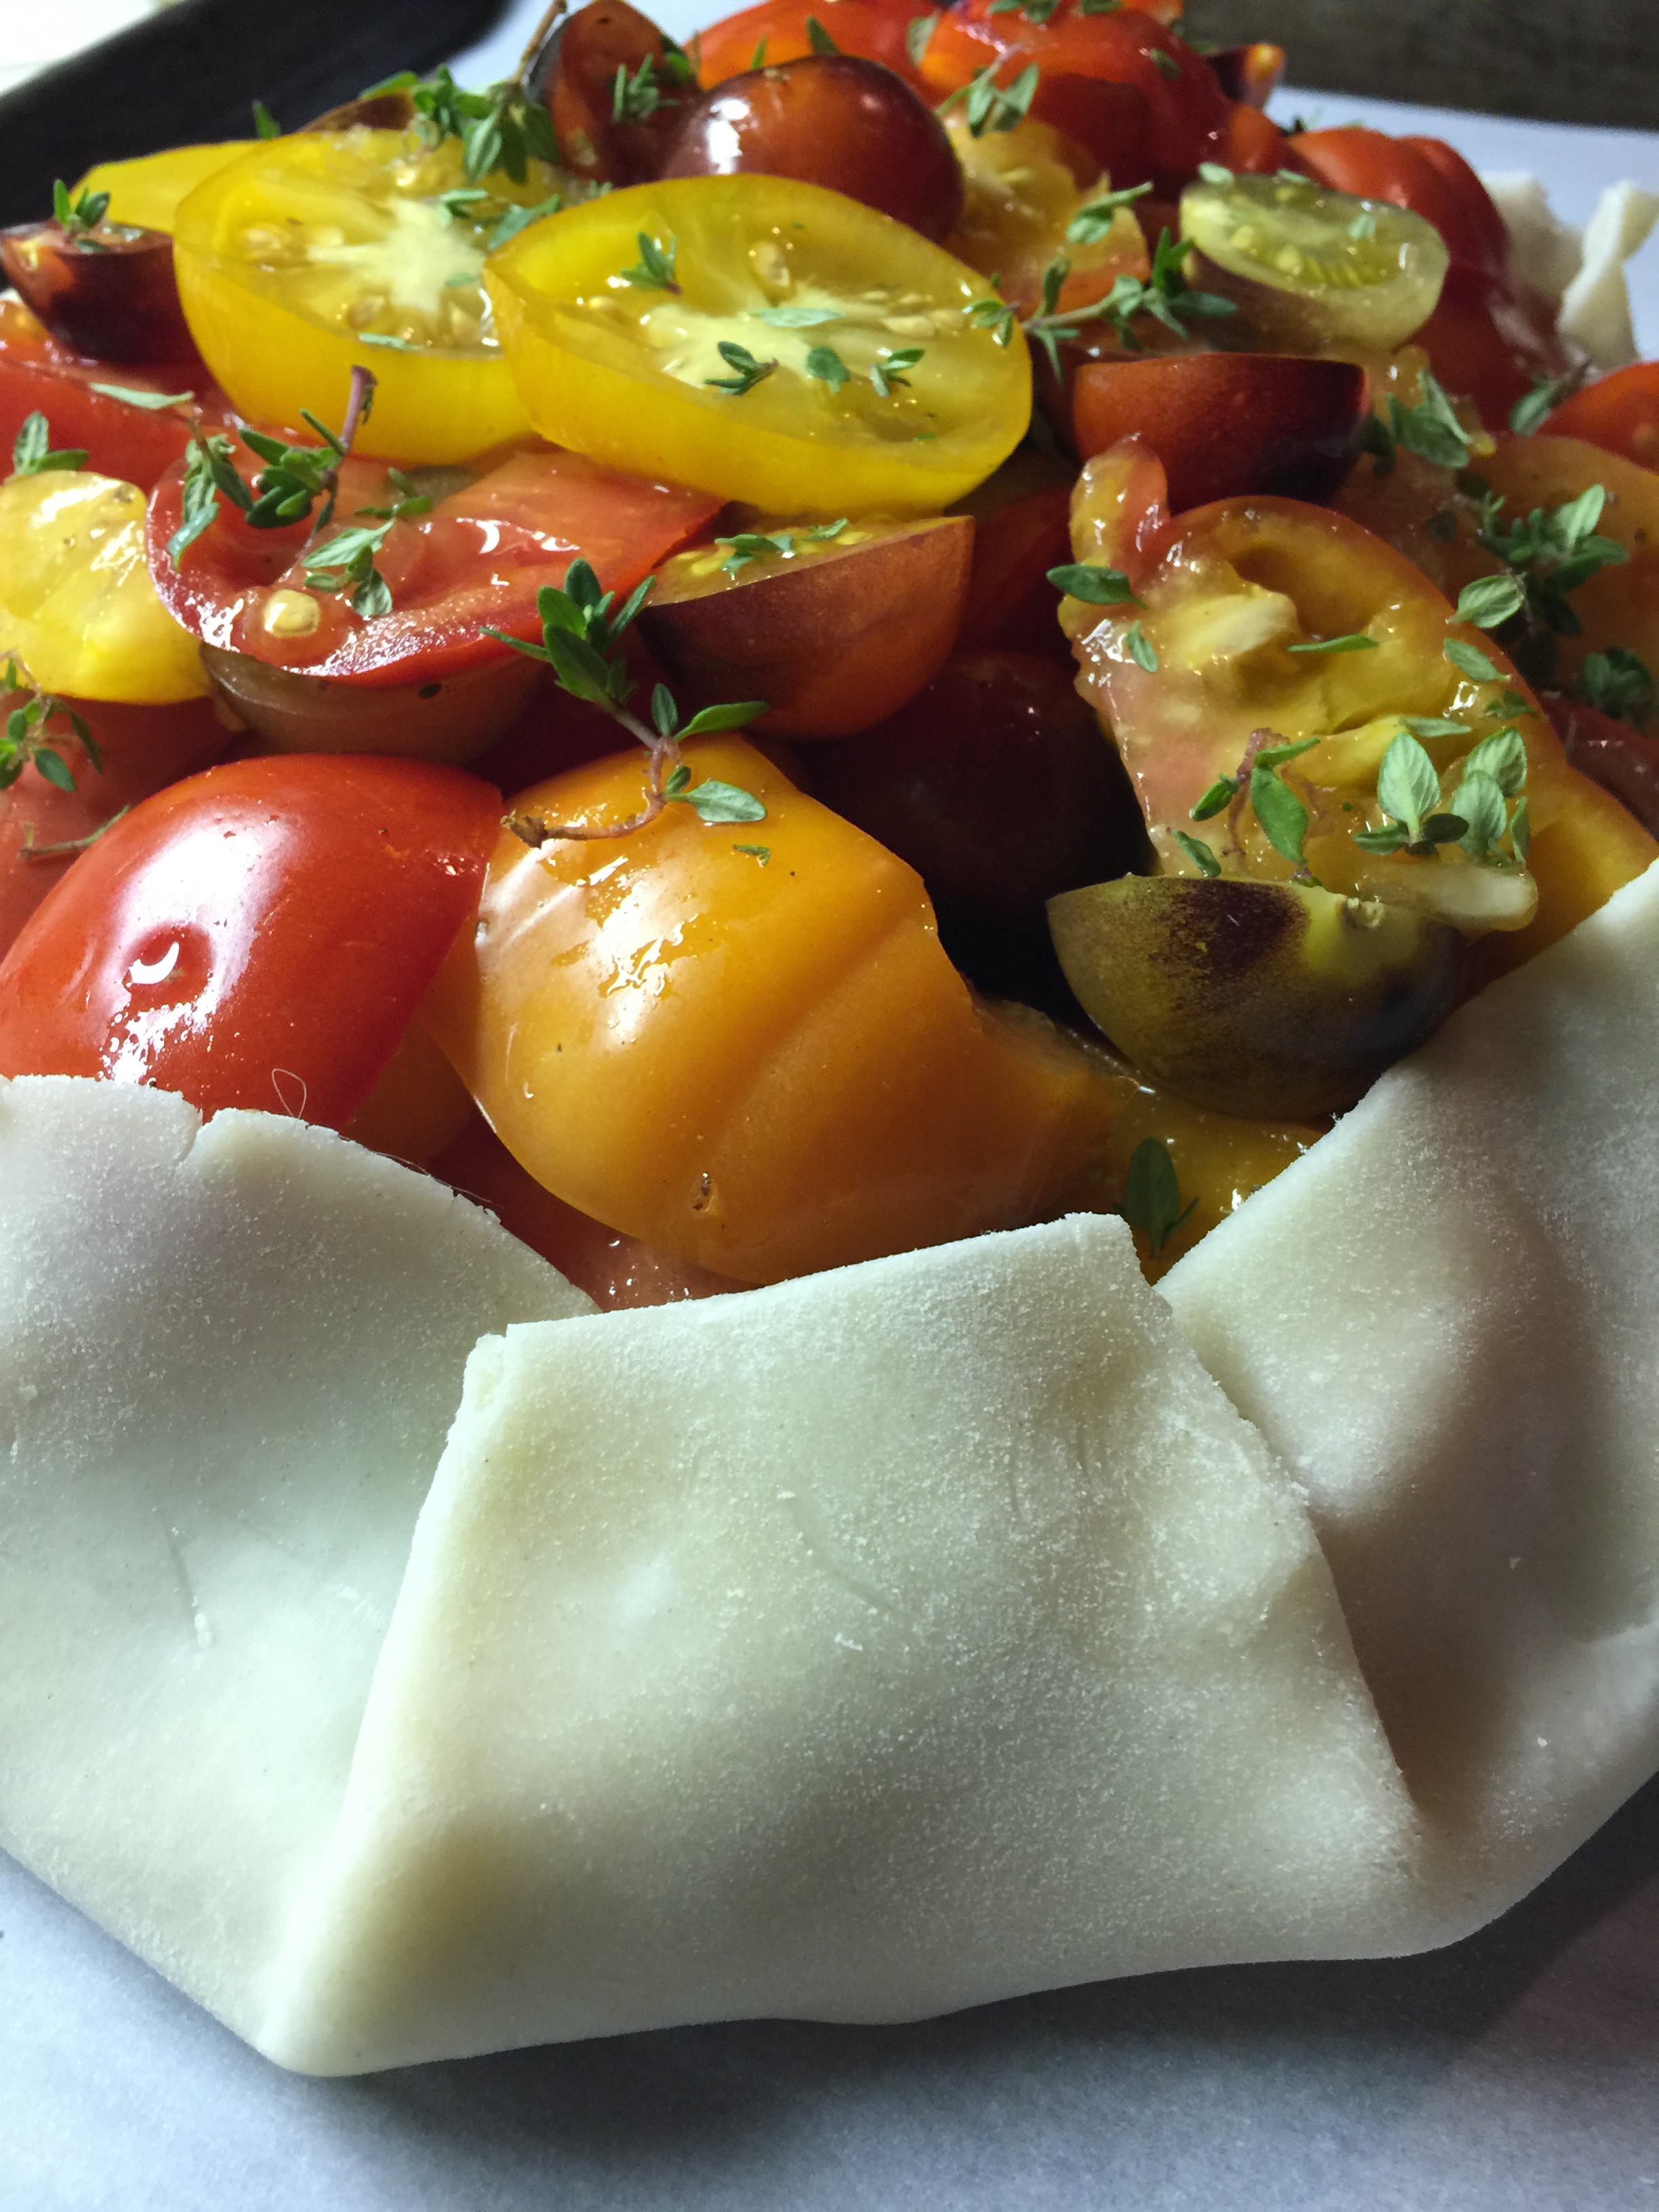
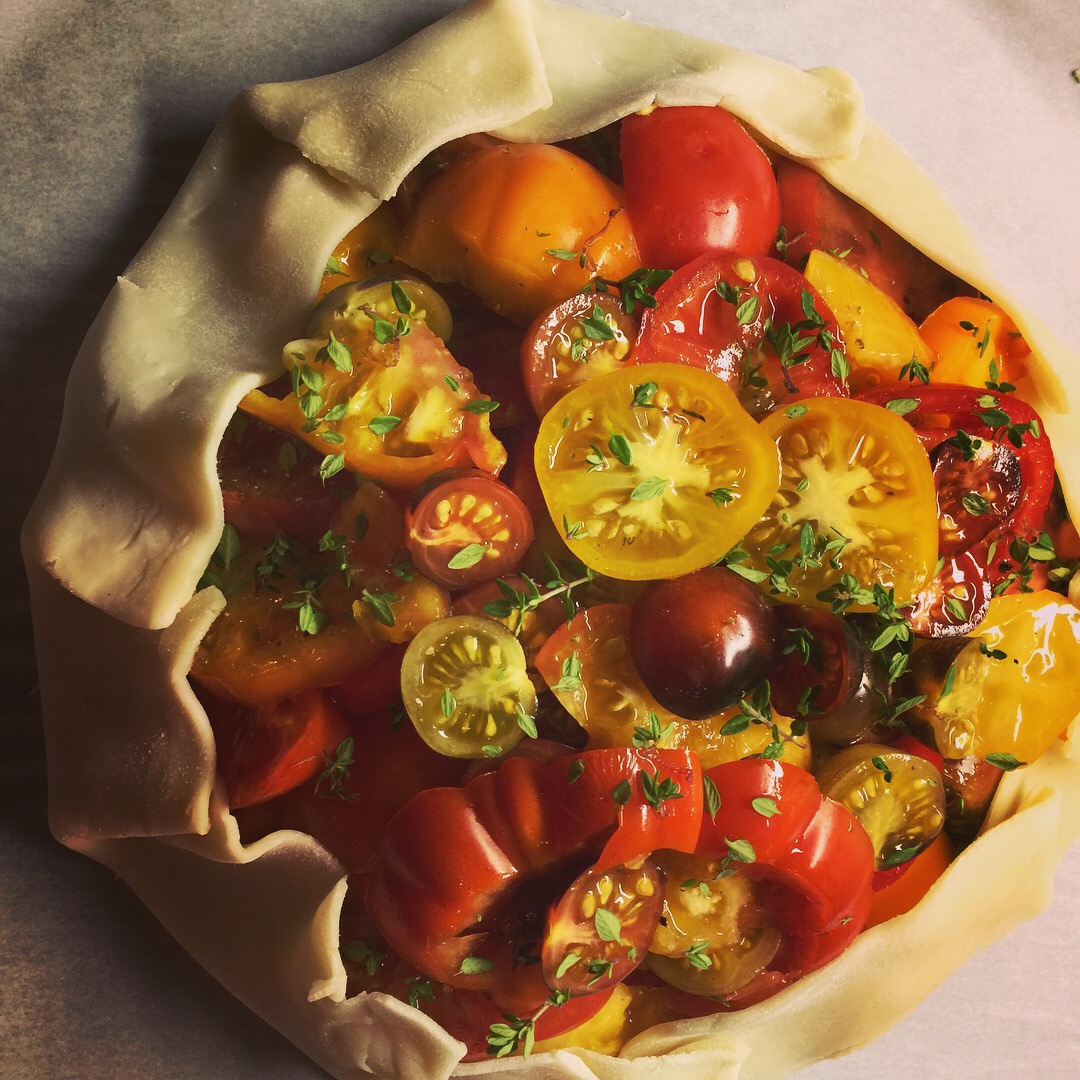
There is SOOOOO much to do with tomatoes…. I love a great tomato/onion jam… a hot, spicy salsa… a simple red sauce… homemade Bloody Mary mix, tomato pie or galette….or even a plain ‘ol tomato and mayo sandwich on good bread…. *sigh* Is it harvest season yet???!?
What tomatoes are you growing?
Or hoping to grow?
Happy growing!
Our #4 crop (beans beans, that magical fruit…) is coming soon…….
🙂

One Comment Add yours