Man, we love birds here on the Farm.
Like LOVE them. Love love love them.
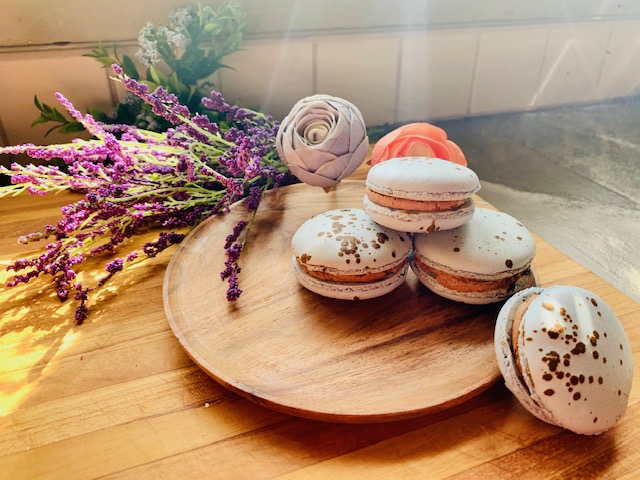
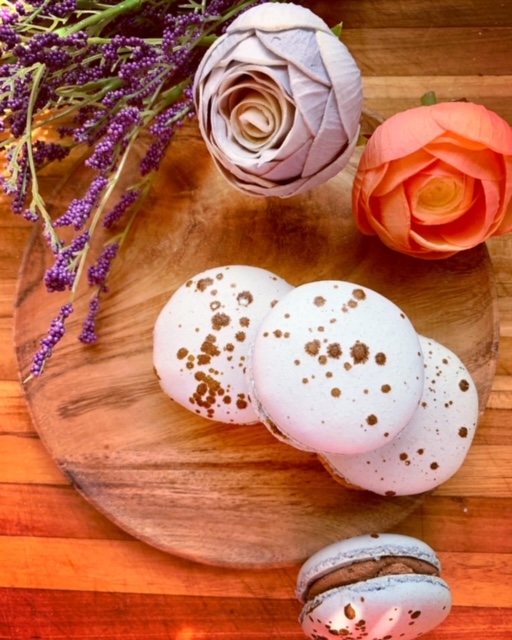
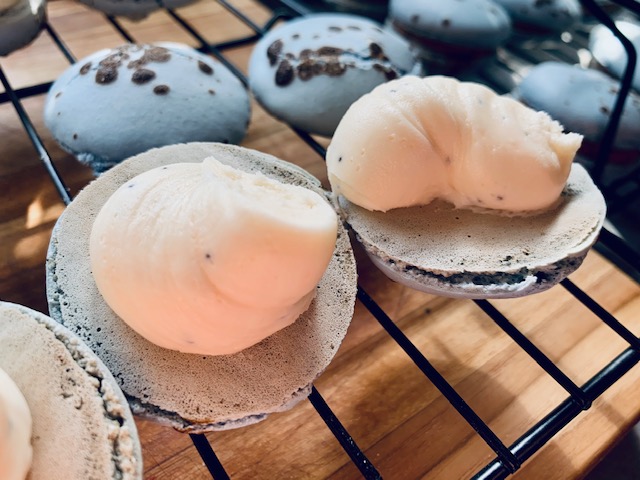
So it was just natural, when the temps hit 64 degrees and the birds were singing…. to make some Robin’s Egg Macarons.
Totally natural decision. Ugh, they are so good (and pretty!)
Robin’s Egg Macarons with Light Chocolate Buttercream (makes approx 35-40 macarons)
Ingredients
Shells:
- 212g super fine ground almond flour(I am now a convert and use Bob’s Red Mill only! SUPER FINE.)
- 212g confectioners sugar
- 172g egg whites (at room temp, divided into 82g and 90g respectively)
- Light Blue Gel coloring (blue with a teensy bit of brown if using a royal blue, or 1/8tsp of Wilton’s Delphinium Blue)
- Brown Gel coloring (for splattering)
- a few drops of vodka (I used Grappa as we had no vodka)
- 236g granulated sugar (plus a pinch for egg whites)
- 158g water
Light Chocolate Buttercream
- 1/2 cup unsalted butter (1 stick)
- 1 1/2 cups confectioners sugar
- 1 tbsp milk
- 1 tsp vanilla extract
- 2 snack sized Hershey’s milk chocolate bars, melted
- 2 tbsp unsweetened baking chocolate powder (I used Ghirardelli)
Instructions:
Shells
- Place almond flour and confectioner’s sugar into a food processor and blend/pulse to fully combine. If your almond flour is on the coarser side, continue to mix to reduce the grind to as fine as possible. This will give you smoother top to your shell (but coarser flour does not impact flavor so don’t stress too much!)
- Once blended, run the flour mixture through a fine mesh sieve into a large mixing bowl. This is to remove any larger flour particles. You will be left with about a tsp to a tbsp of solids… don’t worry. Just toss them 🙂
- Make a small well in the dry mix and place in your 82g of room temperature egg whites.
- Gently mix in whites with small spatula. It will form a thick paste.
- Add in your gel/food coloring. I used about 1/8 tsp of Delphinium Blue (Wilton’s). This will make the paste a darkish blue (much darker than a robin’s egg…) This is ok. You are going to be diluting the color with a ton of meringue so it will lighten up! (If using food coloring drops, try 5 or 6 drops of a deep blue with 1 drop of brown….)
- Once colorant is filly mixed in, set aside and move on to making your meringue (note: make sure you have all of your equipment ready to go at this point… like piping bag with tip, prepped baking sheets with templates if using…you’ll be piping as soon as you finish your batter so it does not deflate!)
- Place the 90gs of room temp eggs in the bowl of a stand mixer (when making macs with this Italian meringue, a KichenAid is the easiest way not to lose your mind…. you can beat your egg whites hands free while minding your syrup!)
- Add your water and sugar to a heavy bottom, small saucepan and bring to rolling boil over high heat.
- Once your syrup mix hits a consistent boil and is approaching 220 degrees, add a pinch of granulated sugar to your egg whites in the mixer bowl and start whipping them. If your egg whites stiffen up before your syrup is fully ready, just reduce the speed to low to keep them moving. You can get them back to soft peaks pretty quickly later.
- The easiest way to mind this process is to use a candy thermometer (or frying thermometer) which can be affixed to your saucepan. This will allow you to move back and forth between checking the egg whites and checking the syrup temp with ease. (my candy thermo broke… so I used a digital stick thermometer and it was a bit more hands on… below you will see the newest addition to the baking tools drawer arriving later this week LOL)
- Heat your syrup to 245-248 degrees (do not go above 248 you will start getting into hard ball territory and actual candy making…. watch that temp!)
- When your syrup is ready, check that your mixer whites are at soft peak status…. turn your mixer to HIGH and begin to drizzle the syrup down the inside edge of the mixer bowl in a thin stream. You want to slowly add the syrup to the stiffening whites (this is HOT and will cook/deflate the whites if you add too much too quickly)
- Continue to add syrup and whip on high until your whites achieve STIFF GLOSSY PEAKS (note: you may not need to use all of the syrup).
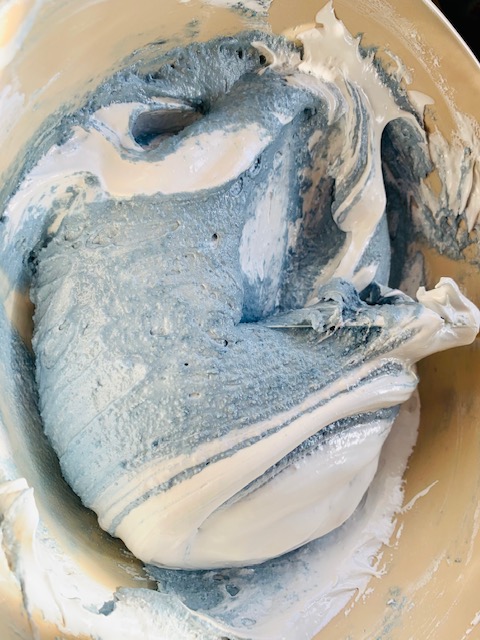
- Once your meringue is ready, add 1/3 of it to the your batter base and fold to incorporate. It will take a bit of work to get it mixed in and loosened up.
- Add the remaining meringue and fold in… this is your macronage. Now, with this process of shell making (versus a few other methods), I like to fold a bit differently. Rather than ‘tucking in’ the meringue, I like to get a bit more aggressive with it. We’ll call it the ‘scrape, scoop and pull’ method of folding…LOL. I basically take my spatula 3/4 the way around the inside edge of the bowl.. scooping and folding a large amount of the batter over itself then pulling the spatula back through that ‘folded over’ batter flat along the bottom of the bowl…cutting the batter in half almost. It takes practice, but this more aggressive method incorporates the meringue a bit quicker. This is not what I would recommend, though, if you are not using the Italian Meringue method. There are videos out there (or I can make one quick-like if you are interested!)
- Continue to fold your batter until it hits the desired consistency (it should fall off the front of the spatula in a nice flat ribbon without breaking, or you should be able to make a figure 8 fully without the stream breaking…. if it breaks, keep folding.this can be anywhere between 30-40 strokes after the meringue is all incorporated.)
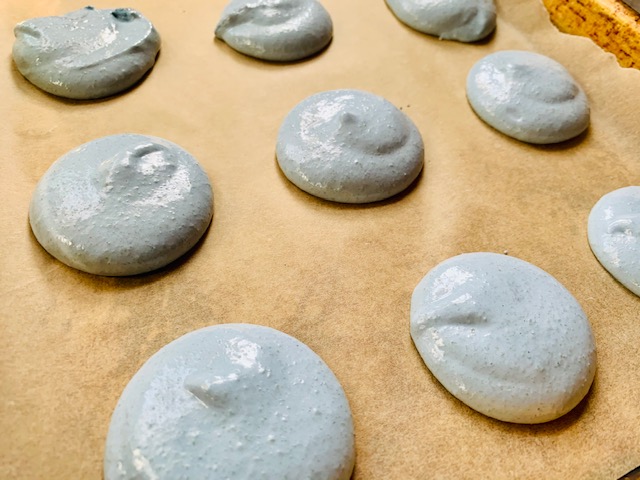
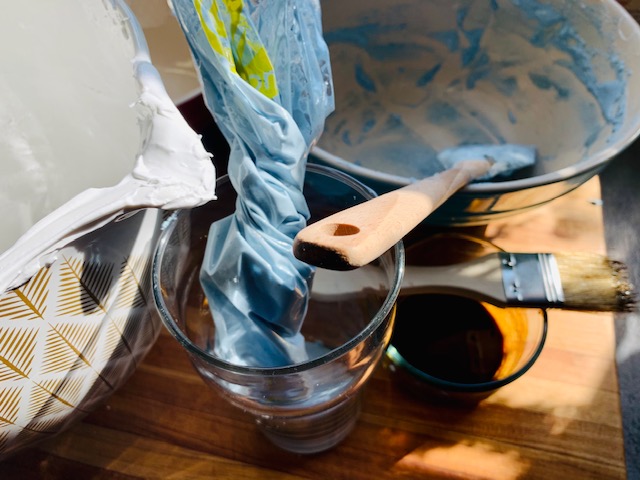
- Once you hit the right consistency for piping, fill your bag fitted with the 1/4 inch tip and get to piping!
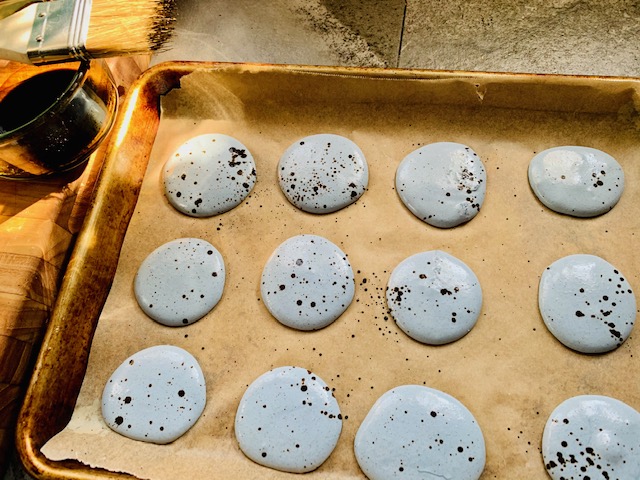
- Pipe out your shell onto the parchment leaving 1 inch of space between them. Traditionally, you would want them approx 1-1.5 inches when piped.
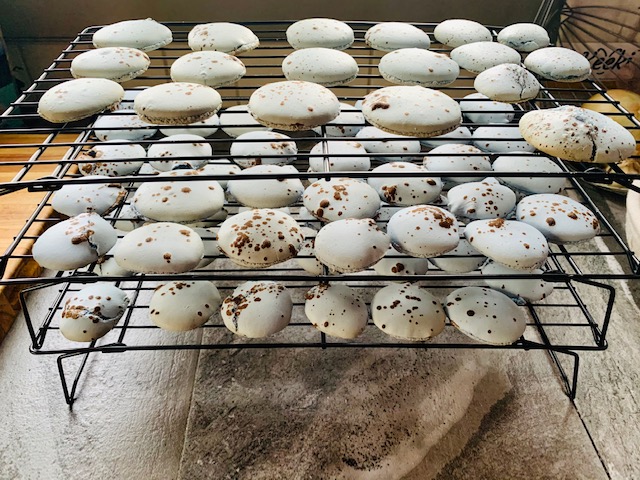
- Once all of your shells have been piped, lift your baking sheet and drop it from approx 1 foot above the table/counter about 5 times. Rotate the sheet 180 degrees and repeat. This is to coax any air bubbles in the shells OUT (air bubbles in there will result in your shells cracking!)
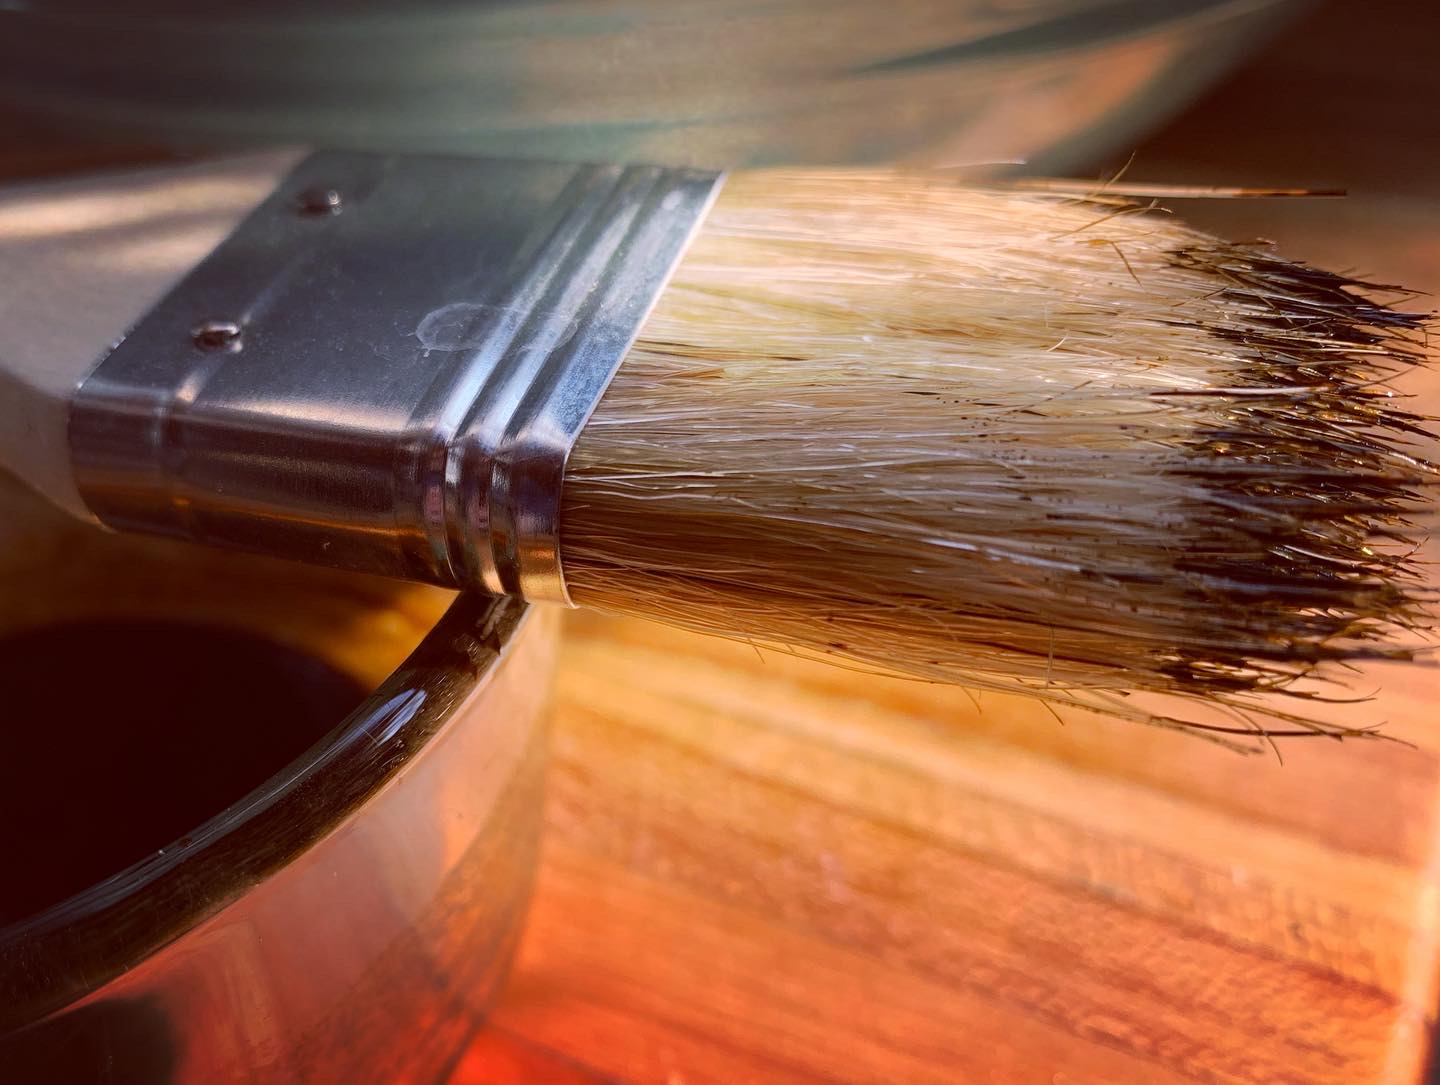
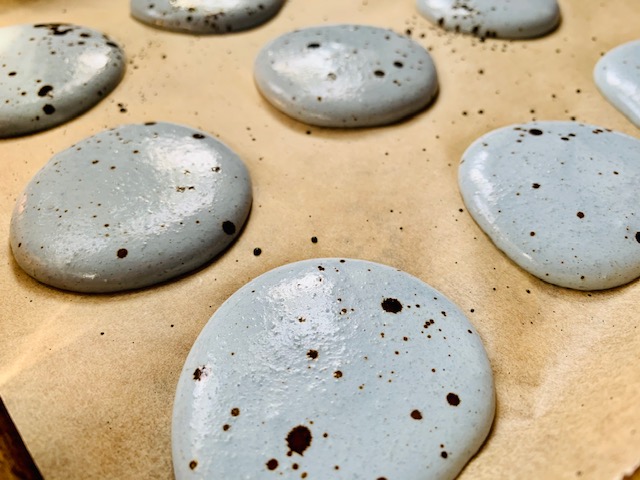
- NOW to speckle! Take 1/2 tsp of brown gel coloring and put in small bowl. Use a few drops of vodka (I used Grappa) to thin a bit so you can ‘splatter’ little drops across your wet shells.
- Using a small paint brush or pastry brush, lightly splatter the brown coloring across your piped shells. BE CAREFUL NOT TO PUT TOO MUCH COLORING ON YOUR BRUSH. If you put too much splatter on your shells, it WILL crack your shell when baking. Tip: barely dip the bristles into the coloring and the hold over the top of the baking sheet. TAP the pastry brush against a rigid finger to send small splatters onto the shells. This is all about your artistic preference. Just remember, too much splatter = cracked shells. Err on the side of ‘less is more’.
- Let your shells rest for 30-60 minutes, or until their ‘skin’ forms (you can run your fingertip along the top without it sticking) The splatters may add some time to your rest. The alcohol should not add much moisture but it IS adding moisture to the top of the shell. Rest until your skin is formed.
- While shells are resting, preheat oven to 350 degrees
- When shells are ready, bake for 9-11 minutes. (I set for 9 minutes and then check for doneness as I have no light in my oven NOR a window LOL… yay for ancient cookstoves.)
- Minding the feet is how to know when they are ready. If the feet start to get toasty/browned take them out! Mine are usually done by 10 minutes.
- Remove from oven and let cool on baking sheet for 5 minutes or so.
- Carefully remove baked shells from parchment and allow to fully cool on a cooling rack. They should lift off easily without leaving any shell behind.
- Repeat the baking process with all remaining sheets of shells.
- Once shells are all baked, cool them for at least an hour in the fridge before filling (this step is for 2 reasons, to allow any moisture in the shell to be absorbed by the almond flour… creating that amazing ‘crunch and chew’ of a great shell… but also to make sure that you are not piping filling into anything warm risking it melting! EEEK!)
Light Chocolate Buttercream
- Place room temp butter into a deep mixing bowl and using a hand mixer (or by hand) whip to a fluffy consistency.
- Add in 1/2 cup of confectioner’s sugar and mix (starting slowly so as to not send all sugar flying)
- Add in another 1/2 cup of confectioner’s sugar and vanilla and milk
- Melt your snack sized Hershey’s bars in the microwave or in a glass bowl over hot water (in microwave, heat 20 seconds at a time to make sure you don’t burn it!)
- Add in you melted chocolate and mix to combine
- Add in your cocoa powder and mix to combine. If buttercream is too thick, add a tsp of milk until the consistency is better for piping
- Taste and adjust as desired (I wanted a soft chocolate taste… almost like malted milk balls and unfortunately, there was NO STORE with malted milk powder anywhere… but this filling ended up decadent and soft… so it was perfect!)
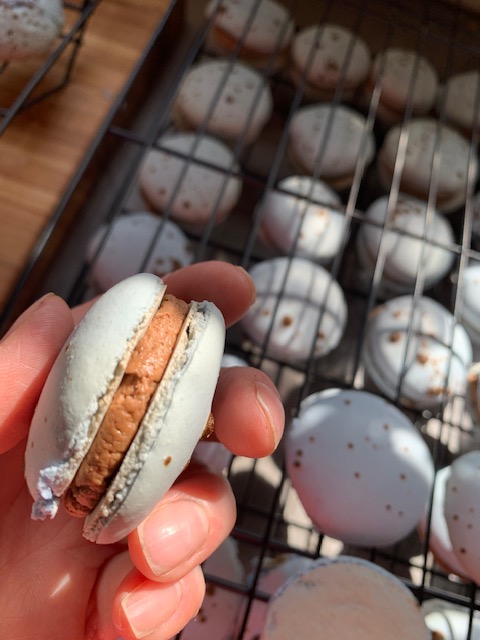
- Fill piping bag with 1/4 in round tip (a plastic baggie with the corner snipped works fine too) and fill your shells. Remember to match them up first so you get a nice, uniform macaron
- Store finished macs in an airtight container in the fridge and enjoy for up to a week. (note: they are still yummy after a week! Just a bit dryer the longer they are in there… )
This was my triumphant return to making french macarons!!! 🙂
Yes, I reverted to the first shell recipe I ever tried and honestly, it really does produce the best tasting and consistency shell in my opinion. I will be adjusting the recipe for a smaller batch size and will post it as a base recipe for all to enjoy. As written now, it makes a BUNCH (like 40) macs which is about 10 days worth for 2 people, each eating 2 a day. It also means using this as a base for multiple kinds of macs in a day is NOT the way to go.
I actually wanted to make two batches (different flavors) this day but I just couldn’t talk myself into having 80+ macs on hand in our home… nor did I want to freeze any at this point.
These are GORGEOUS.
These are TASTY.
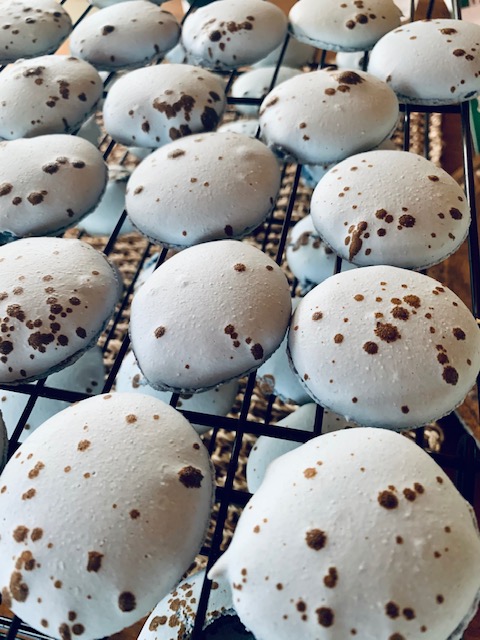
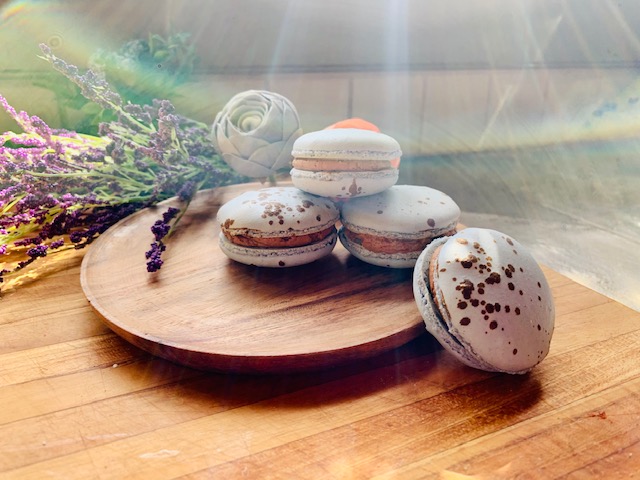
These will be gifted and most like also made again to sell (as I had quite a few people request them now!)
The more I make macarons and continue to challenge myself at more complex creations, the more comfortable I am. This is super exciting as I have a KILLER idea for a Salted Watermelon Poppyseed Macaron which is coming to you next week! (I tested the filling on some cracked shells and OMG.)
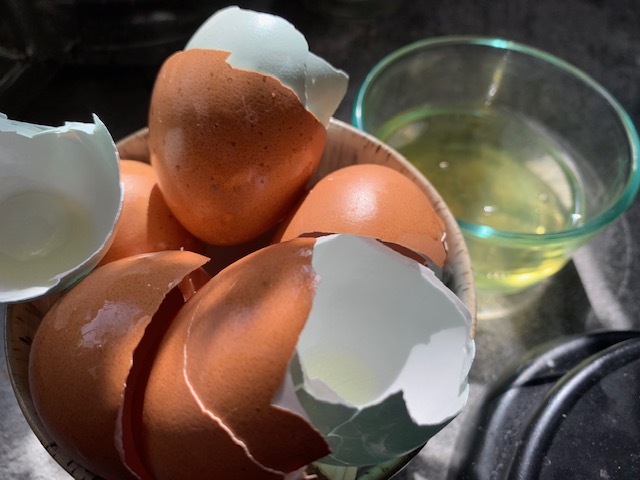
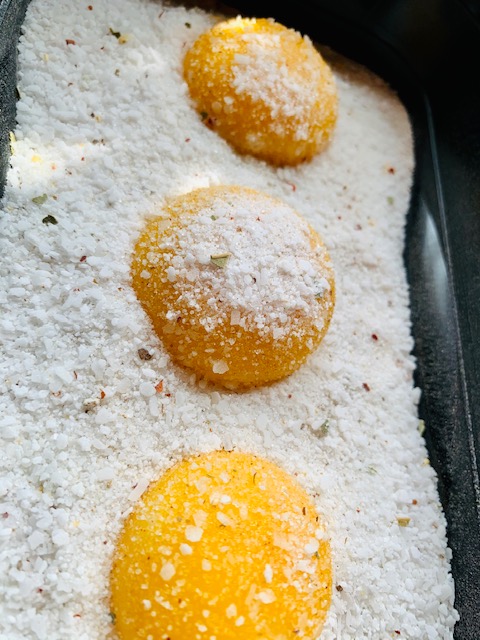
Did I mention I also got to cure 6 egg yolks by using this OG recipe? Yeah. I went for the same cure blend that I did before because is was AMAZING. And I miss the False Caesars hubs makes! Get the recipe for the Salt Cured Egg Yolks HERE.

Because this was in honor of Spring arriving, I couldn’t help but also see the connection to my love of gardening. It more than whispered to me… it SHOUTED at me, like a coach from the sidelines motivating me to be better. The two hobbies (my love of creating in the kitchen and growing in the garden) share quite a few things:
- they make me problem solve on the fly
- they require me to plan and prepare
- they require me to use all of my senses
- they require me to FOCUS my mind and be mindful of my movements
- they reward me with not only sustenance but also beauty
- they allow me to have moments of self reflection
- they help me work through failures in a healthy way, making those hard lessons motivation to try again
- they allow me to share my hard work with others to show my gratitude or just to pamper
- they allow me healthy moments of pride when I get it right
I see how these two passions connect and I am grateful. With Spring arriving… the season of new growth… this moment of understanding was unexpected and very appreciated by me.
As I sat down to craft this post… and reflect on how I applied being mindful in the kitchen … I actually saw that this project might have been my deepest practice yet. The focus in the moment, the joy of letting my artistic nature come out, the post-project review … the connecting of the dots as to why I love both things so much…
Do you allow yourself time to dissect what you love to do? It is a great self affirming exercise. Talk about fuel to feed the fire in your belly when it comes to skill improvement, business building and goal setting. Talk about being able to learn more about yourself! Slowing down to see why you love to do something is an amazing exercise in self care. And one, I think I want to do a bit more often now! LISTEN to that passion, connect those dots… USE that motivation.
Why do YOU love to do what you love? Have you taken the time to fully appreciate that why? If you listen close, that coaching is urging you on!
**A few affiliated links to recommended product (disclaimer: I may make a small bit of change off purchases made through these links… which helps me be able to make a little $ to keep doing this blogging thing at no additional cost to you!)
Bob’s Red Mill Super Fine Almond Flour Oh, man. I should have been using this all along. It is amazing.

KitchenAid Mixer Will never not share this as it is probably the most used tool in the kitchen other than the rice maker.

KitchenAid Hand mixer Again, with this new passion for baking, it is getting a ton of use…

New Respect for Simple Piping Bags and Metal Tips Here are some basics that are perfect for macaron-ing from start to finish fill. I now am super confident in my piping. When I first started, the silicone bags were good, but now, getting more complex and about to start tie dying/multi-color piping? You need disposables for that… Bags and tip below… and yes, I totally recommend Wilton products!


Gel Food Coloring Let’s just say it is a game changer for me… who used to only use basic cheap drops and wonder why the color didn’t stay…. one you use gel, you are a convert. Below is a basic set from Wilton, but they have a RAINBOW of colors that are just amazing (head HERE to their Amazon Store.)

Candy Thermometer These come in very handy, and not just for candy making… any sort of meringue, deep frying, making caramels, or yes… proper candy… A worthy investment for your drawer.

