
This is the first entry in our ‘Top 5 Grows’ series in which we hope to share some of our favorite produce that gets the best Use, Storage, Preservation AND UtIlity from a small scale garden here in New England (zone 5).
Number 1 on our list is GARLIC. Honestly, there is NO comparison between homegrown and store bought garlic. Home grown is so much better… less bitter, almost sweet in some variety’s cases and full of oil and incredible allicin (here’s an article from the Cleveland Clinic about some of the health benefits derived from having garlic a part of your diet.)
Why is it our #1? Well, it works for you when you generally can’t grow anything else! Garlic is one crop that you plant in the fall, when the production of most of your garden has stopped or is nearing the end, and then can become the first crop you see and can enjoy the following season.
Another reason is that there are 3 distinct crops that you can enjoy from one planting of garlic:
- Spring Garlic
- Garlic Scapes
- Cured Garlic Heads
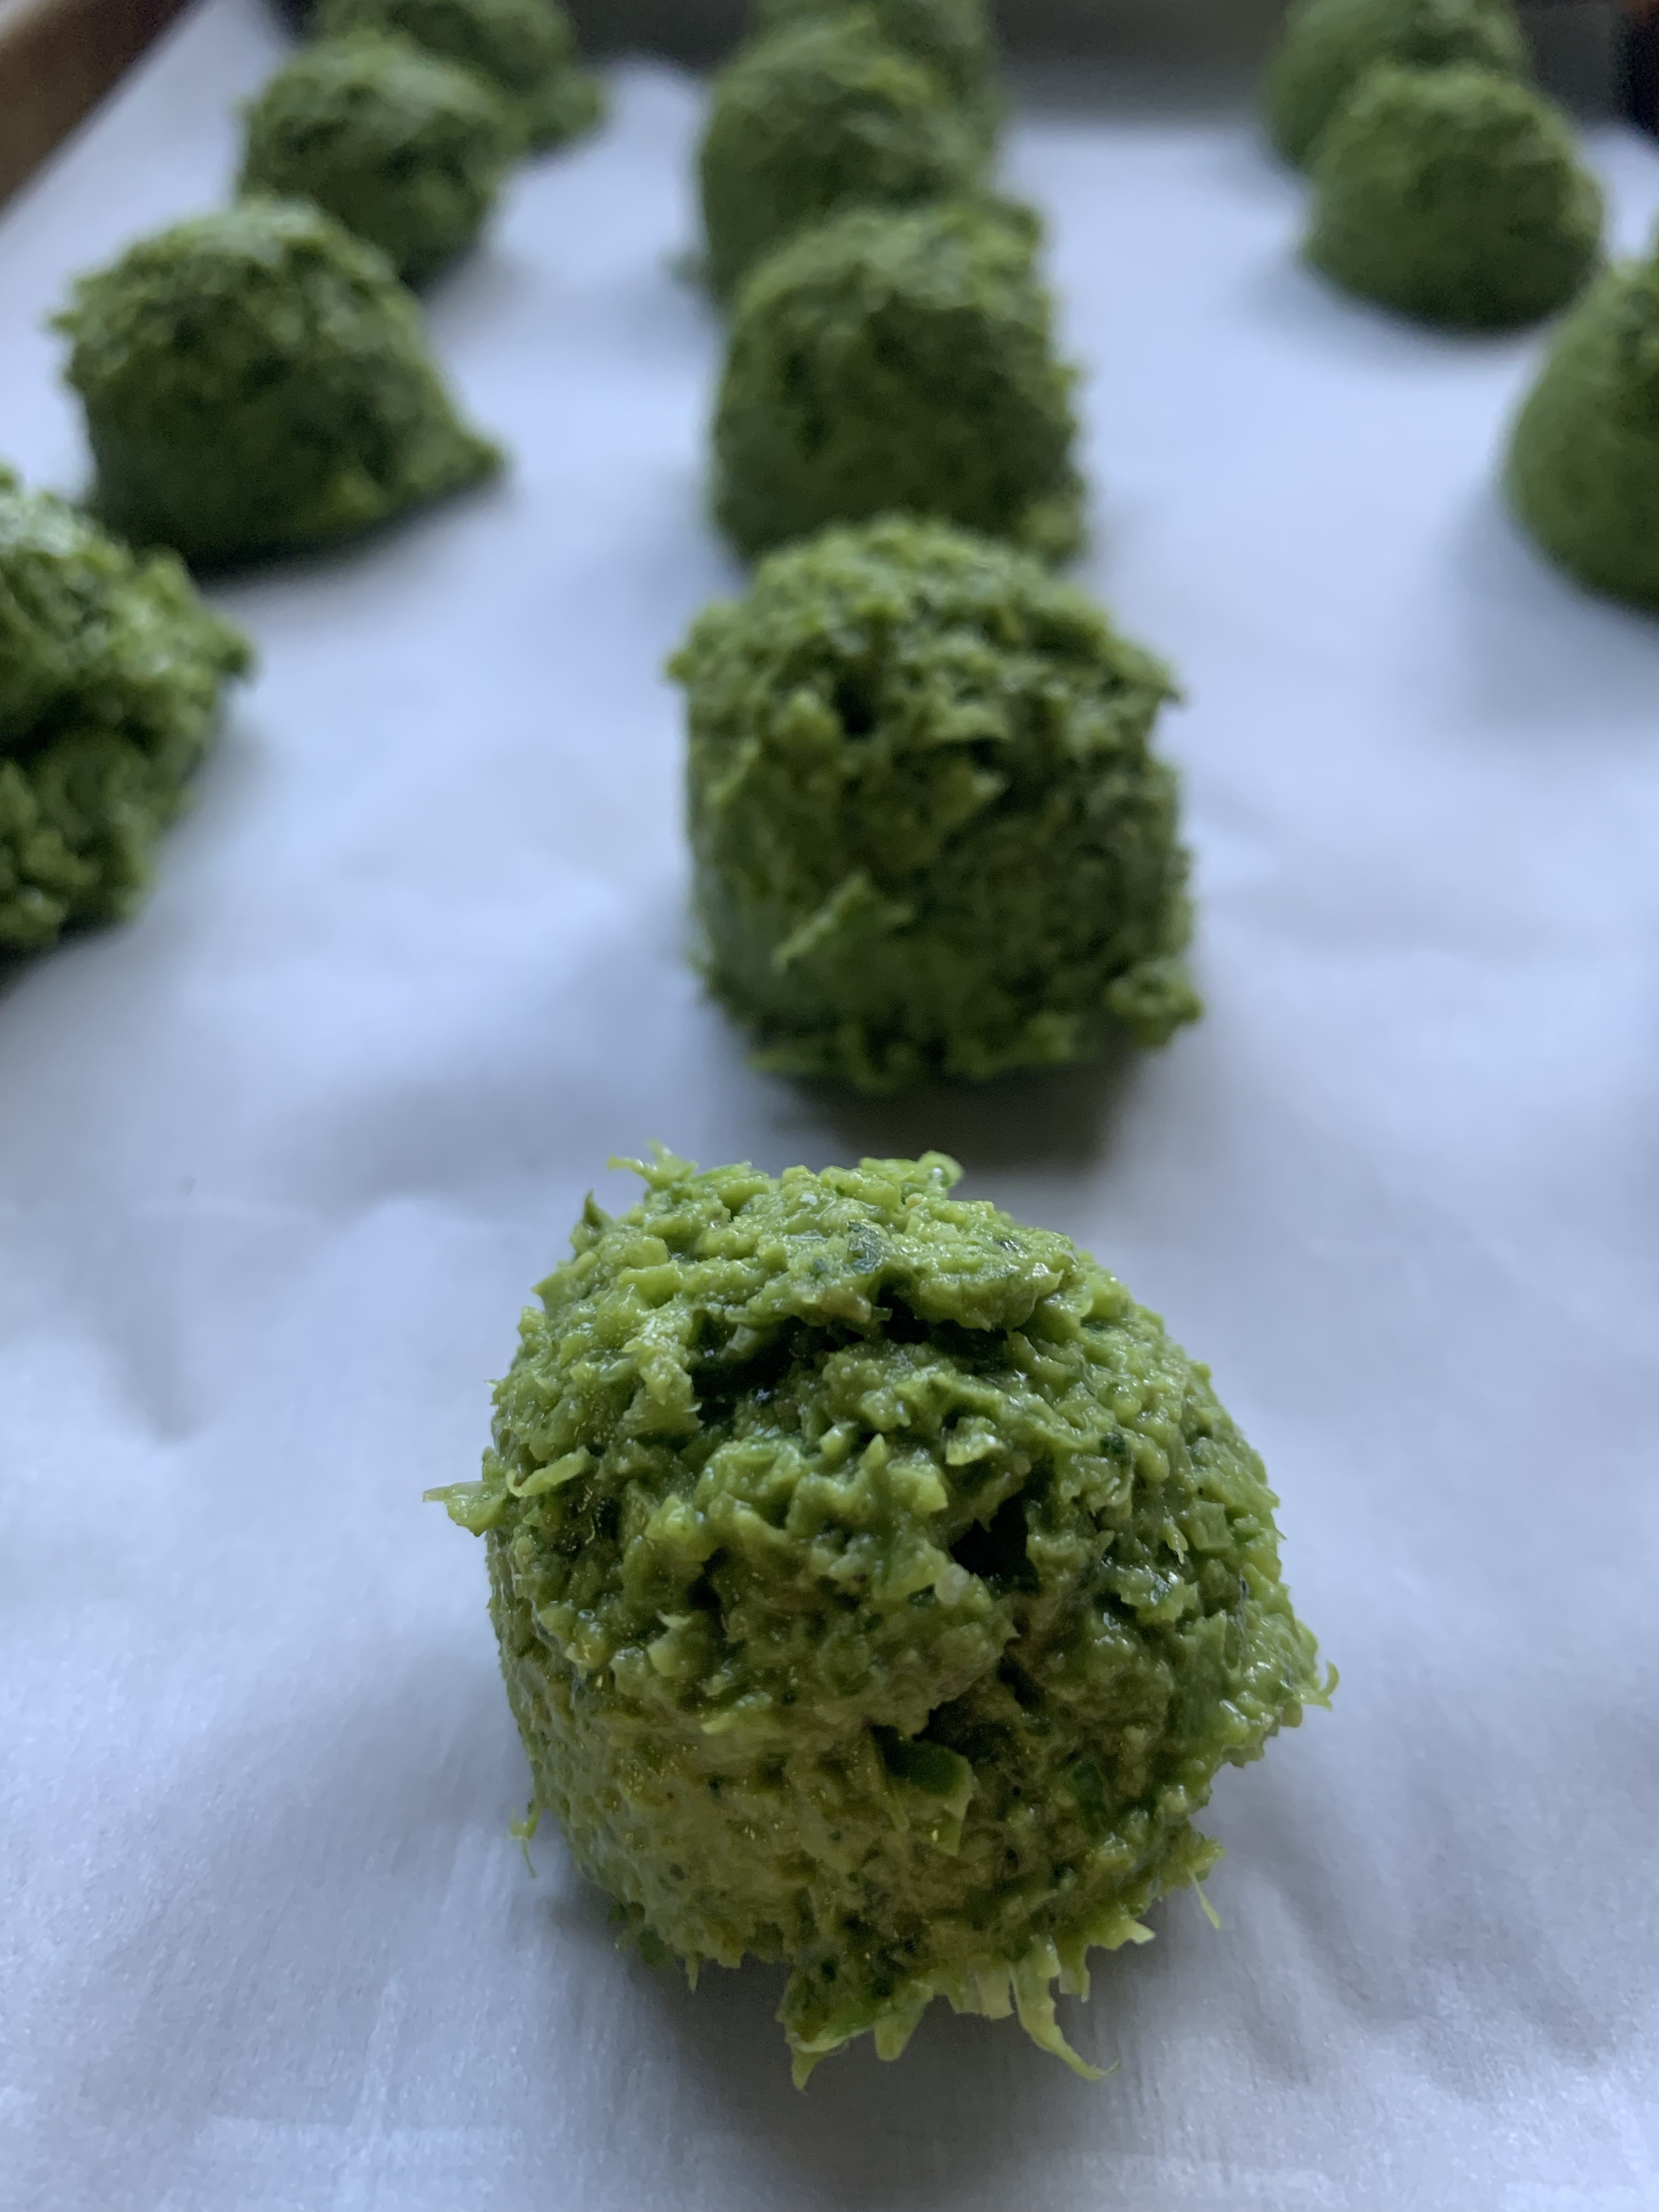
Each of these are part of the same planting. Spring Garlic is just garlic harvested before maturation. Scapes are the flower stalks that sprout from the garlic as the temperatures warm and the plant attempts to go to ‘seed’ (and they are AH-MAZING… you will see below…) And the traditional, cured (air dried to be ready to store) garlic heads. You yield so much use from one planting… The thoughts of fresh garlic, garlic scape pesto and spring garlic stir-frys make our mouth water as soon as the first green shoots pop through the straw mulch!
Typically when fall planting (our preferred method), you plant your seed garlic in late Oct or early November, cover with mulch (we use straw) and forget about it until about mid to late March or once the mulch is either a.) completely thawed or b.) you see the green shoots popping thru.
Yes, growing garlic is really that easy!
I’ll take you step by step, from seed garlic selection to harvest so you can take the jump into growing your own.
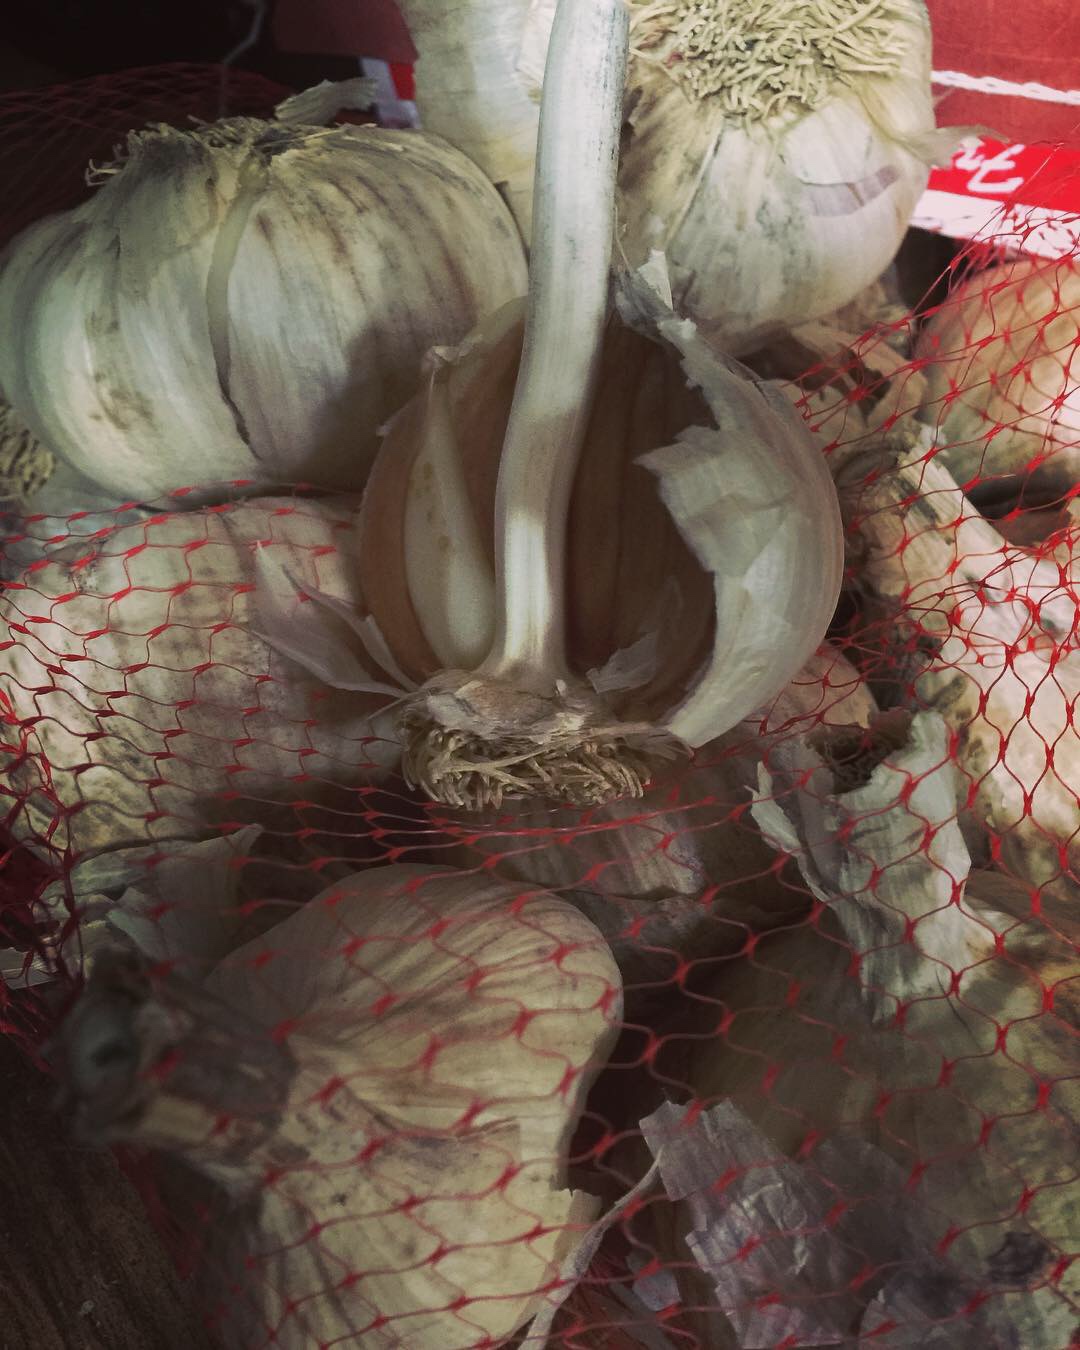

- Choosing the best garlic to grow
There are many different varieties (as of 2017, there were over 600 district varieties of subspecies of cultivated garlic according to a study) and looking at the Gardening Know How page about Garlic can give you a really clean overview of the types that are out there and most common.
I would suggest looking for seed garlic that is produced (aka optimized) in your growing zone. We are in zone 5B and source our hardback seed garlic (usually a Chesnok Red or Polish Hardneck) and for about $50- 60, you will get 3 lbs of seed garlic that can produce and based on the fact that most hardback strains have approx 35-45 cloves per pound and each clove can produce it’s own head of garlic… you can yield about 4-5lbs (sometimes up to 7lbs if you have optimal yield) per pound of seed garlic you plant! So yeah, from one 3lb seed order, you can get over 12-15lbs of garlic to store. Pretty easy decision with that math, considering it is probably the lowest maintenance crop we grow!
Now if you are like us, and use garlic in apron 80% of what we cook for meals, that ratio is pretty much what will sell you on growing it. That and the fact that hardback varieties when stored properly can last you from harvest through 75% of the remainder of the year before your next harvest. Now…. Wouldn’t you rather have better tasting, untreated, HEALTHFUL garlic at your disposal in the pantry whenever you wanted? And you don’t have to worry about the quality, cost or availability at the store?
Yes, garlic is a super crop.
2. Deciding where and how to grow it
Once you have decided on the type you would like to grow, you need to understand where and how you will grow it. Most seed garlic producers will ship to you close to the timeframe when your growing zone should be planting it. Understanding and creating a future task of prepping the cloves and planting right after separating is very important! Get it on the calendar.
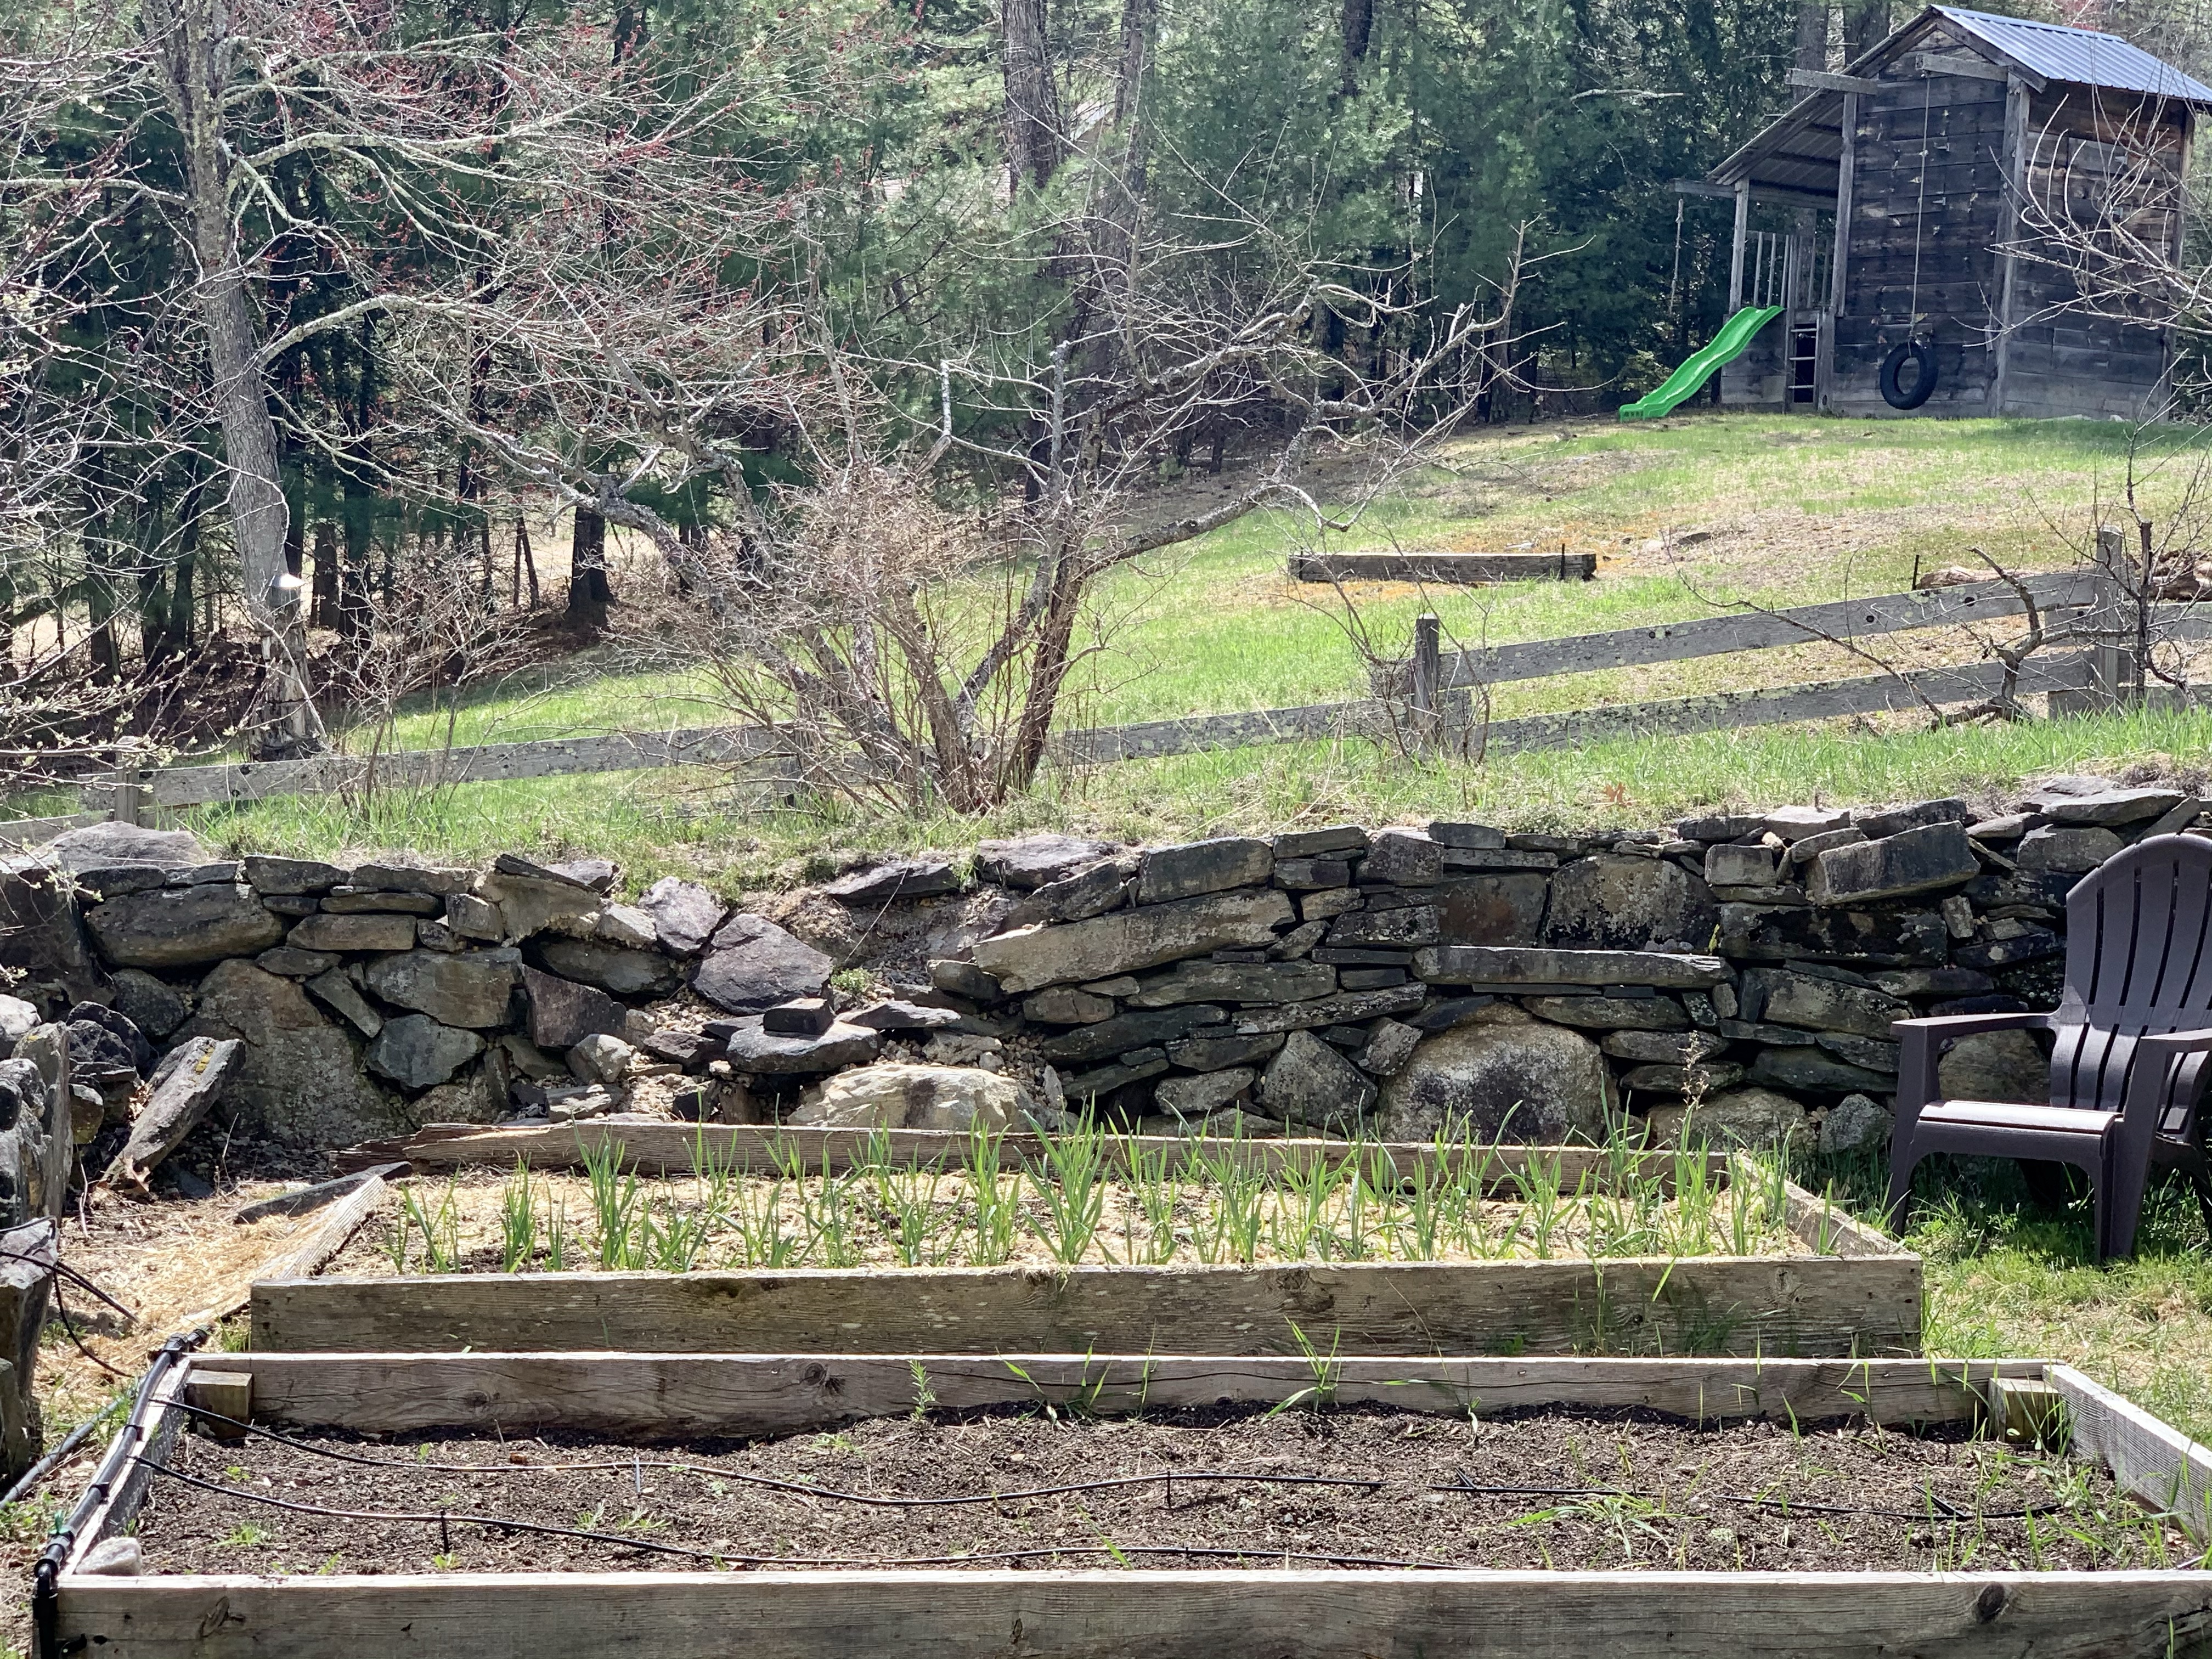
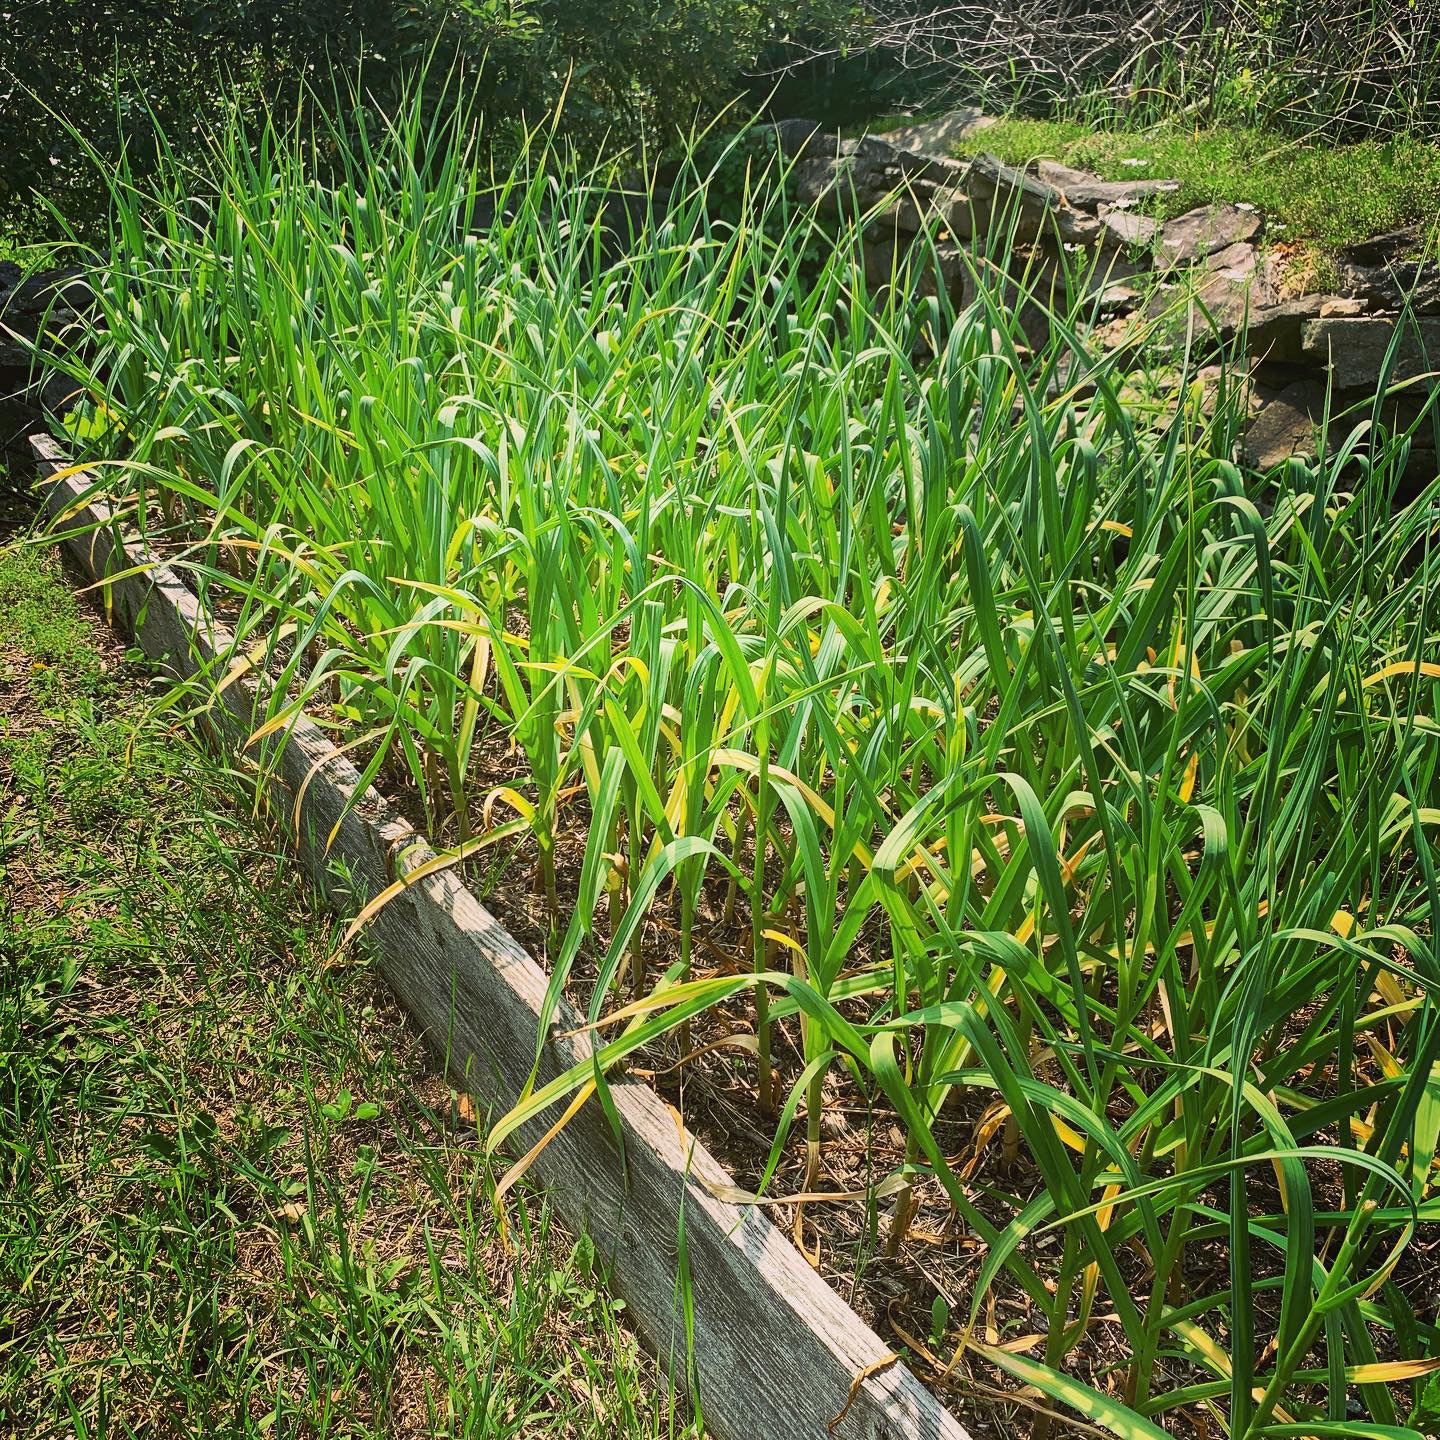
Now, you can grow garlic in the ground, raised beds or even container. We grow ours in a 4’x10′ raised garden bed and plant 3 lbs of seed garlic. A quick glance at our bed now, we have approx 120 cloves that sprouted (each of which will be an entire head when fully mature and produce a scape before maturation that we will either pickle, use in stir fry or process into pesto.
You will need to understand how much space you will need based on where you plan to grow and the number of pounds you’ve ordered.
Garlic is planted approx 4-6″ apart, approx 2″ deep, in rows that are approximately a foot apart from each other. We grow in rows, but if you have big planters (say the ‘whiskey barrel’ style) you could probably get 15-20 cloves into it. So 2 of them would handle 1 pound of garlic. A 4×4 raised bed could handle 2 pounds of cloves.
Overcrowding just will mean that your mature garlic heads may be smaller. So I would err on the side of planting closer to the recommended spacing than packing them in.
Once you’ve decided how, where and what you’ll grow… next is making sure you know what to do once the time comes to plant.
3. Prepping and planting your seed garlic
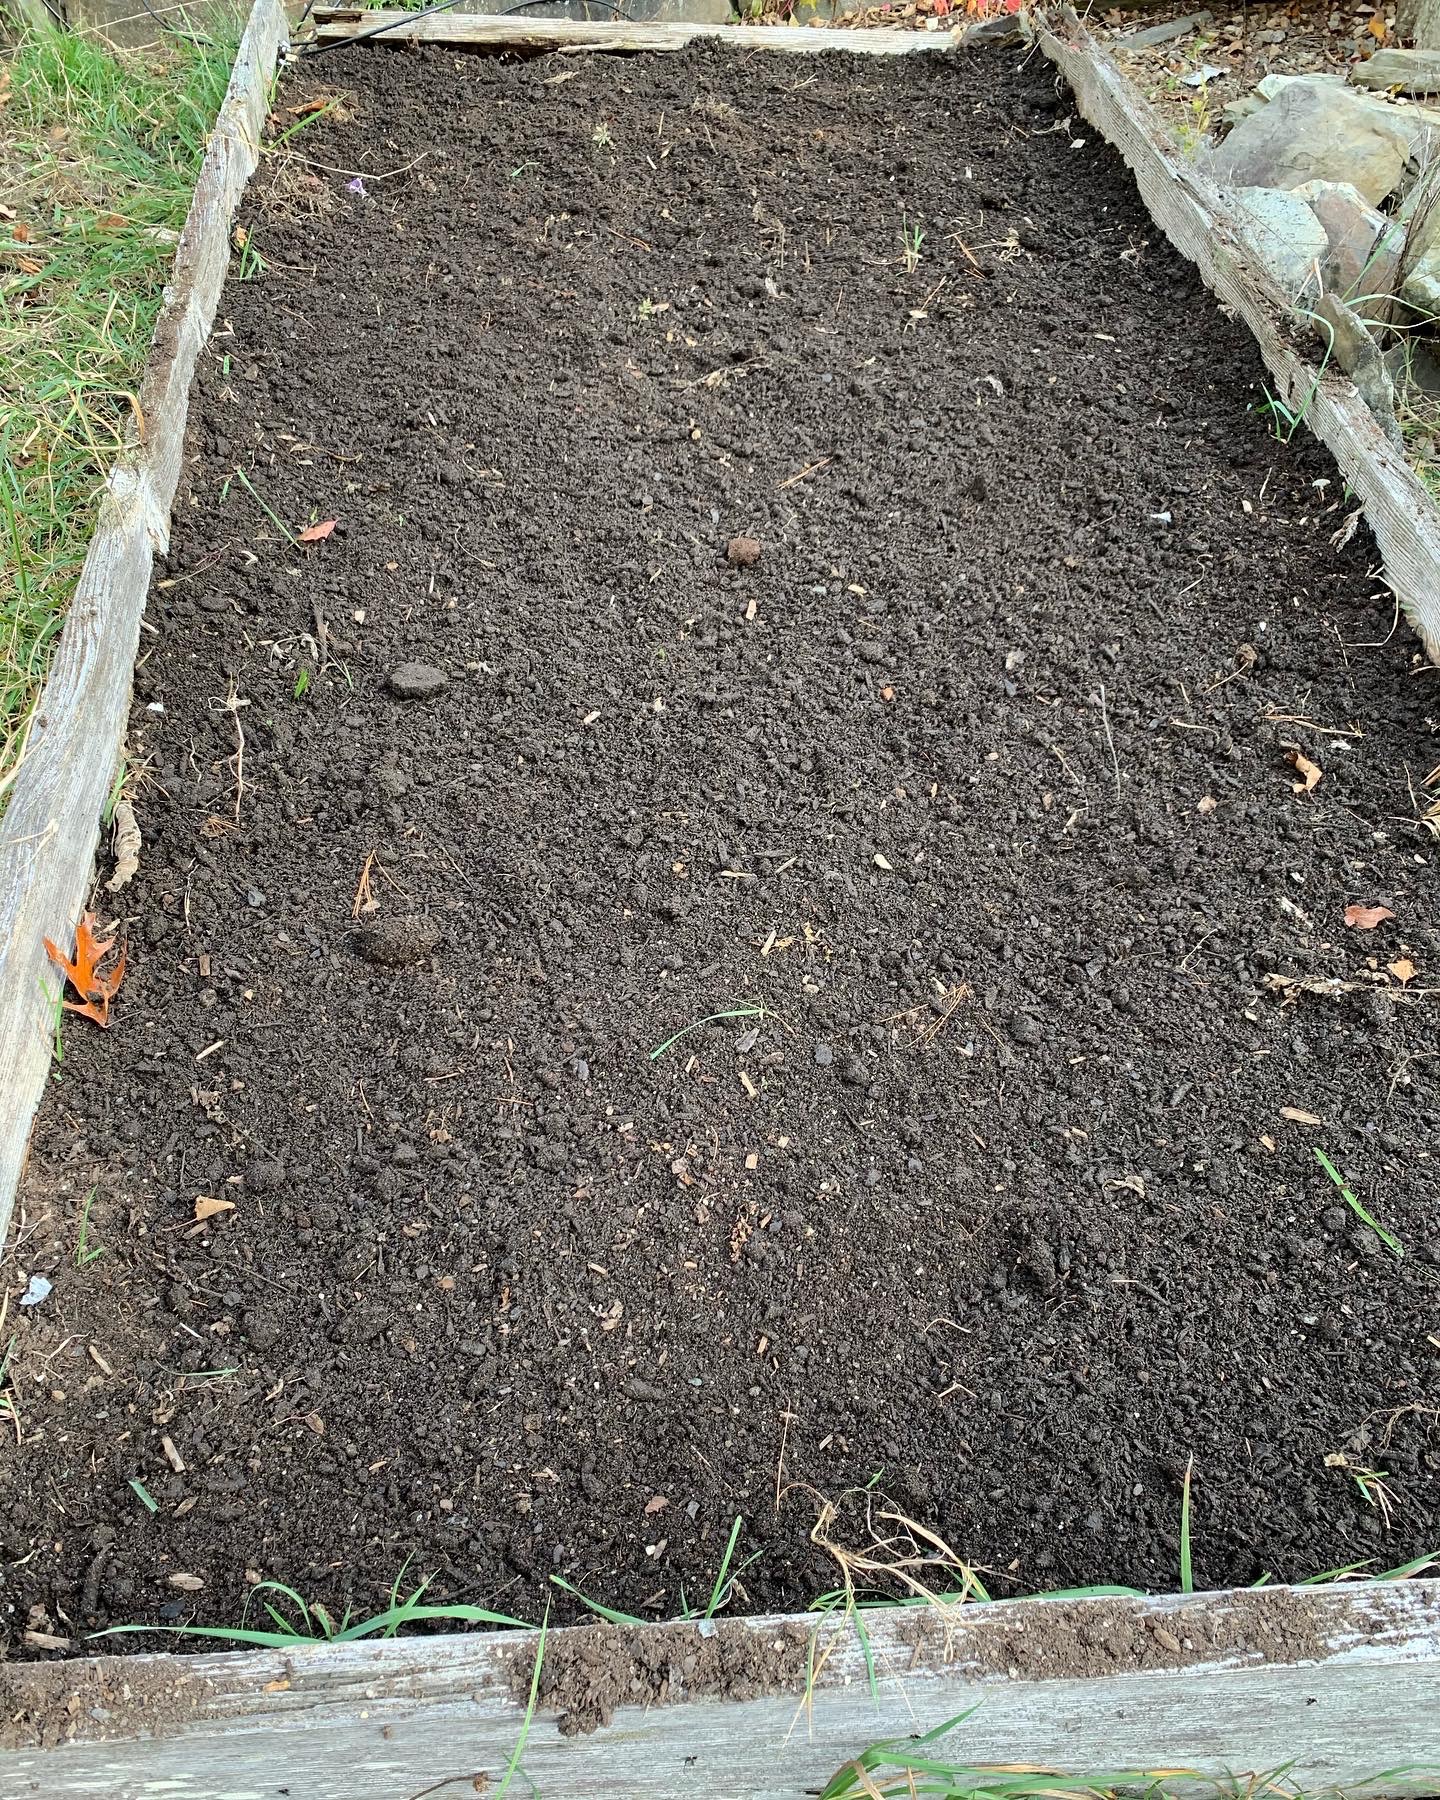
As with all gardening, you will need to make sure that you have healthy and prepped soil before tucking in your cloves. Garlic is generally pretty tolerant of most soil conditions, but amending soil that was used to grow a different crop earlier that season can be pretty simple but will require you to get it done AHEAD of planting.
You can amend with compost or a low level general fertilizer… mix well with the top 3-4 inches of soil and let sit 5-7 days to combine well.
You also want your soil to be loose and have the ability to drain well. These cloves will sit underground for 4-5 months…. if the soil is too compact or has a high clay ratio, you risk the water retention around the bulbs to cause them to rot… NOT GOOD!
Garlic prefers neutral to acidic (pH around 6.0-7.5) soil, and most of this can be achieved with the simple amendments I listed above. To really boost your garlic’s production, understanding what Nitrogen, Phospherous and Sulfur to add and when (aka, nitrogen helps for early development, Phospherous for root development, Potassium aides in leaf growth and bulb formation and Sulfur for flowering/finishing and packing those nutrients in there!)
I want to stress, however, that even though it sounds like it is complicated to get the soil right – IT IS NOT. Get fresh garden soil or amend what you have with a general 10-10-10 fertilizer (or an organic one with a slightly less ratio), wait a few days then plant. That is what we do and we have great success with our garlic.
4. Planting day
Give yourself time on planting day to basically be ALLLLLL about your seed garlic. There are several steps and you need to plant the same day you separate your heads into cloves.
Break apart the heads into cloves WITH THE SKIN STILL INTACT around the clove. Yes, I know that everyone hates peeling garlic but this is the one case where you get to LEAVE IT ALONE! YAY! But it also means you have to be careful when separating your heads. As you go along, separate the larger cloves from the runty ones as well as set aside the ones without a full skin, the ones that look a bit dried or less ‘fresh’. Use these lil cast-offs for cooking or roasting or whatever you need garlic for over the next week or so rather than planting as they will most likely not produce a good head of garlic or survive the winter underground.
When planting, it is easiest to have a old garden stake (I use a broken wooden tomato stake from the previous season as we ALL have them LOL) and pre-poke your planting holes 2″ feel. This makes sure your spacing is right, even and you have enough space for all of your heads.
Once you have pre-made your planting holes (remember only 1-2″ deep… any deeper and they will not develop as well!), place each clove ‘butt down’ or pointy end UP, then cover. You can wet the soil if it is very dry once you have everything planting.
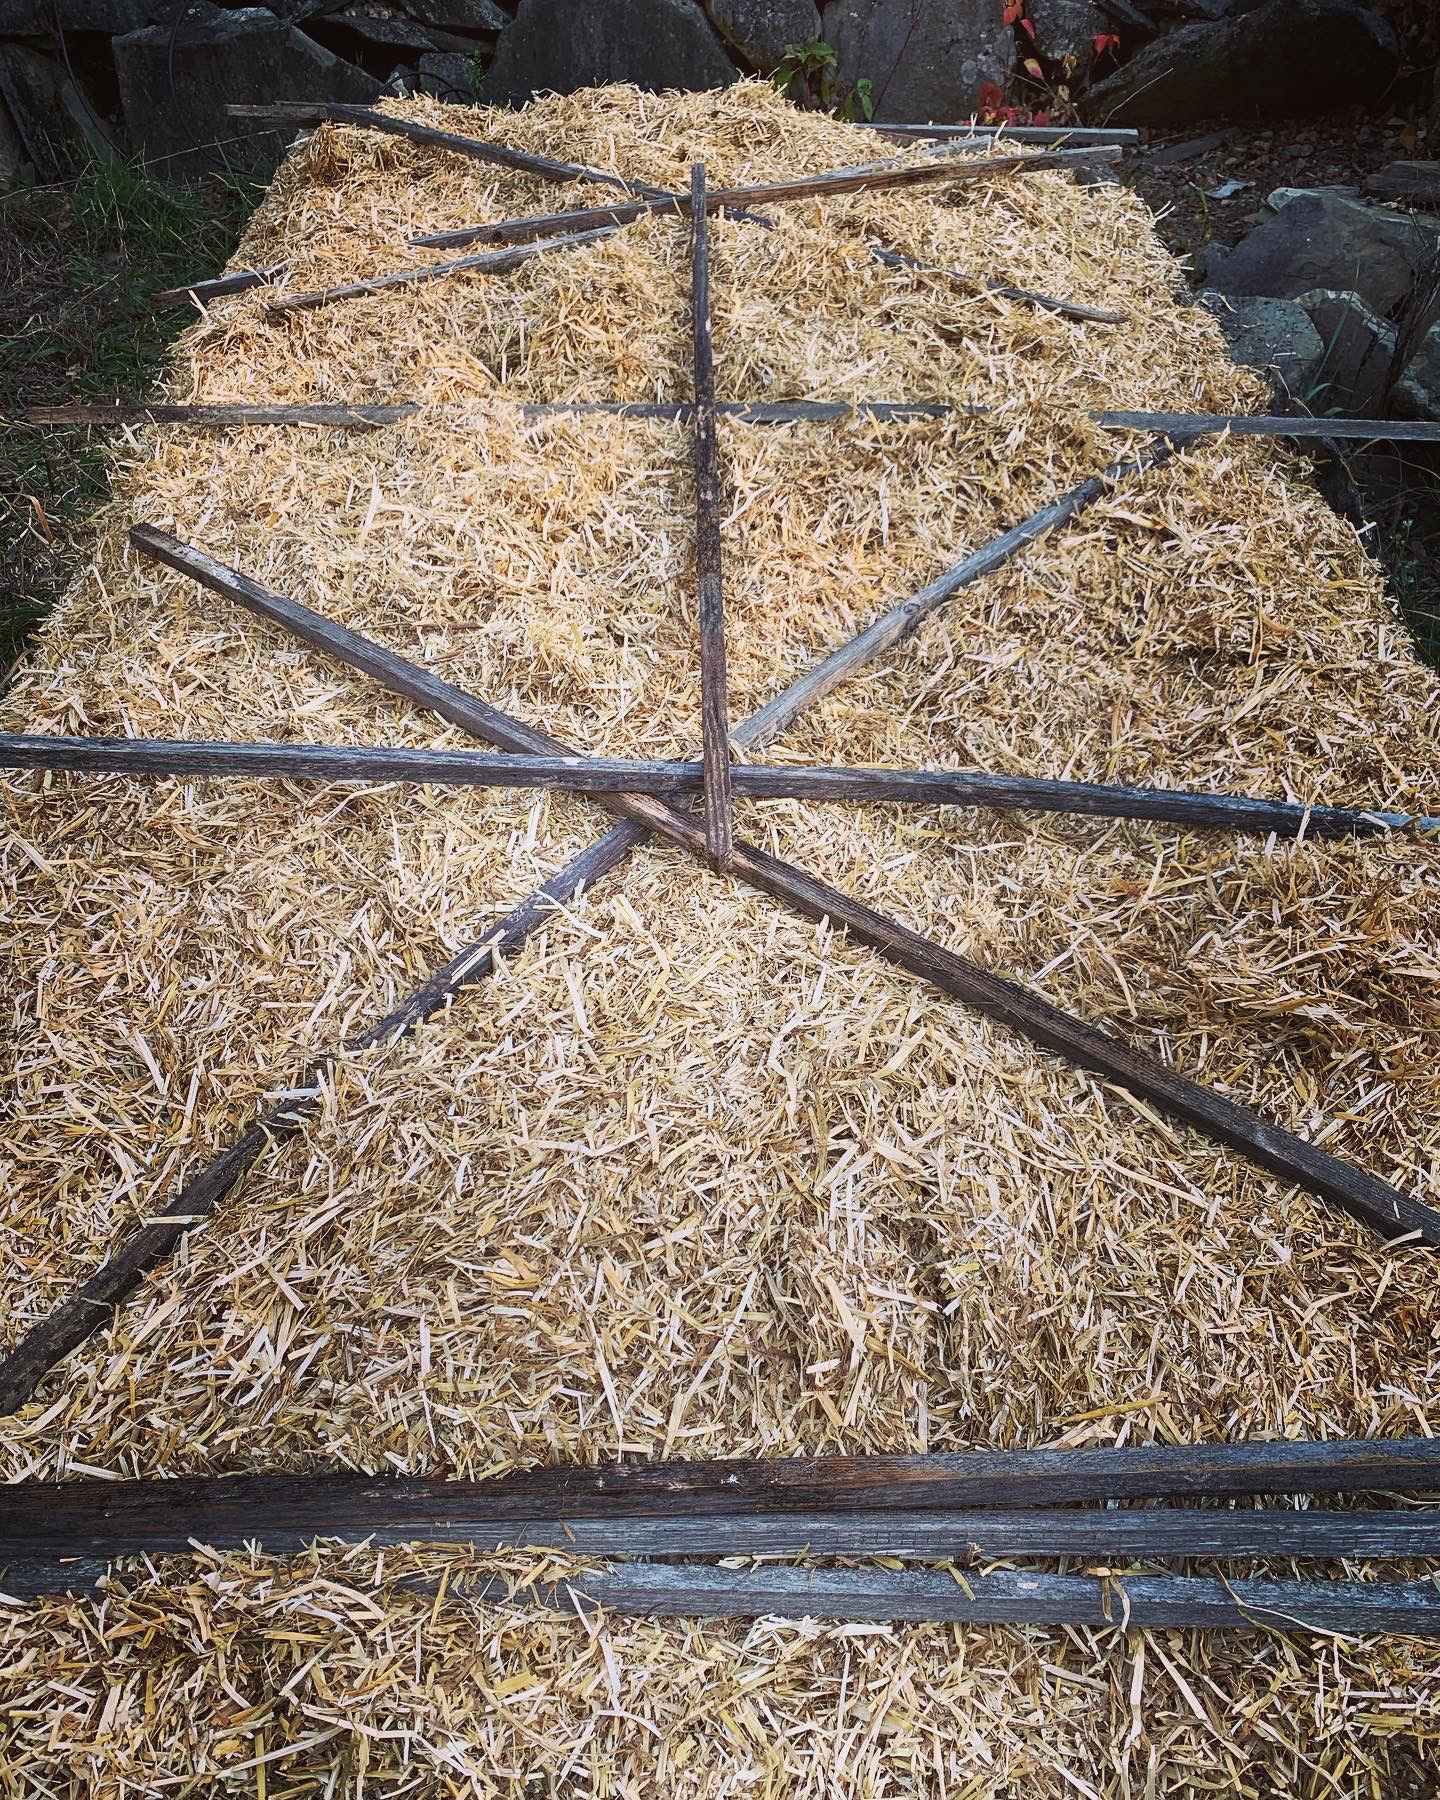
Once fully planted, you will add approx 6″ of straw mulching on top to help insulate them over the winter. This keeps the harshest elements away from the soil tops and actually helps the clove begin to root before the coldest temps hit.


5. Mulch removal in spring
A few things might be what prompts you to remove your mulch in mid-late March:
- It has been warm enough to thaw your mulch cover and you see green shoots poking through!
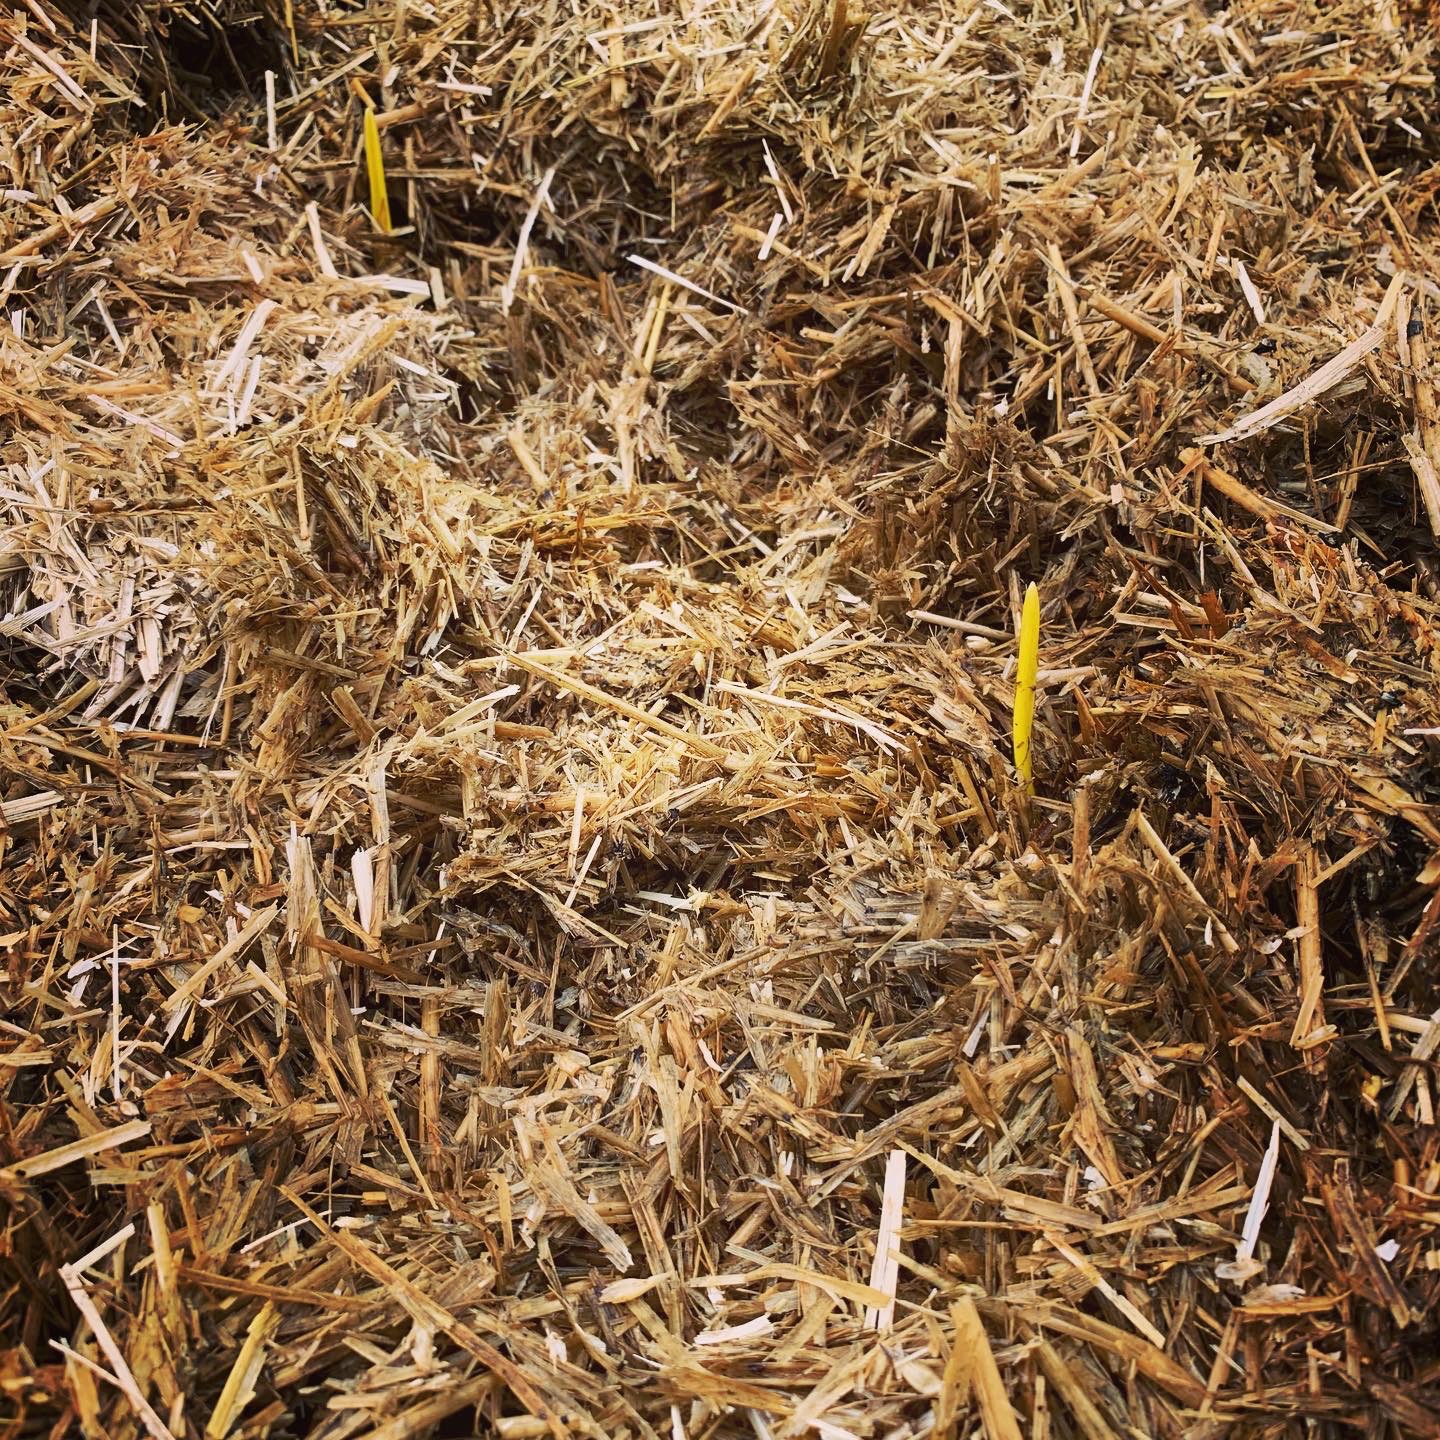
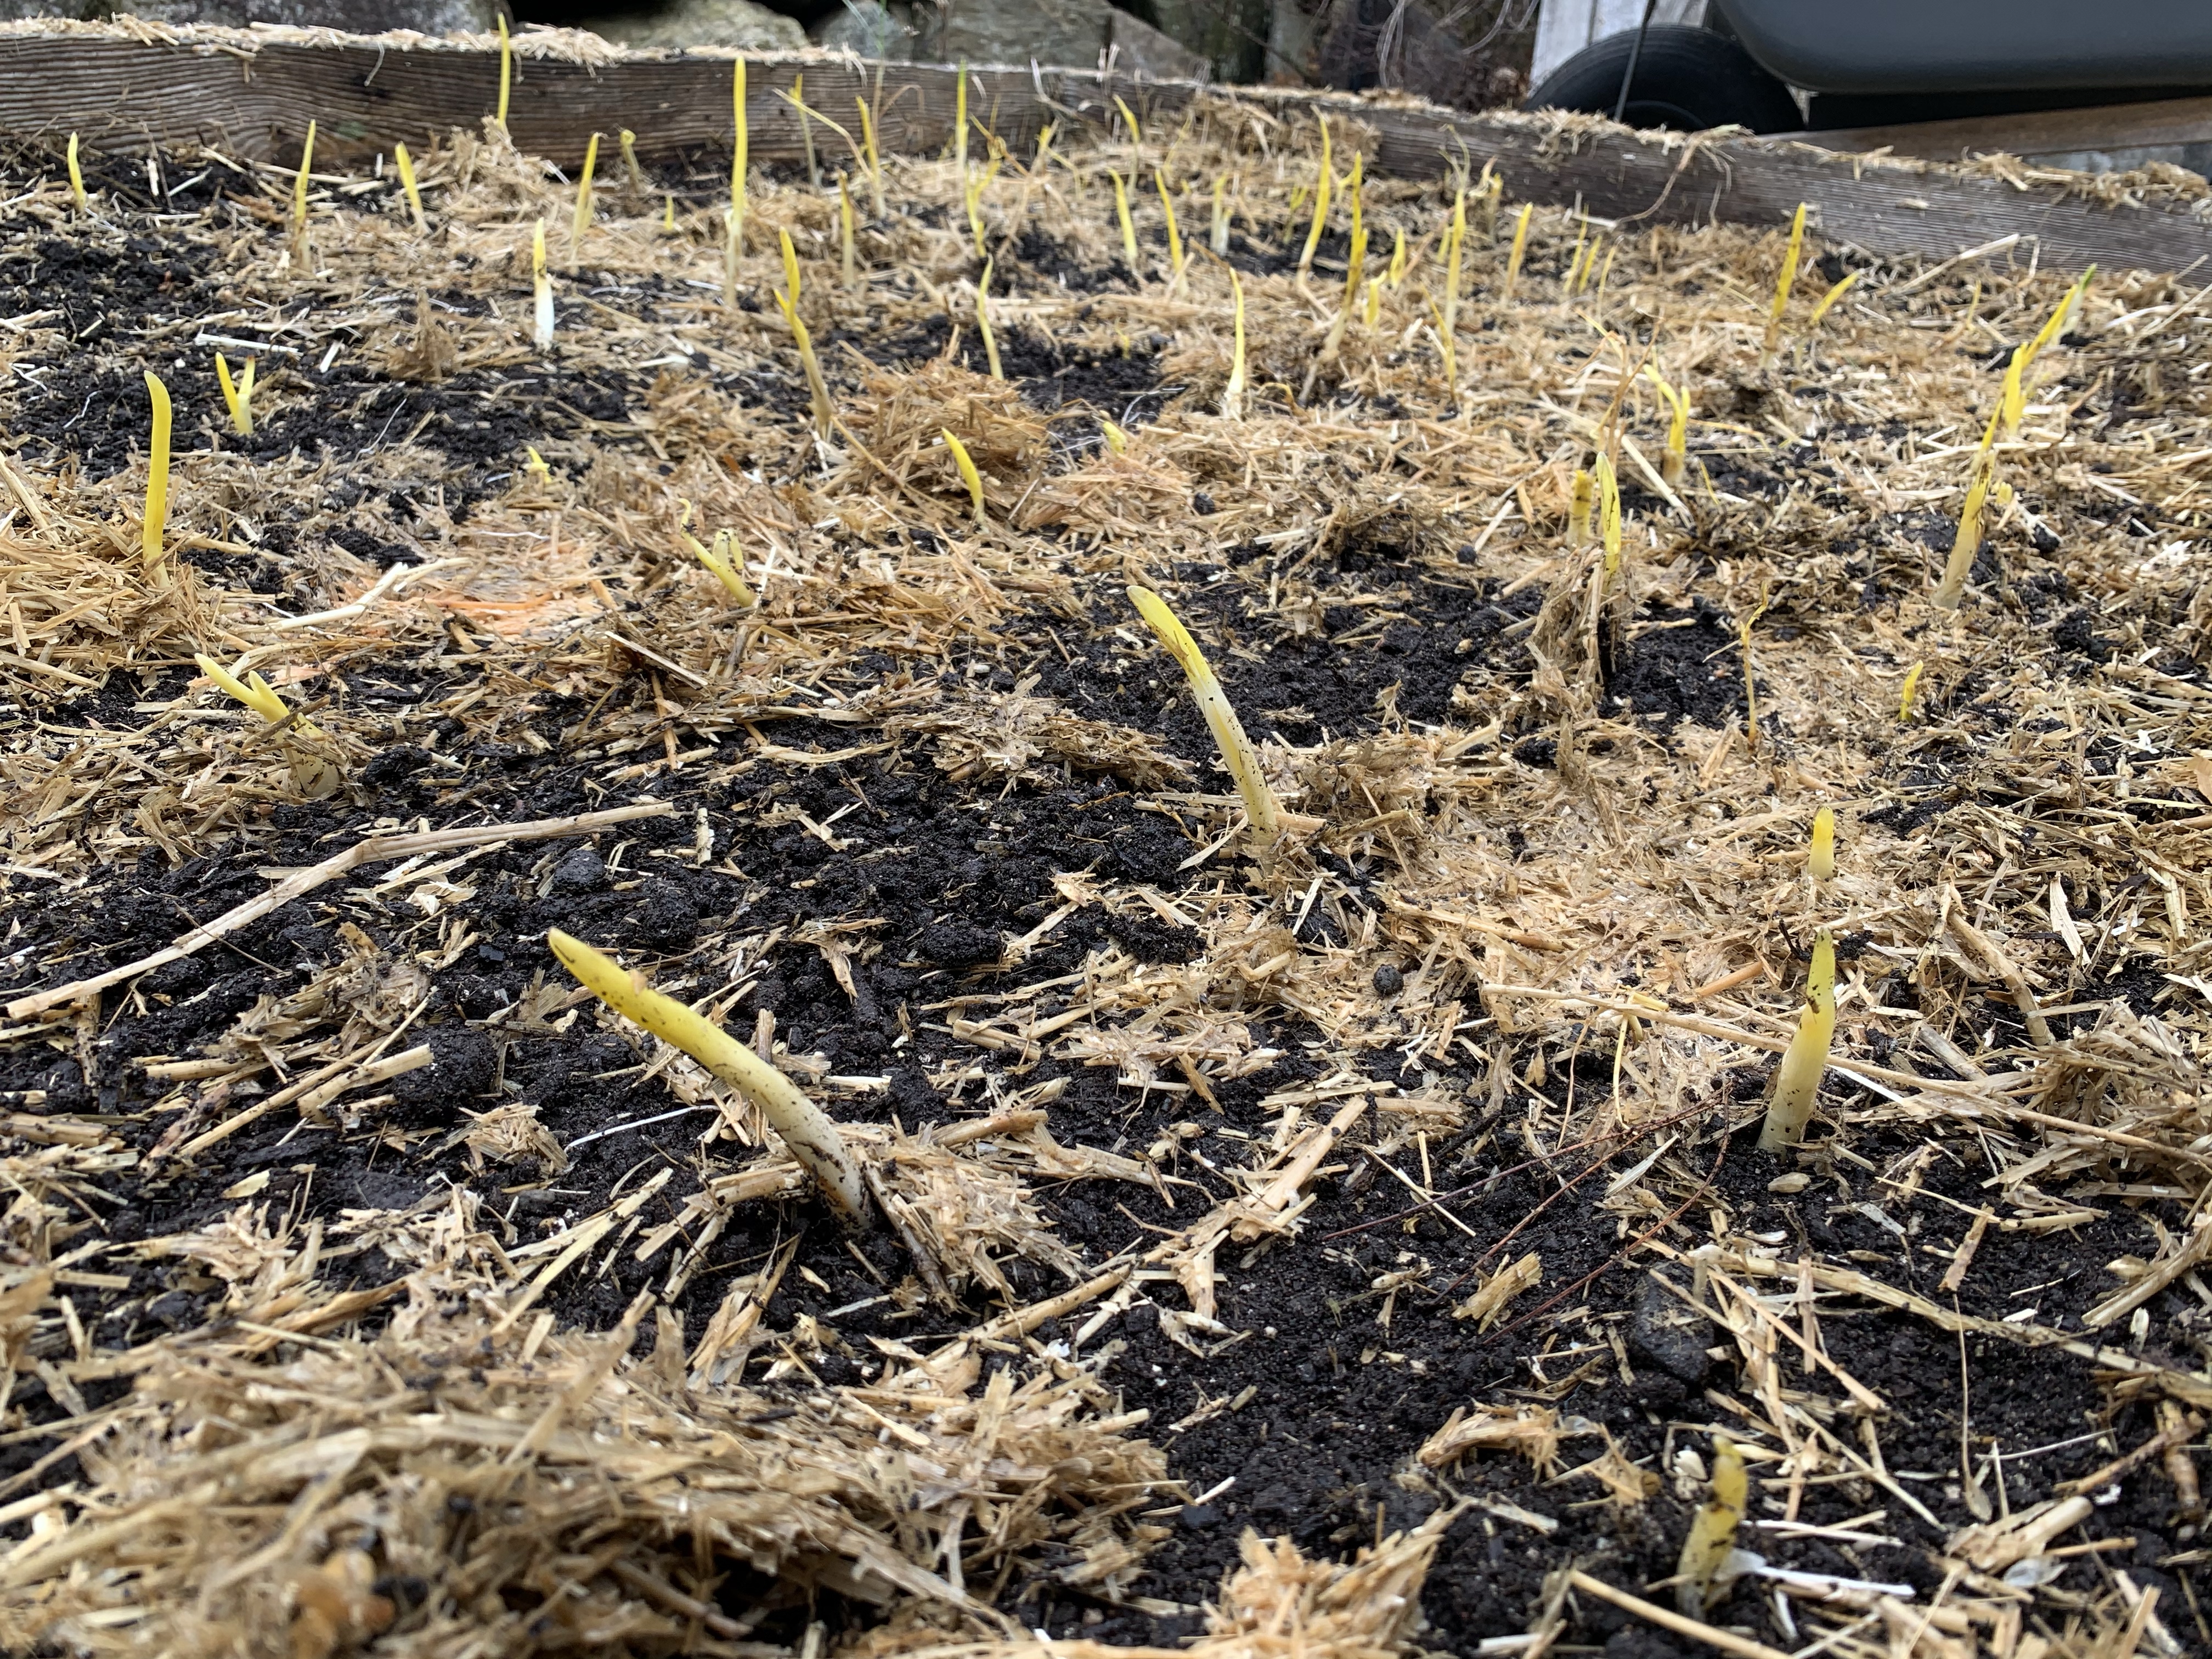
- It hasn’t been super warm enough, but the mulch is thawed so when you lift a section, you see yellow sprouts poking up through the soil
You will want to carefully peel back (longer, ‘detassled’ hay cuts might be able to be peeled or rolled back off the soil making removal a bit easier) or lifted off the soil with a tined broad fork (this is what I needed to use this year as we leveraged chopped straw mulching.. like what they use to cover grass seed, instead of longer hay strands from a bale.) The tined fork works well in lifting the compacted mulch but passing around the garlic sprouts connected to the rooted bulbs growing below the soil.
When you’ve removed the mulch – TO THE COMPOST HEAP IT GOES!
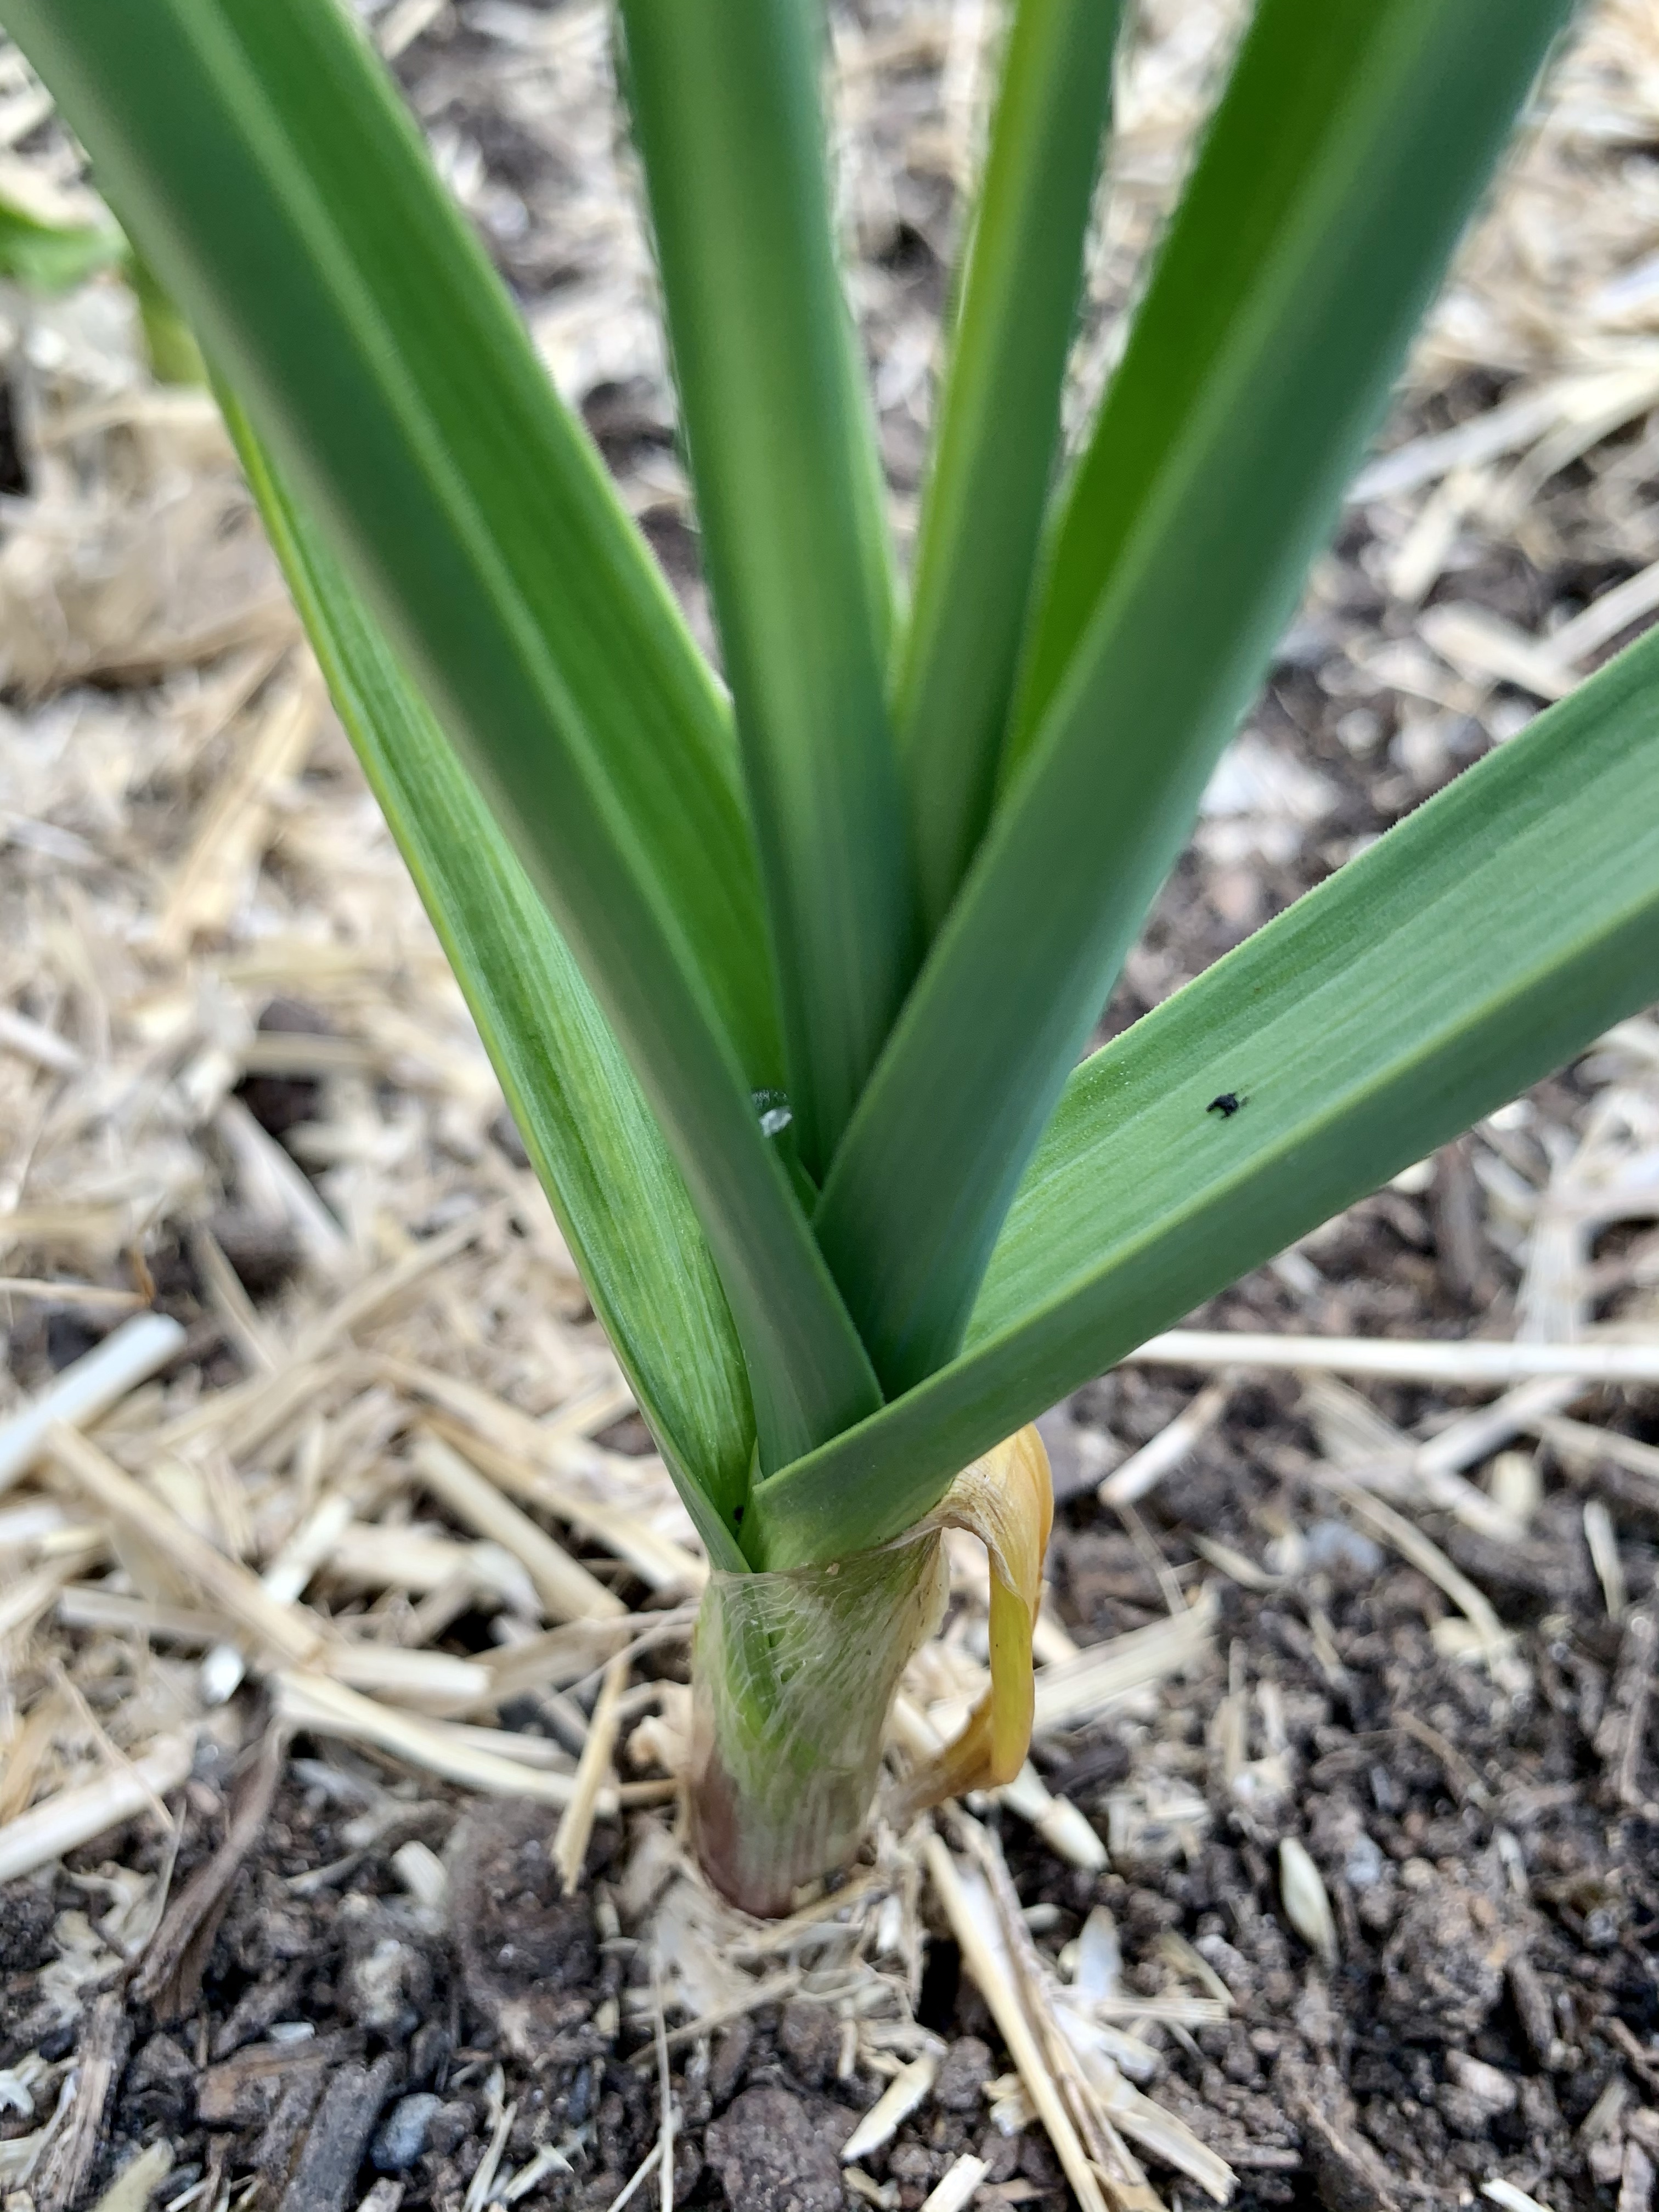
You will probably notice (particularly if you uncover the soil before anything pokes up through your mulch) that your spouting garlic is yellow! No worries, this is just because it has not had the joy of photosynthesizing that glorious sunshine yet… they will turn green and your lil garlic babes will begin to bulk up underground with minimal amendments.
A few weeks after we uncover (once the leaves are lush and green) we side dress some organic compost (aka: run in between the rows, not ON TOP OF the plantings) to give it a little boost of nutrients as they start their growth cycle.
6. Feeding and Watering until scape harvest
Just like any plant, they will need to be fed and watered for optimal growth and yield. Again, sticking the the basics I listed above, a general fertilizer is fine, but you CAN utilize specific nutrients to boost them at certain times within their life cycle. Watering when the ground is dry is key, but do not SOAK the soil or overwater. Bulbs can be delicate. If it rained yesterday and it is still a bit moist when you stick your finger about 2 inches down, then you most likely do not have to water.
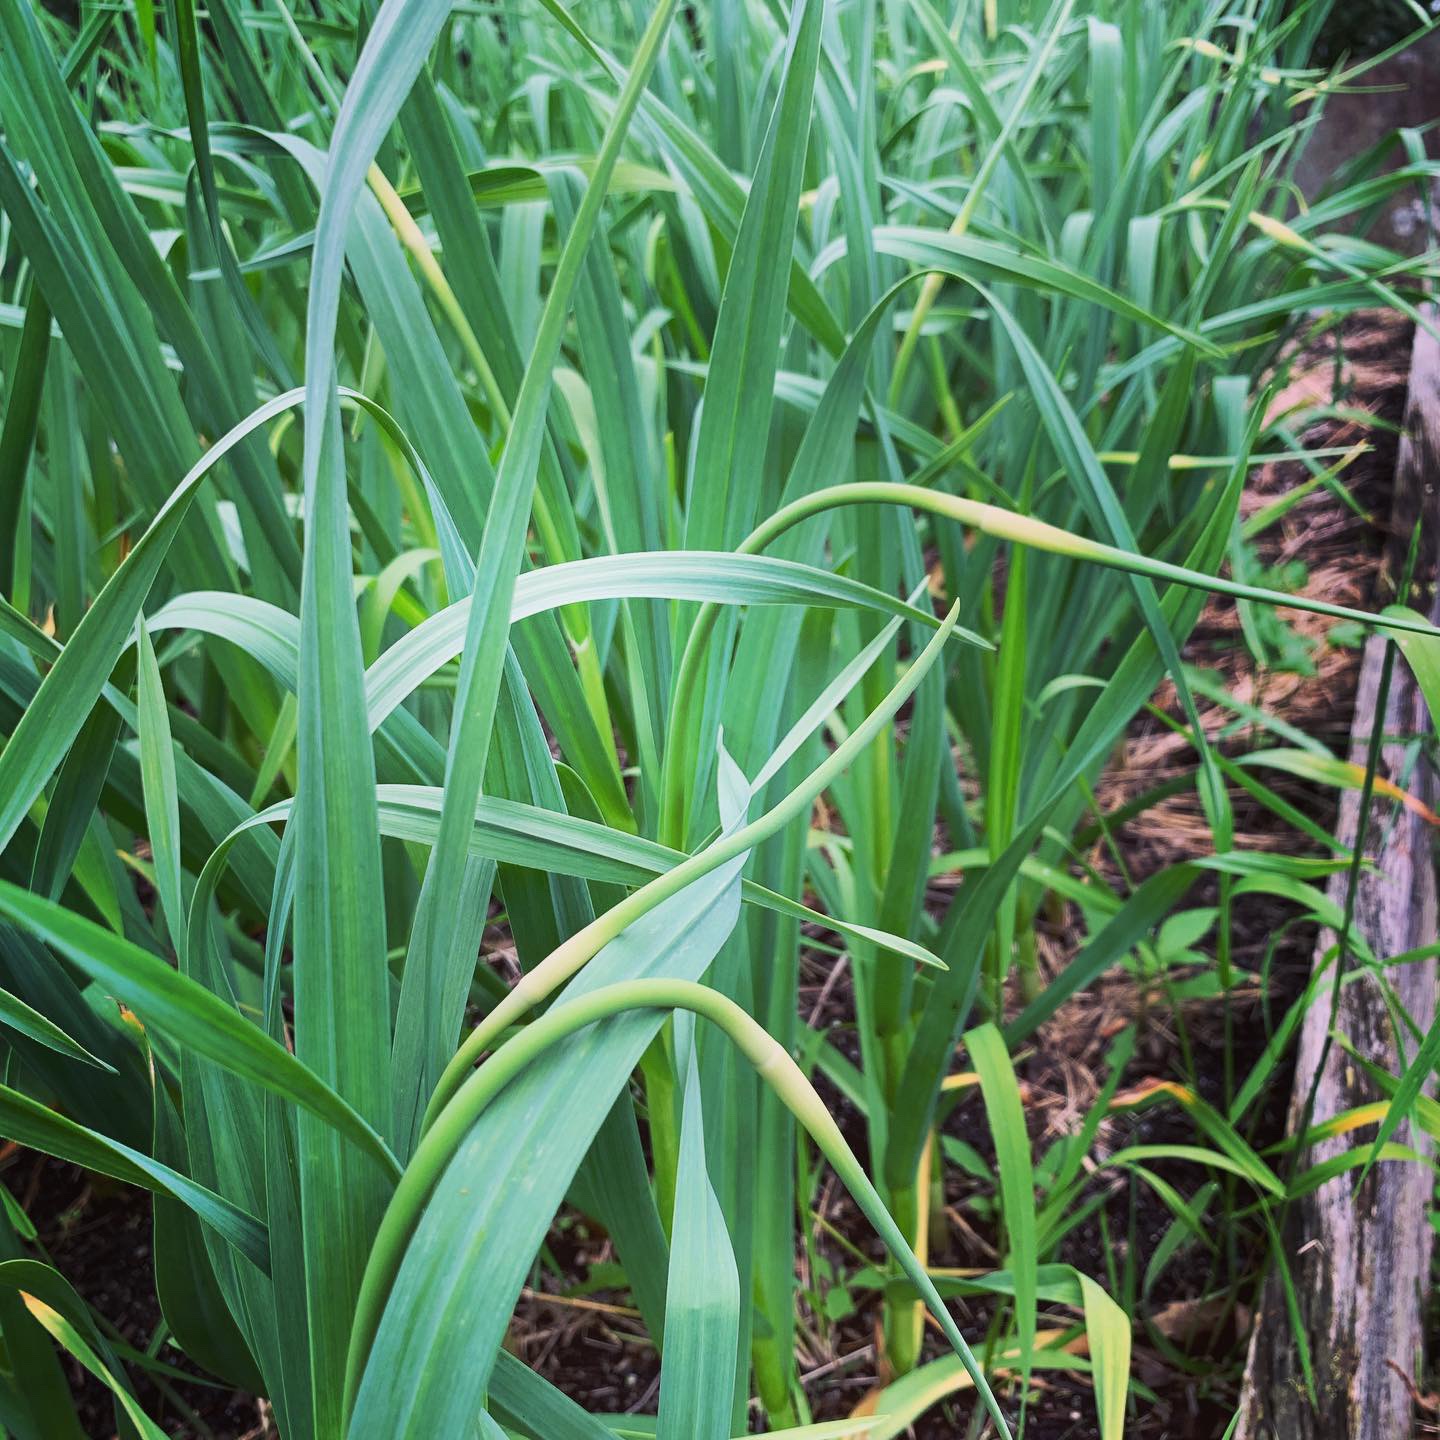
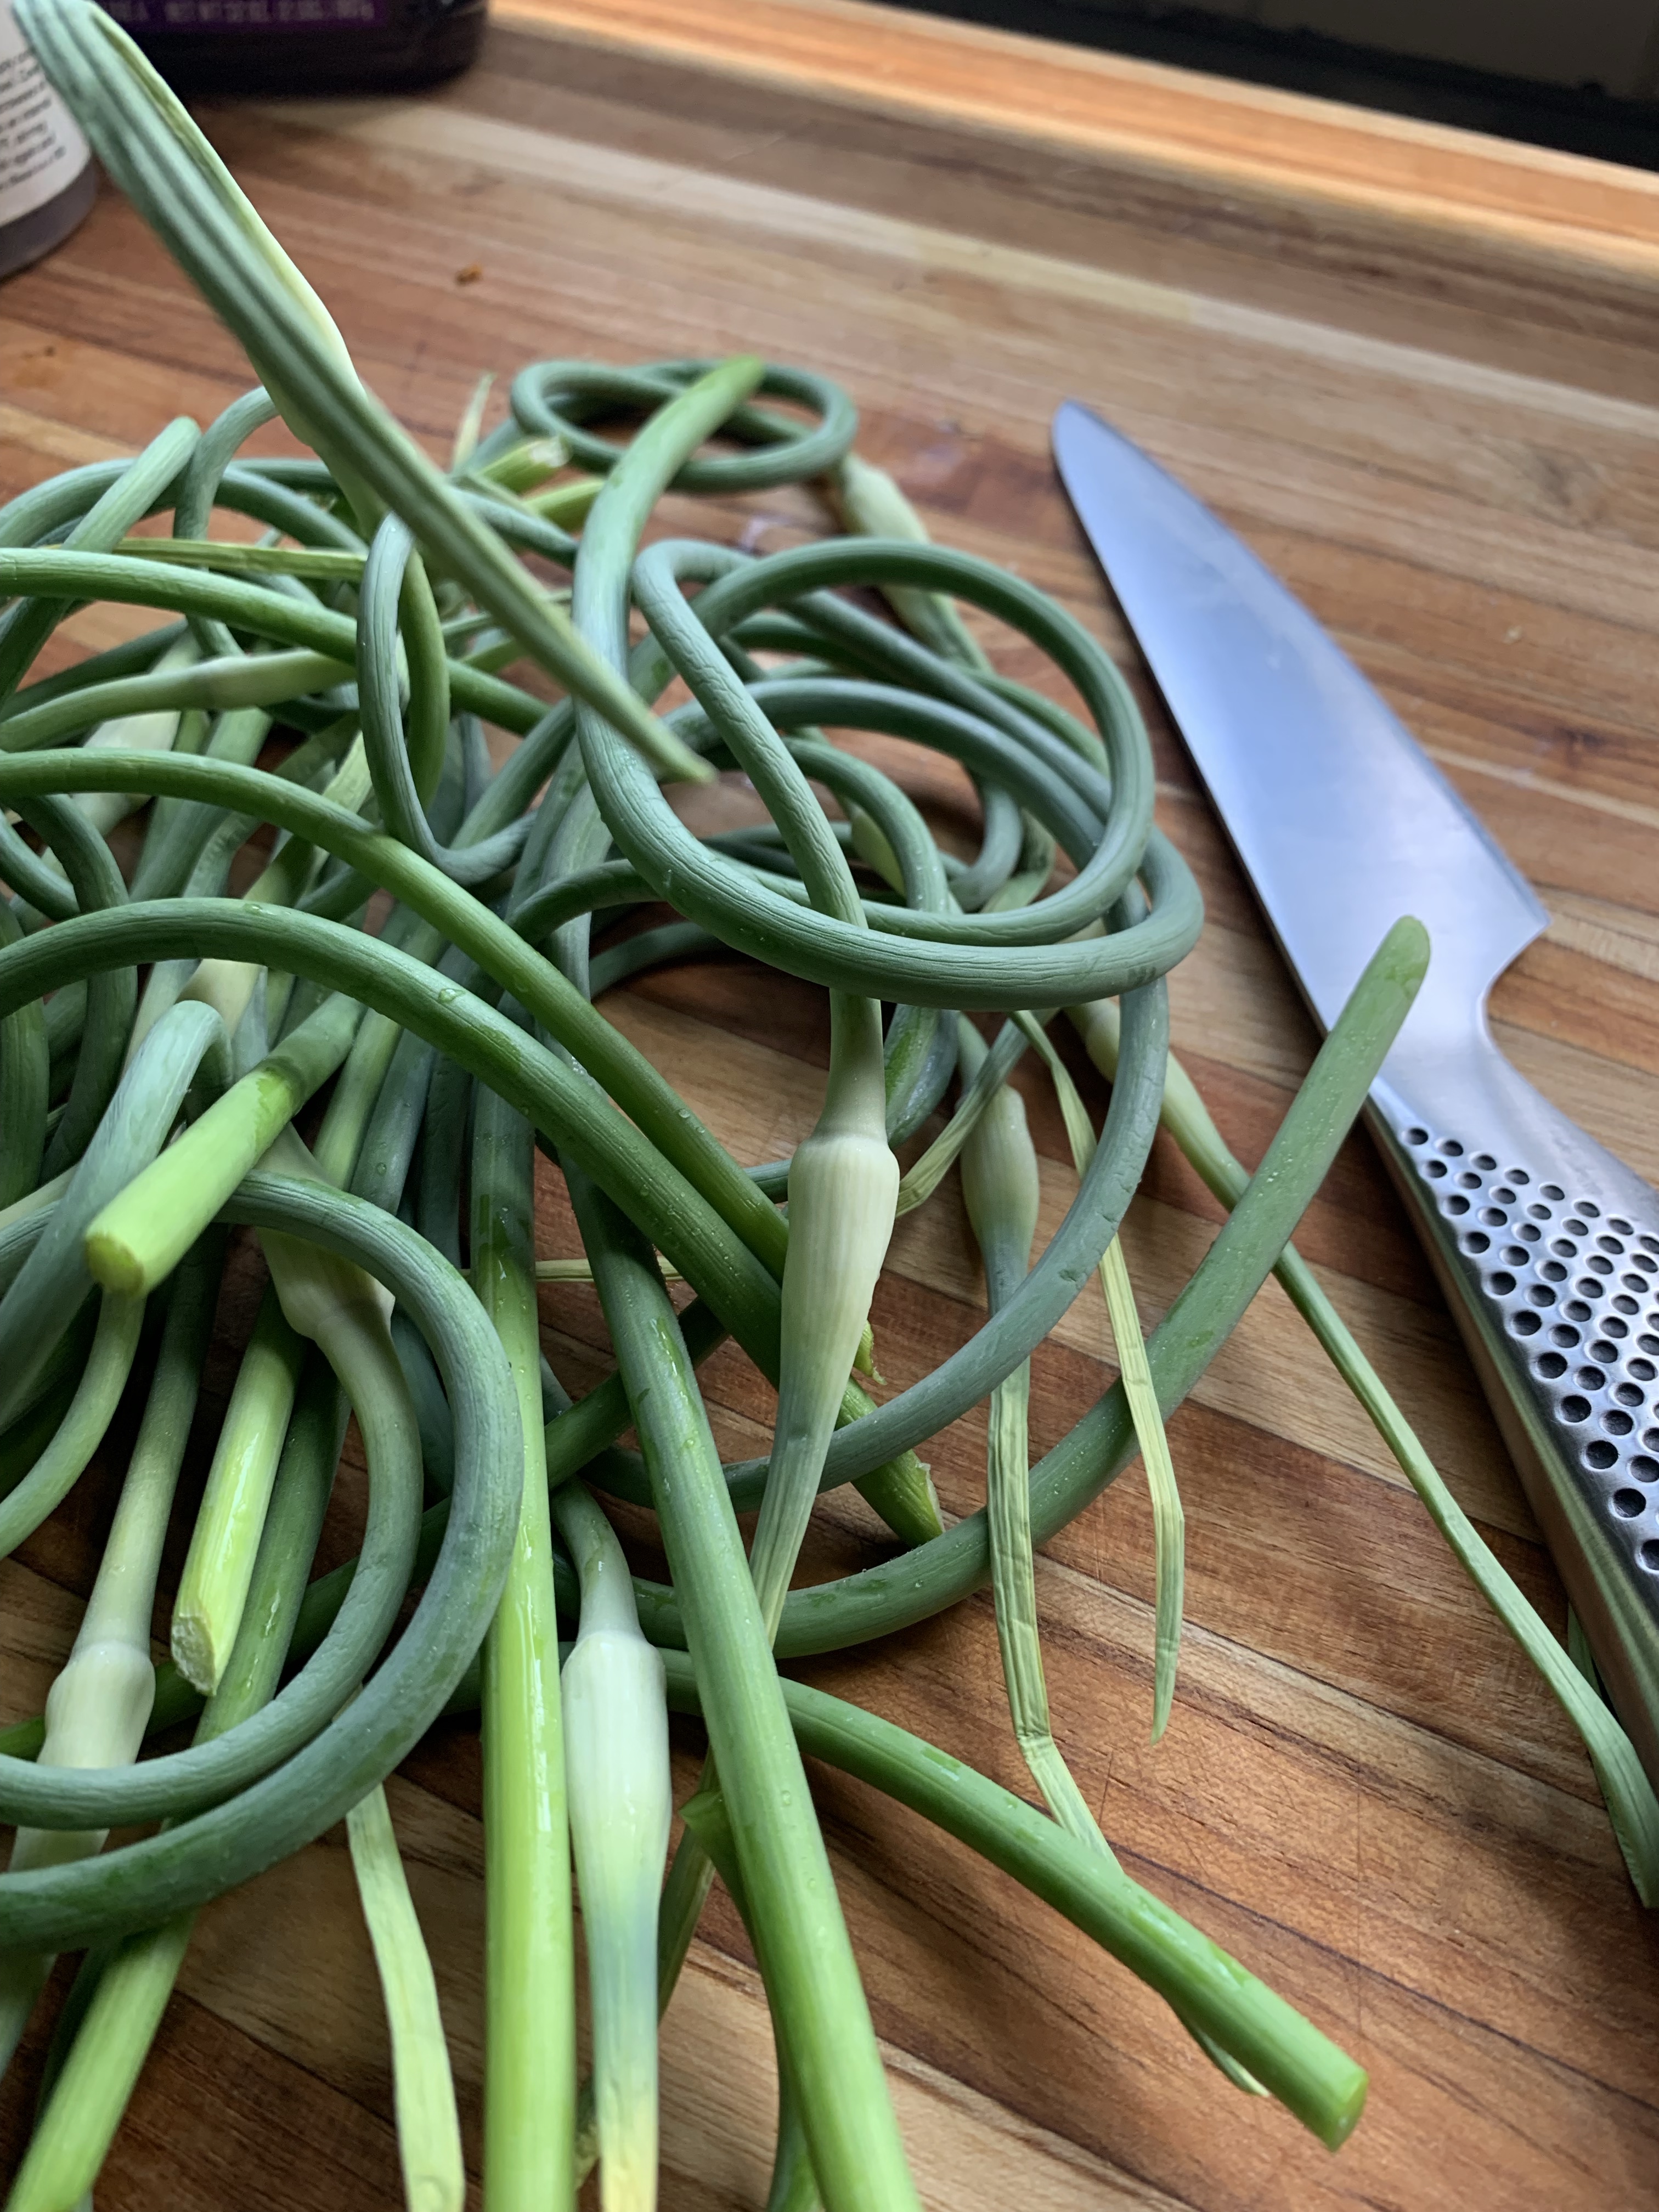
You will see the scapes (the stalks and flowers of the garlic plant) begin to shoot up in May but resist the urge to cut them! Wait until they make a full LOOP before harvesting the scapes and prepare to process/preserve/use them within a few weeks of harvest.
Harvesting the scapes FORCES the plant’s resources into finishing off the bulb instead of producing the flower… this is the finishing step in the growth process for the garlic.
7. Harvesting
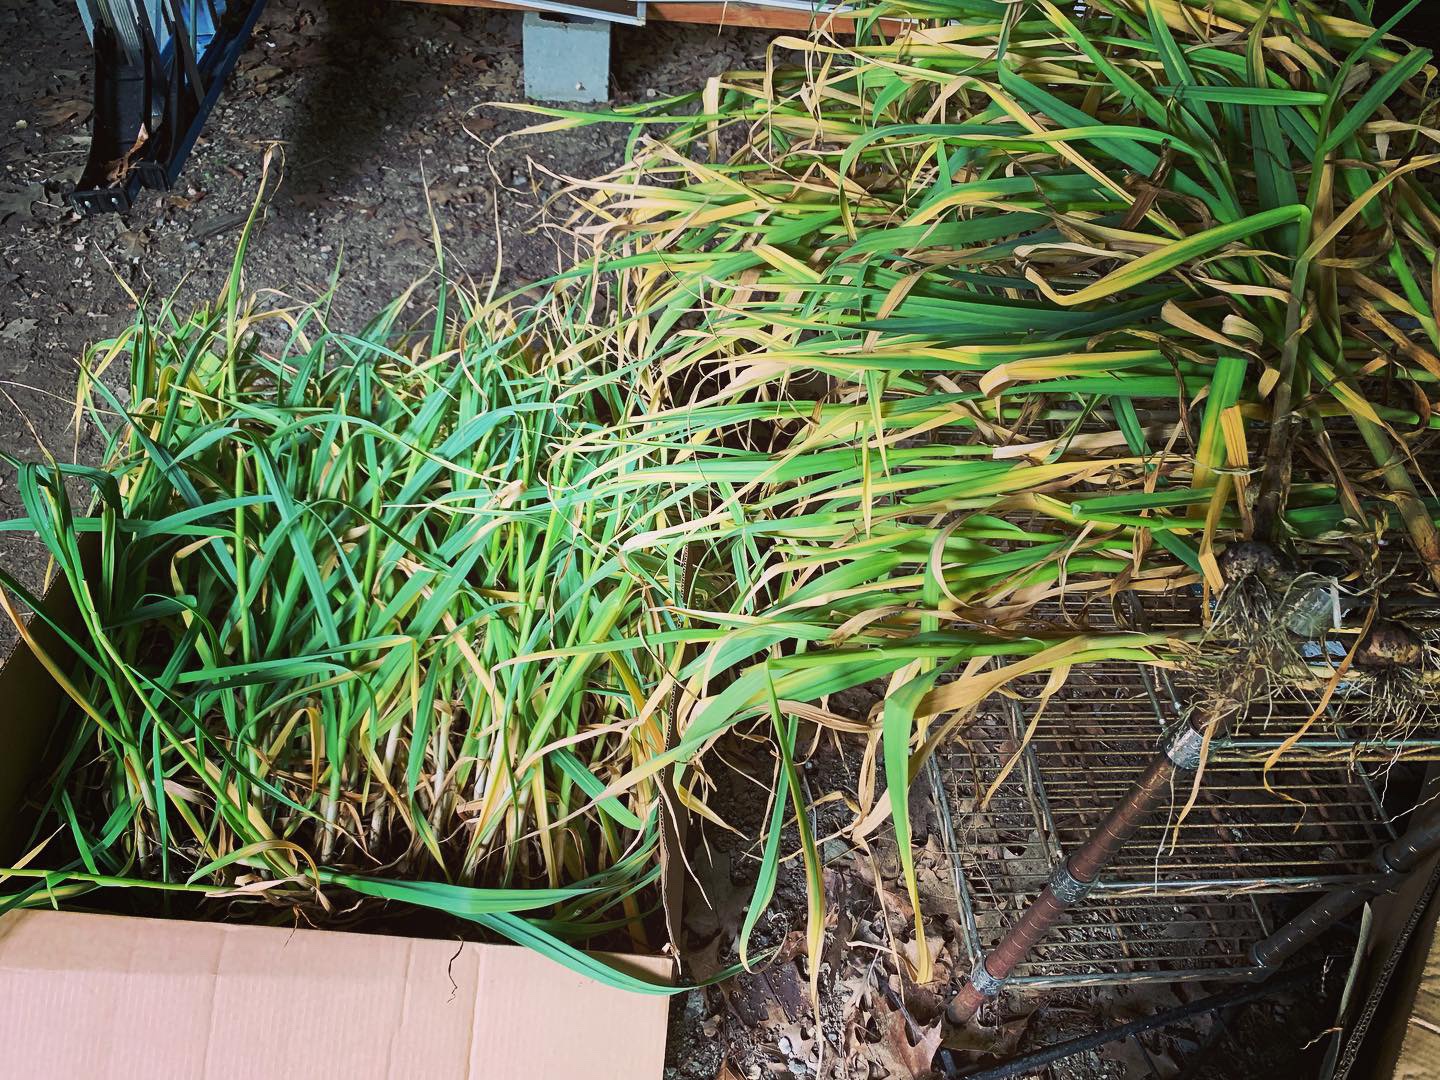
You will begin to see the garlic leaves brown and die back. This is FINE. At this point you can begin to reduce your watering as there are no leaves to aid in the photosynthesizing process anymore. (Leaves require the plant to suck up water/nutrients from the soil to maintain process… leaves are also how plants regulate their temperature and humidity… no leaves = nothing needs to get sucked up or perspired.)
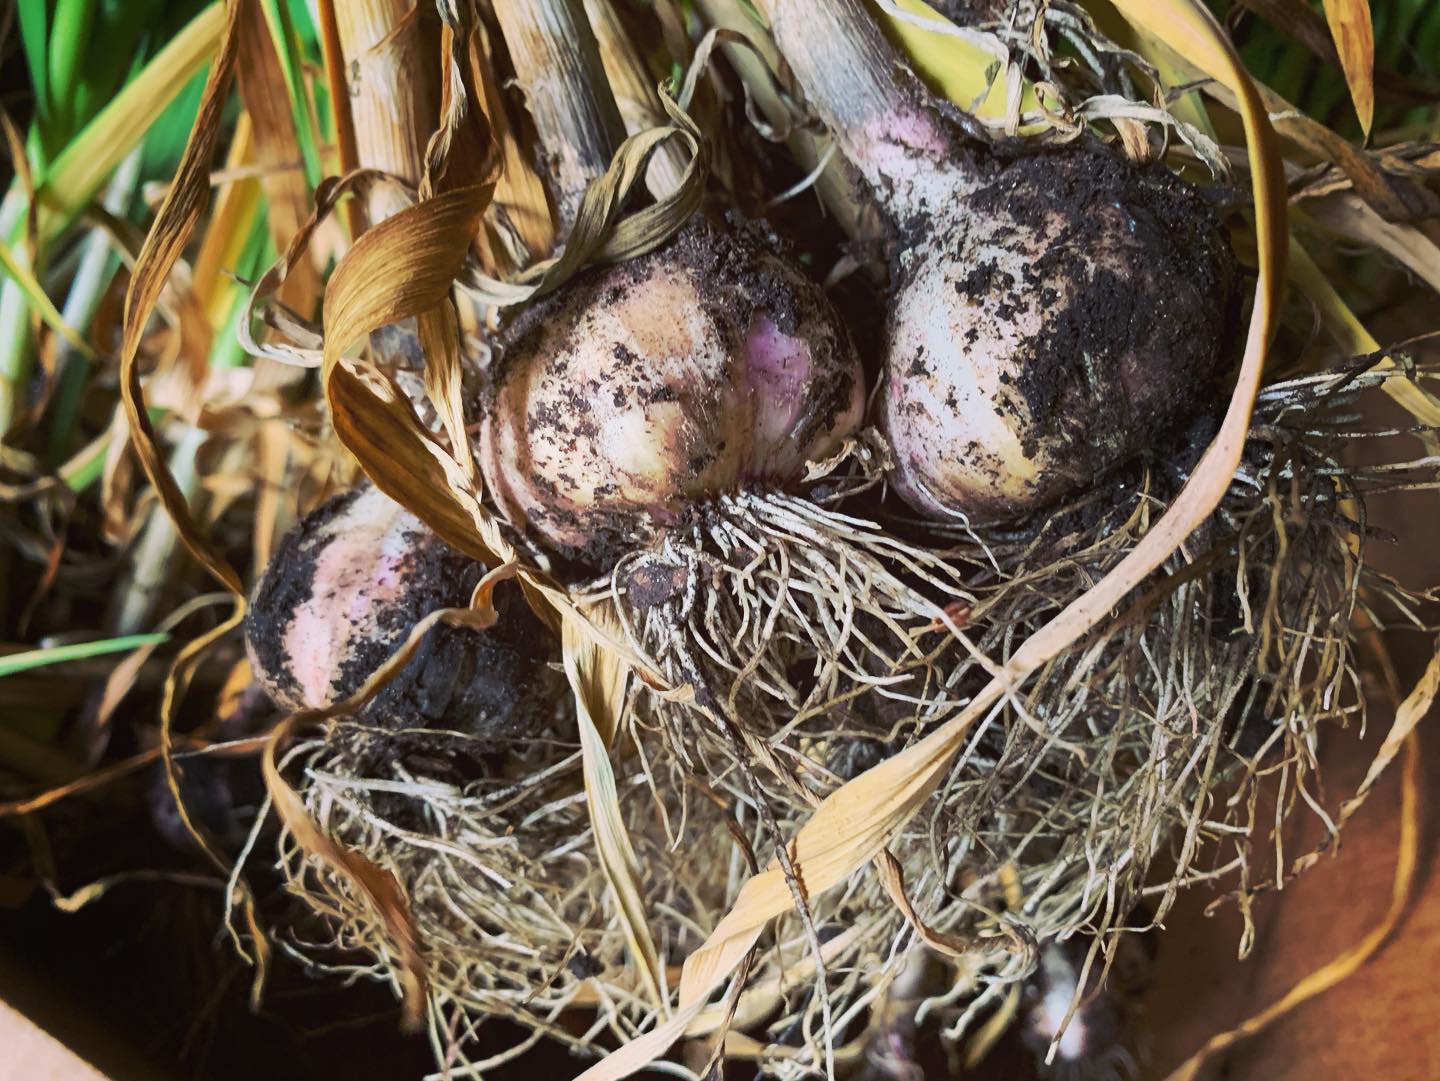
As the plant sits in this state, the layers of skin around each bulb will begin to harden and dry…
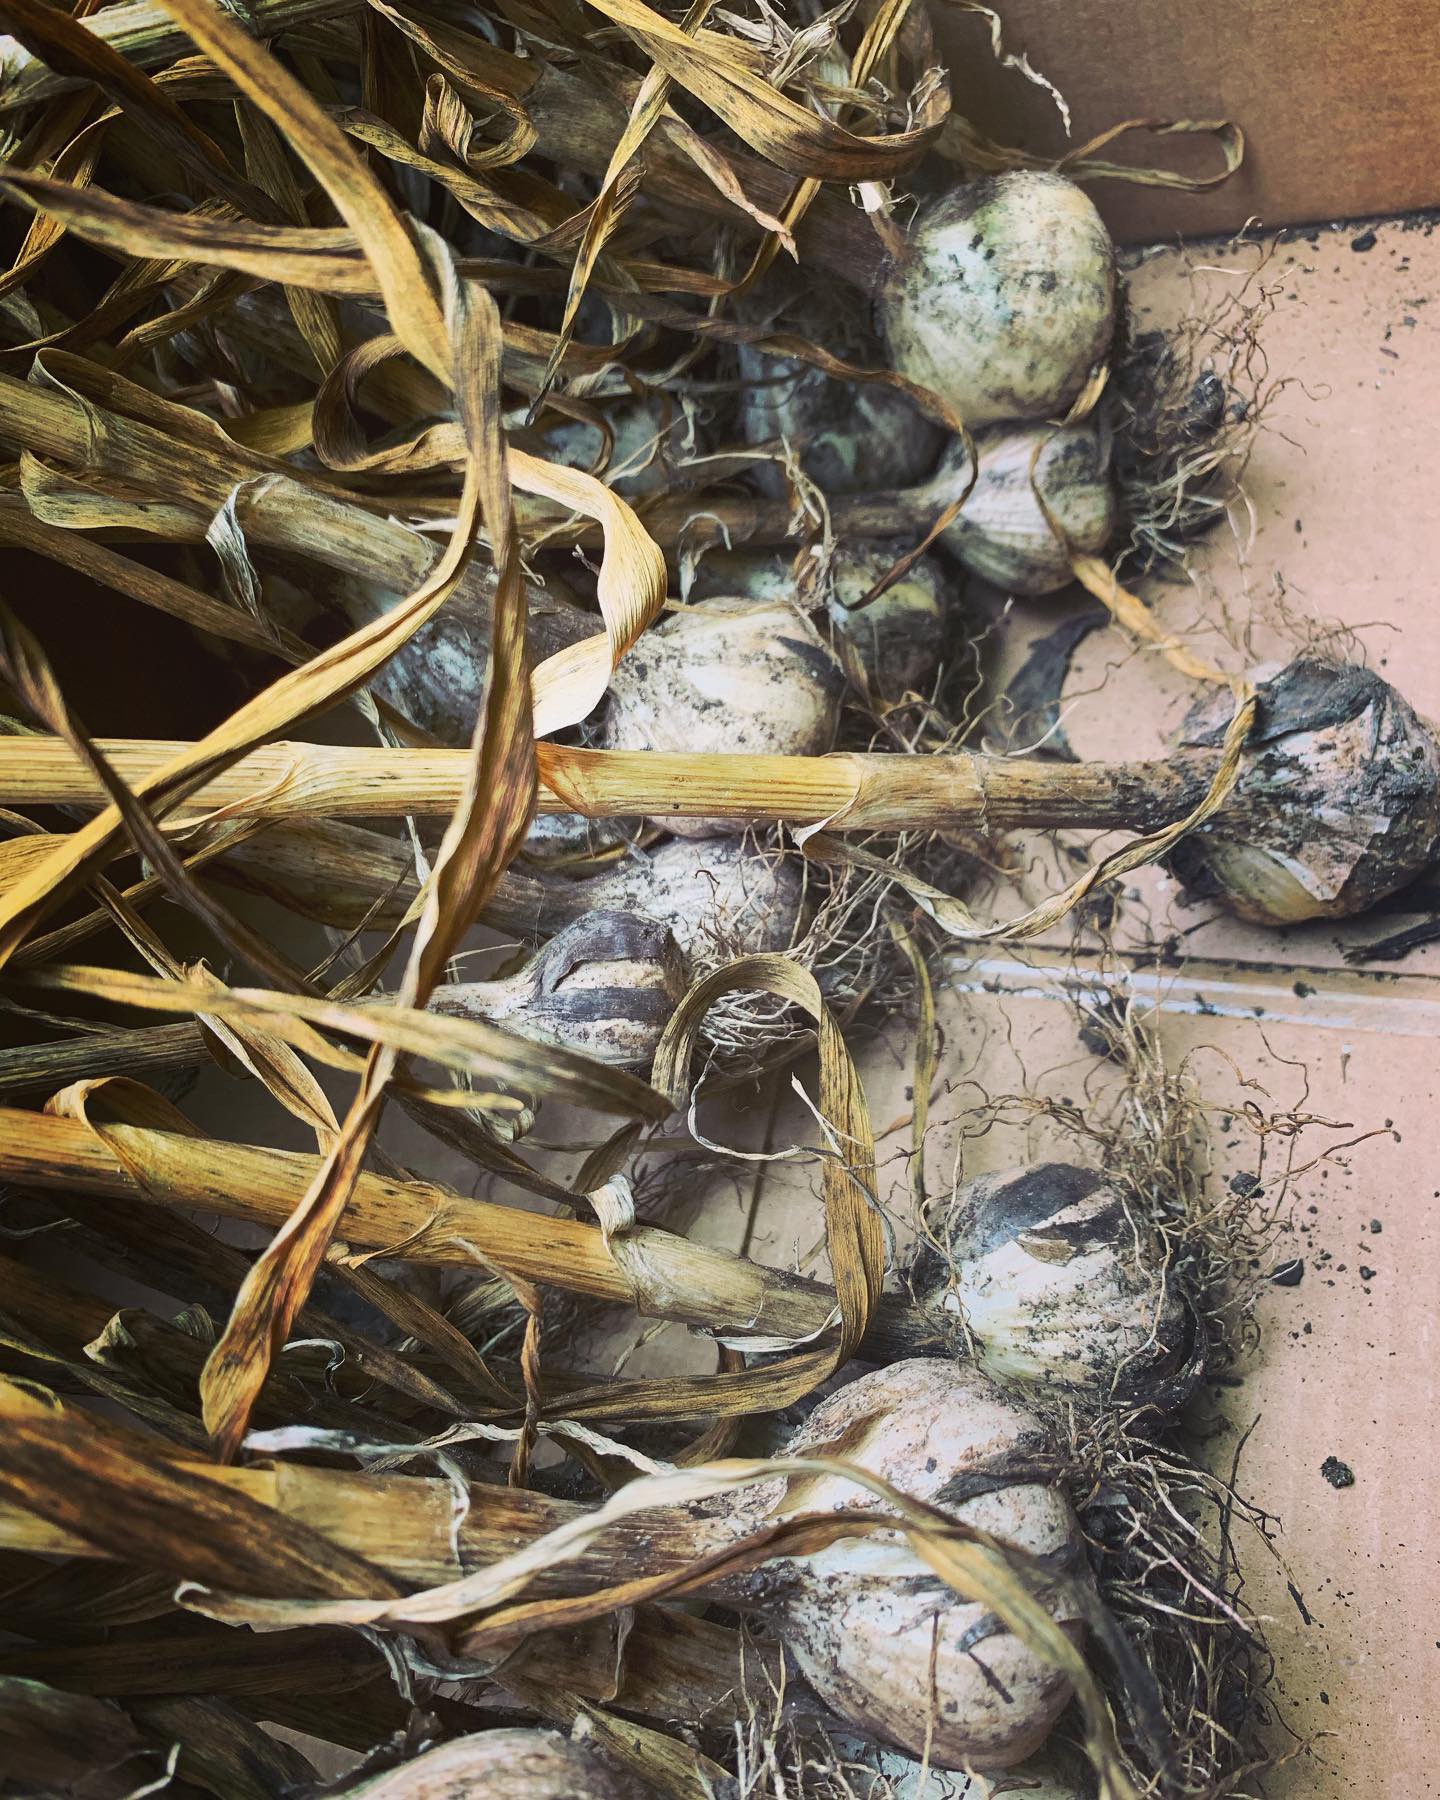
You will want to leave the garlic in the ground until the leaves have 100% died back and are crispy. You will also want to harvest when you have a good 3-4 days of dry weather.
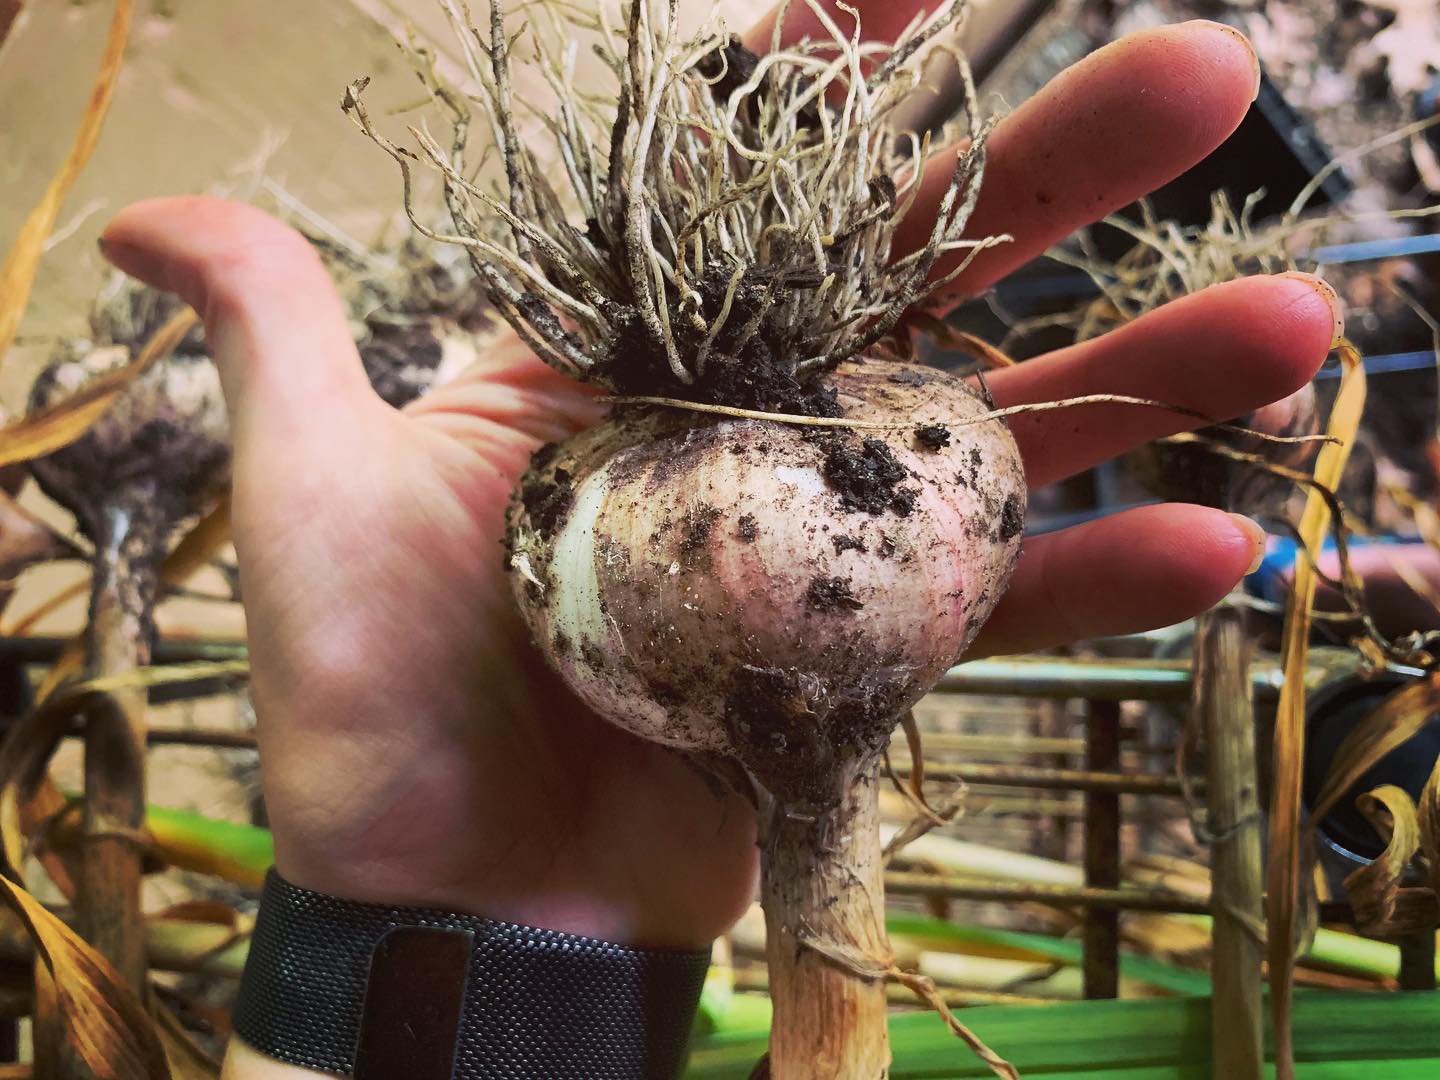
To harvest, you will pull gently UP on the dried stalks releasing the bulbs (they will have roots coming from the bottom) and lay them down where you extracted them from. Continue and remove as many bulbs as are ready for harvest (some might need more time to fully have their leaves die back, etc… that is fine.. just know which is which if you have different harvest times for your crop (this will impact curing and when each is ready for trimming and storage.)
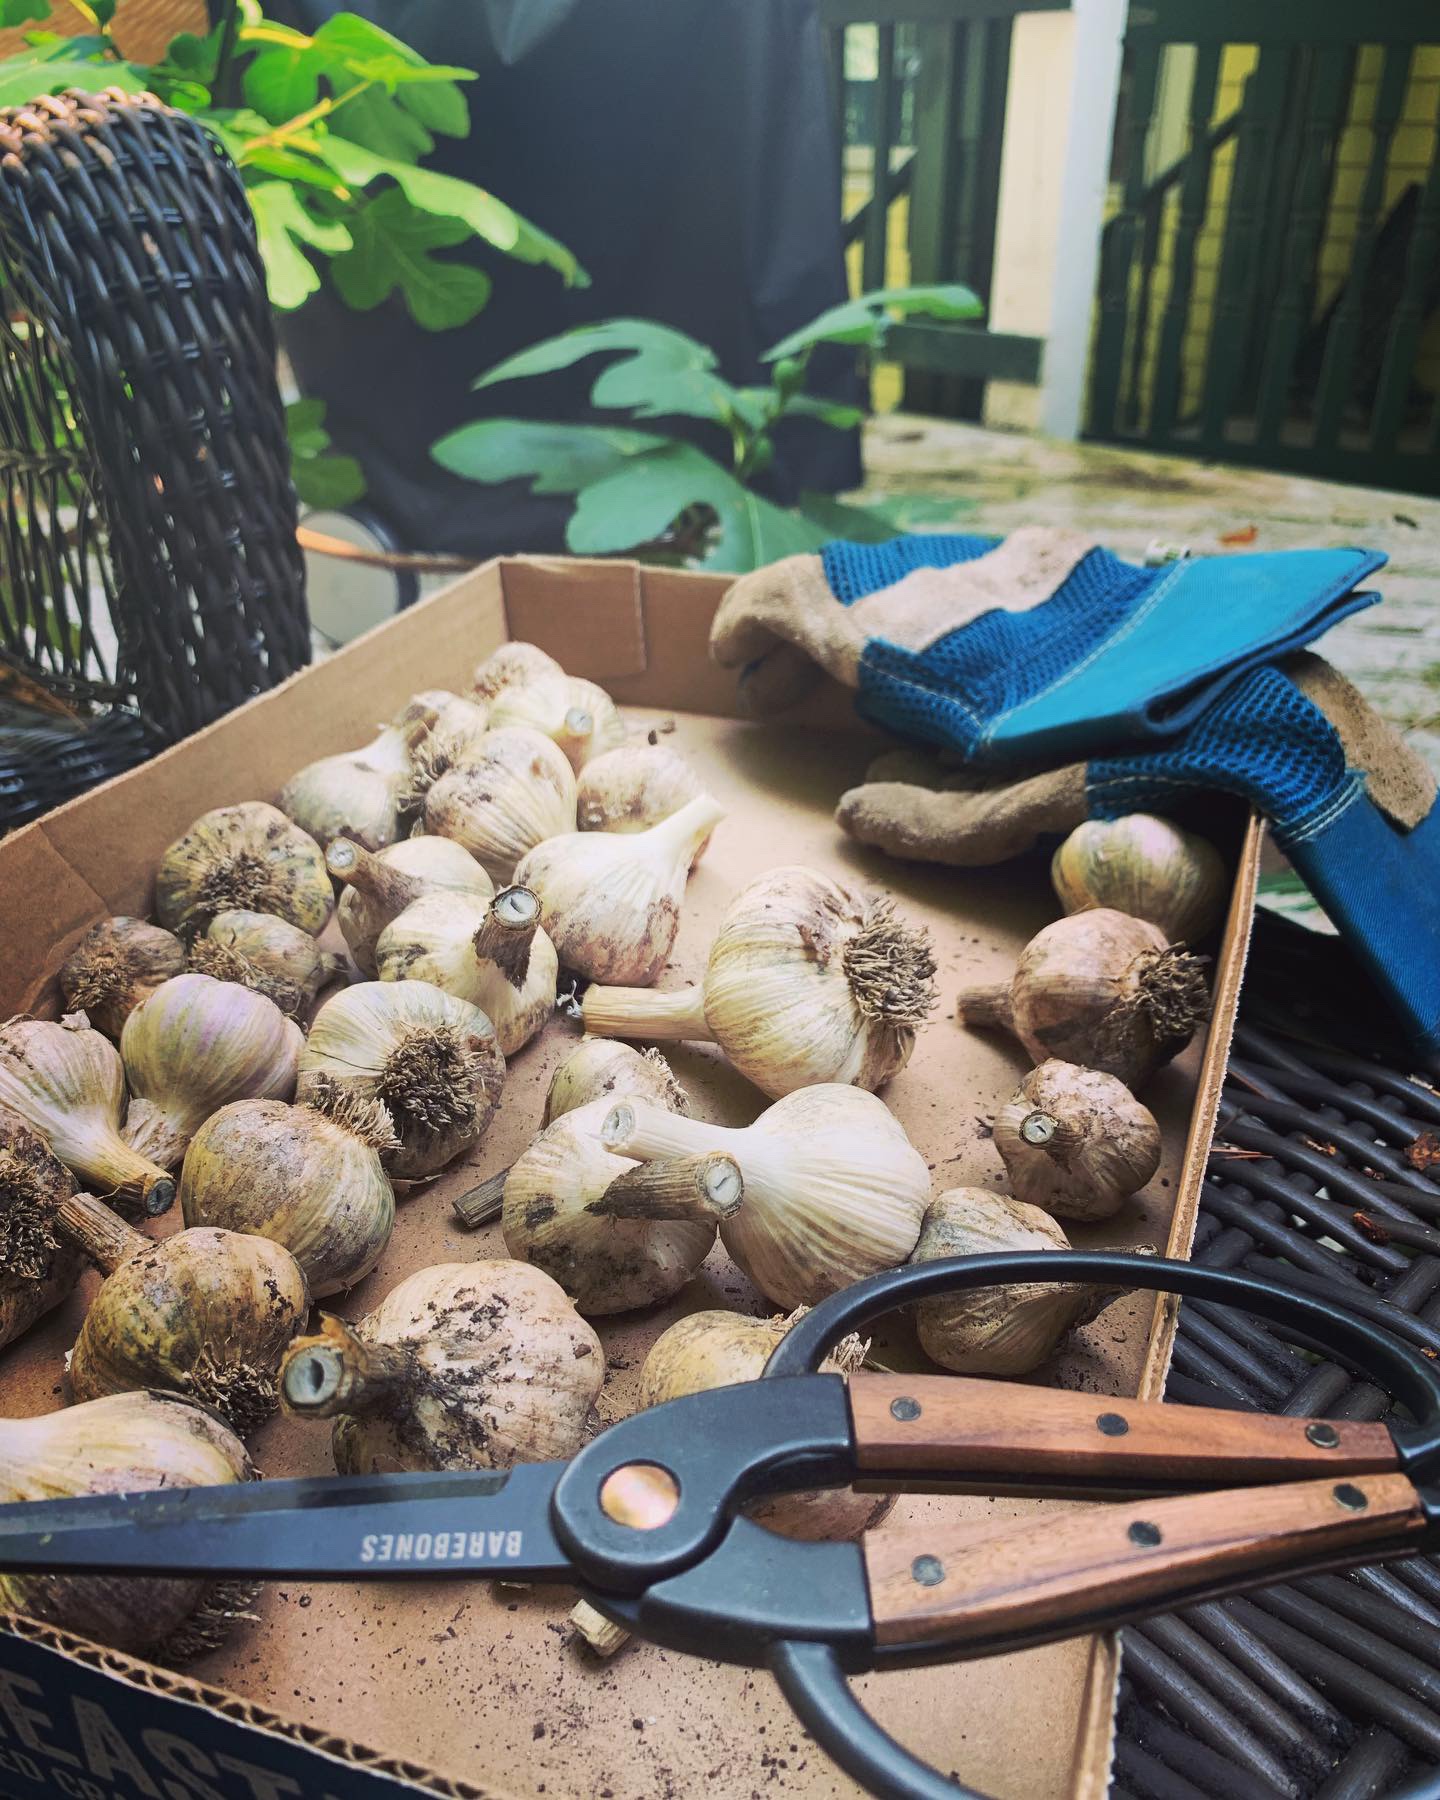
Once harvested, the bulbs should cure for a few days (without getting wet!) What we do, is extract the bulbs, leave them lying in the garden bed for a few days to cure (if they are in the sun it is ok) then move to a shaded location to cure for another week or so before trimming for storage.
8. Storage
Store in a cool, dry location that has some air flow. We have a pantry with several burlap lined crates that we use for storing a few things: potatoes, onions, garlic, etc… Moisture is the enemy to any long storage veggie… so making sure it is cool, dry and not moist/stagnant can get you 6 months of storage for your homegrown garlic!
Other methods of storing is confit (make sure to water can this so it is shelf stable) or frozen (won’t taste as good but is a great way if you have some that are nearing the end of their pantry time…), roasted and canned, pickled… etc… so SO many ways to keep and USE all that great garlic goodness!
As we get on in our garlic season, I will post some recipes and link to some of my favorite methods of preserving.
Hopefully this little step by step helped you gain some confidence in growing a highly valuable item YOURSELF.
Questions? Drop me a comment or email through the Contact page and I will get back as soon as possible!
Next up – #2 of DBF’s Top 5 Grows: COLLARDS

One Comment Add yours