Again, nuggets of wisdom often show up in the most unlikely places. This lesson is in the form of ICE CREAM. Bought buttermilk for brunch pancakes but still have a bunch left? Needed it for some random recipe that you decided to try and the container still stares at you whenever you open the fridge?? Well, here is a quick way to use it up (and keep it longer)…… AND is ICE CREAM! (I mentioned that, right?)
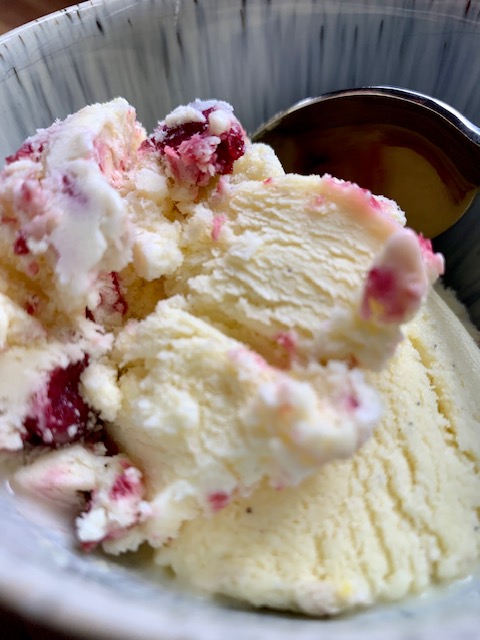
Disclaimer: This is RICH. Like thick, sweet, creamy and decadent RIIIIIIIIIIICCCCHHHHHHH. The good news, is you can add all sorts of yumminess to it to change it up if you want. I chose to use some leftover Peppered Cherry Preserves and muddled fresh blueberries… But you could add chocolate chunks, or crumbled cookies… I mean, vanilla ice cream is a blank slate. Enjoy it on its own, or get working on a great flavor combo. But no, this is not your ‘I eat a huge bowl of ice cream every night’ ice cream. Unless you burn like 4000 calories a day.
It’s also my first time making a custard base (with buttermilk add in) ice cream so… let’s give it a go, shall we! I might love to cook, but I’m not the best at everything. This blog isn’t about shiny, perfect dishes or meals, but GOOD ONES and the joy (and challenges) of making them.
Hidden bonus (other than the ice cream part,) is 1. I’m also using another ingredient left over from last week’s baking project and 2. I am creating ingredients for ANOTHER recipe project for the end of the week….. sticking with the waste not theme! Use it all, baby.
Good Old Fashioned Red, White and Blue Ice Cream (makes 2 short quarts, leaving space for mix-ins, etc.)
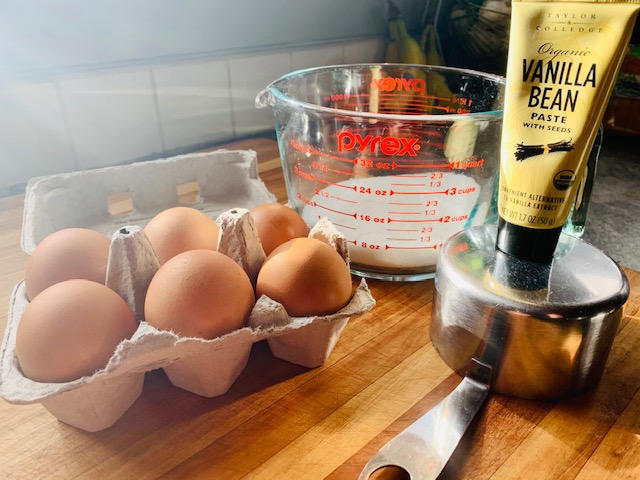
Ingredients:
- 4 cups heavy cream
- 1 cup sugar
- 6 large egg yolks (save those egg whites, people. Waste not!)
- 2 tbsp vanilla paste (or extract, but if you want beans, paste is the easiest!)
Mix Ins:
- 1/2 cup of Peppered Cherry Preserves, or other red fruit preserves (from Babka recipe if you have leftovers)
- 10 fresh blueberries, muddled (or a blueberry jam would do nicely)
Instructions
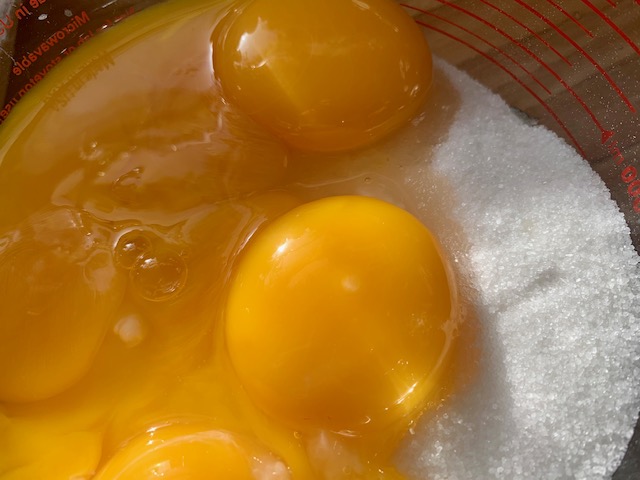
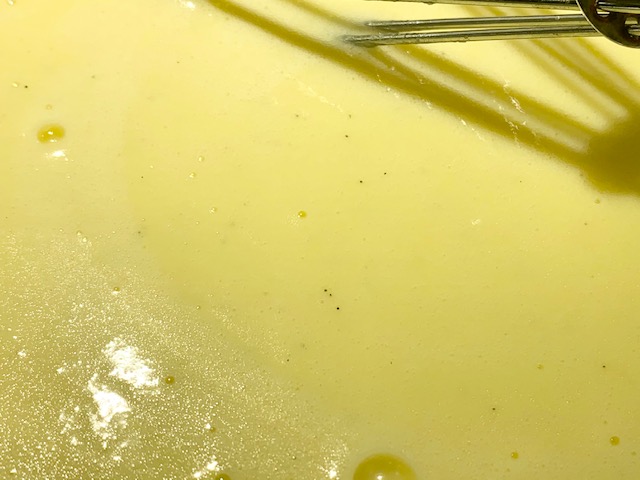
- Mix egg yolks into sugar (I used a 4 cup pyrex measuring cup)
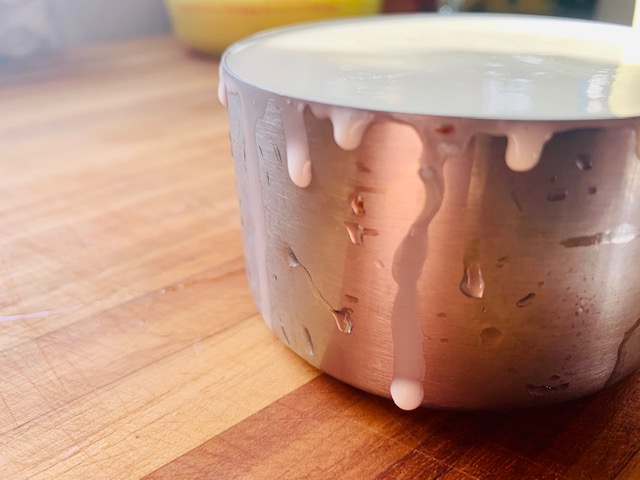
- In medium saucepan, bring cream to simmer (not boil) over medium heat. Stir frequently to avoid burn. Adjust flame as needed.
- Once up to temp, take approx 1 cup of the heated cream mixture and gently whisk into egg/sugar mix, adding another 1/2 cup if needed to make mixture pourable
- Slowly whisk the egg mixture into the simmering cream, stirring frequently.
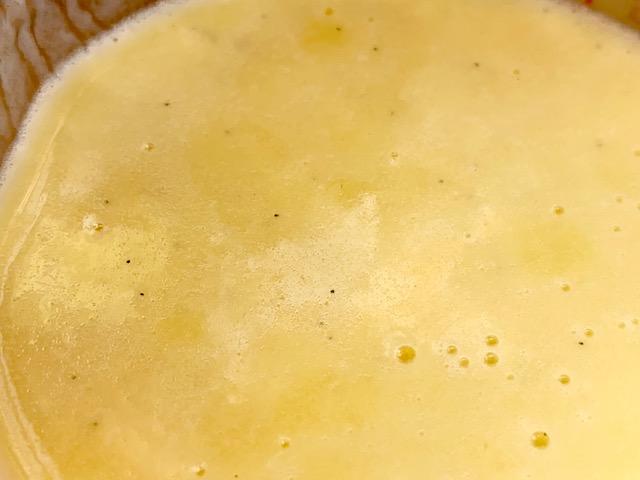
- Continue to simmer the custard mix over low/medium heat for 5-6 minutes, or until it has thickened significantly. This is your custard base.
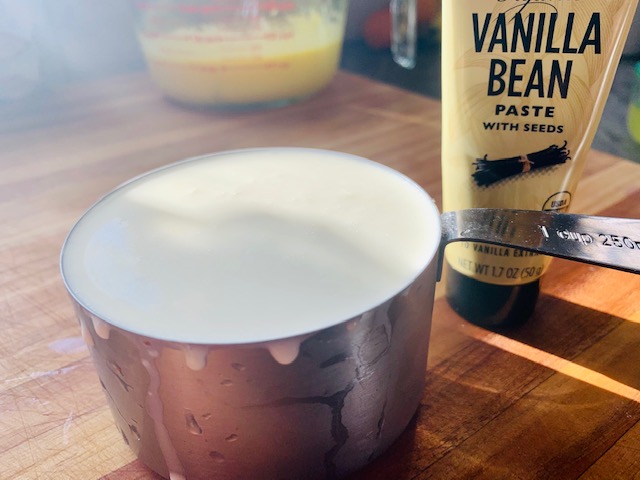
- Remove saucepan from heat and add the COLD and thoroughly shaken buttermilk and vanilla paste to the base. Stir until fully combined.
- Pour back into the 4 cup measuring up, using another 1 cup for any remaining custard.
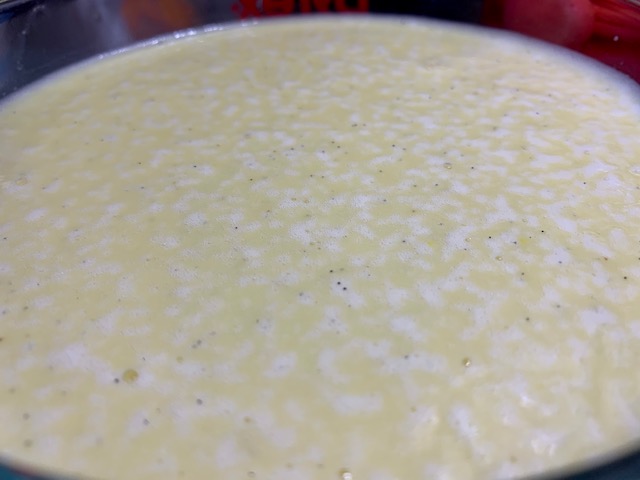
- Place your custard into the fridge to chill completely
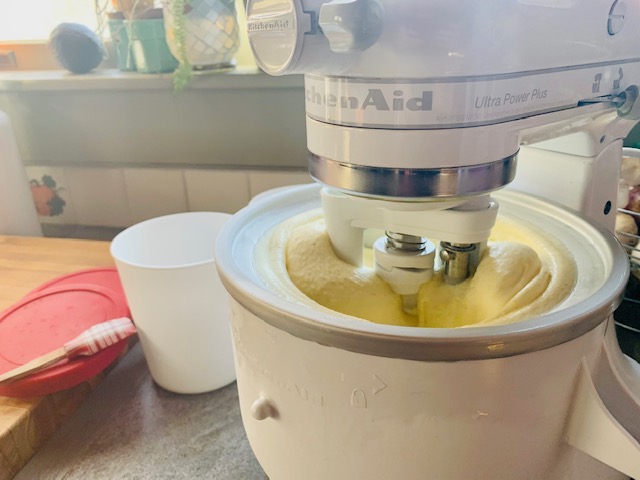
- After custard has cooled, stir to reincorporate any solids that may have separated during cooling, then churn in your ice cream maker according to instructions (my KitchenAid maker takes about 20-25 minutes.)
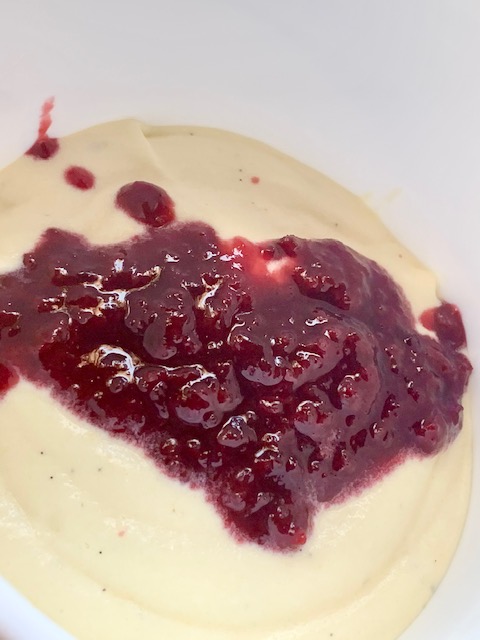
- Scoop out into your containers and add your fruited swirls
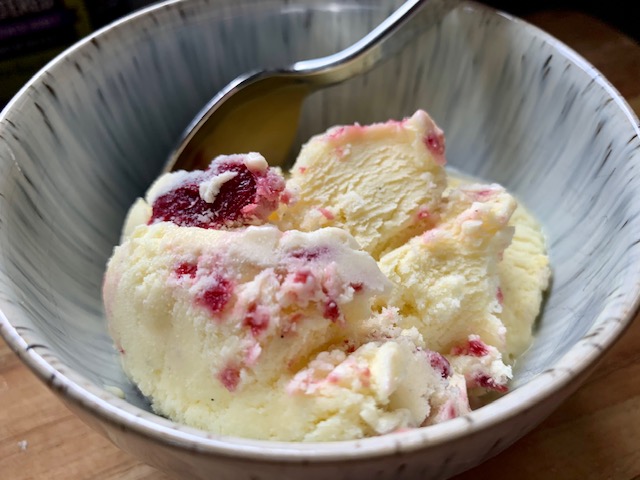
- Freeze for 8+ hours to bring to a scoop able texture and then enjoy!
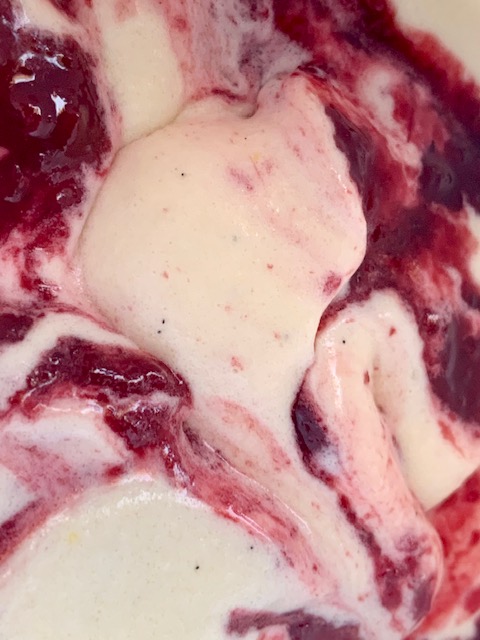
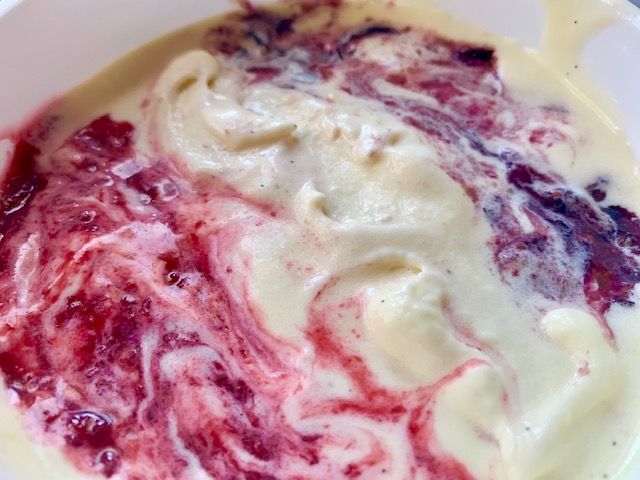
Below are some videos, mainly to show texture changes. I often find I’m struggling to really see or feel the changes written about in recipes.

A few things to note:
- Ice cream expands as it cools. If you double this recipe for more ice cream, check to make sure your machine can handle the finished volume (most will tell you what it can handle.)
- In addition: Make sure your bowl/maker is SUPER COLD and take out of freezer just before you churn. Prep your storage containers and mix ins to be ready to go as soon as your ice cream has finished churning.
- Fold in your mix-ins at the appropriate time. If it is wet and you want a swirl, it should be added in once you’ve put it in its storage container. If it is a chocolate chip/chunk/nut cookie etc… that you want dispersed throughout the ice cream evenly, you should add it at the END of the churn before turning out into your storage containers. Remember: use only silicone spatulas to turn out (protect that maker!)
- Lastly, it will be of the same texture as SOFT SERVE when completed. If you want to have it scoopable, it will need additional freezing time.
This ice cream is super yummy, but not for the faint of heart. It is a very decadent treat, and if you like the custard base, probably an ice cream that you could endlessly alter to make amazing treats. I can only image a proper creamsicle with this vanilla.
I was frustrated that I always wasted things more often than fully used them…. when it came to leftover ingredients after cooking or baking something special. I HATE wasting food. AS a gardener, it is a constant struggle to not waste. This kitchen challenge came from me spending a bunch on great buttermilk for that amazing Egg Nog Cake I made for Christmas, but then shrugging at what to do with it. With a 14 month old in the house on the weekends, buttermilk pancakes don’t exactly “happen” LOL. Also I didn’t want to waste the preserves I made for the Babka. AND my end of week challenge (needed egg whites) was a perfect pairing to this as I got exactly the amount I needed for my ingredients for Friday! WASTE NOT. This is also a great exercise in being mindful in the kitchen... concentrating on textures and consistencies are a great way to tune out the noise and focus your mind on the task at hand!
Notes: There clearly was some separation when I chilled the custard. I stirred to try to incorporate it, but it did impact the texture. Right from freezer, you can feel the milk fats. As they warm though and get a bit meltier (is that a word?) it gets SUPER creamy…. this might just not be a ‘eat it from the container’ ice cream. More likely, I needed to use my immersion blender to reincorporate the custard fully before churning, OR I slightly over-churned. That can happen. Did I stop at it’s creamiest consistency? I thought so, but maybe not!
That’s the beauty of this blog. You are going to get the real talk, the down low of what works, what went wrong and how to fix it.
Working in the kitchen (and loving it) is ALL about taking risks, going for it, learning something new and trying out something you have always wanted to be able to make at home. Whether because you want to control the ingredients your family is ingesting, or if you are trying to eliminate certain store goods all together, loving your kitchen means a lot of fails.
I would chalk this one up to a 85% success ratio. It is suuuuper YUMMY, but I’m not happy with the texture. Can I fix it next time?
YUP.
Other items of note for this recipe:
KitchenAid Ice Cream Attachment I love this although you really do need to be able to store it in your freezer for a WHILE before making your ice cream. With all ice cream makers its got to be SUPER cold for it to work, and for this, it means leaving in the coolest part of the freezer for like 2 days (or always if you can) to keep it at optimal temp for churning. Since I use my mixer for about everything, this was the smartest item for me as it was not an entire additional appliance! This does exclude the 7 and 8 qt mixers though… check to make sure it will work with your model.

Reusable Ice Cream Containers My new hobby requires new storage. LOL These are cute, and the company also has the longer ‘loaf pan’ styles for if you want to really get scoopin’

Let me know what kind of ice cream YOU decided to make!
